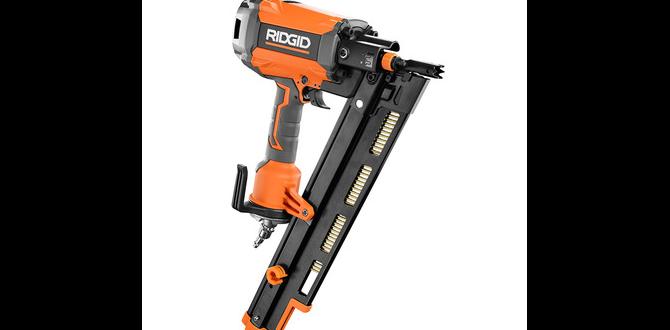
Do you love DIY projects or construction work? If so, you might have heard of the Bostitch framing nailer. It’s a fantastic tool that makes nailing quick and easy. But did you know that getting the right psi settings can make all the difference?
Imagine you are in the middle of a big project. You want every nail to go in perfectly. But, if your psi settings are off, some nails might not hold as well. That can lead to weak structures or frustrating extra work!
Many people do not realize that the correct psi settings can improve accuracy and speed. Finding out how to adjust your high power Bostitch framing nailer for the best results is simple and can boost your projects. This article will help you discover the right psi settings and tips for using this powerful tool effectively.
Table of Contents
High Power Bostitch Framing Nailer Psi Settings Explained

Understanding High Power Bostitch Framing Nailer PSI Settings
Choosing the right PSI settings for your high power Bostitch framing nailer can make a big difference. Did you know that proper pressure ensures nails drive in securely? It also prevents damage to your materials. Generally, settings between 70 to 120 PSI work best. Start low and adjust based on your project needs. This simple trick can save you time and effort. Plus, it helps you achieve professional-looking results every time!Understanding PSI and Its Importance
Explanation of PSI (Pounds per Square Inch) and its relevance in nailers.. Consequences of improper PSI settings on performance and project results..PSI stands for Pounds per Square Inch. It’s a measure of pressure, and for nailers, it’s super important. If the PSI is too high, nails could go flying like confetti at a parade. Too low? They might just dangle there, confused. The right PSI ensures smooth performance and tight connections in your projects. Remember, a happy nailer means a happy builder!
| PSI Level | Consequences |
|---|---|
| Too High | Nails shoot out too fast, risking damage. |
| Too Low | Nails may not drive in fully, leading to weak joints. |
Getting PSI right means every nail hits just right. It makes all the difference between a sturdy project and a nail disaster!
Recommended PSI Settings for Various Applications
Specific PSI settings for different materials (wood types, thickness, etc.).. Guidelines for adjusting PSI based on project requirements and nail types..Choosing the right PSI for your nailer is key for different jobs. Different materials require different pressure. For softwood, set your PSI to about 70-80. For hardwood, increase it to 80-90. Thicker materials may need higher settings. Always adjust based on the nails you use too. Here are some quick tips:
- Softwood: 70-80 PSI
- Hardwood: 80-90 PSI
- Thick materials: 90+ PSI
This way, your nails will go in strong without damaging the wood.
What PSI should I use for different materials?
Use 70-80 PSI for softwoods and 80-90 PSI for hardwoods. For thick materials, aim for 90+ PSI. Adjust based on nail types too!
How to Adjust PSI on Your Bostitch Framing Nailer
Stepbystep instructions for adjusting the PSI settings.. Tips for monitoring and testing PSI adjustments during operation..Adjusting the PSI on your Bostitch framing nailer is simple! First, locate the pressure control knob, usually found near the rear. Turn it clockwise to increase pressure and counterclockwise to decrease it. Try to aim for 70-100 PSI for most jobs. Next, test the pressure on a scrap piece of wood to see how the nails go in. If they go in too deep or don’t go in at all, adjust again! And remember, too much pressure can make you feel like a nail-slinging superhero – but you could end up with pancake-style nails instead!
| Adjustment | Effect |
|---|---|
| Increase PSI | Nails go deeper |
| Decrease PSI | Nails stay shallower |
| Test on Scrap Wood | Check for proper depth |
Keep an eye on your PSI while you work. A quick glance can save you from mishaps. Test regularly to make sure you’re hitting the sweet spot!
Common Issues Related to Incorrect PSI Settings
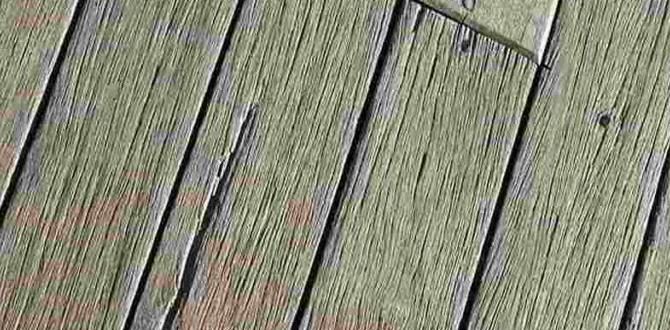
Identifying problems caused by too high or too low PSI settings.. Solutions for troubleshooting specific issues related to nail performance..Setting the psi too high or too low can lead to problems. If the psi is too high, nails might go too deep or even split the wood. A low psi setting can cause nails to not drive in fully. Here are common issues and solutions:
- Nails missing the target: Check your psi accuracy.
- Nailed wood splitting: Lower the psi for softer wood.
- Weak nail drive: Increase psi for better performance.
Adjusting psi properly helps your nailer work best. Keep experimenting until you find the right balance.
What issues occur with wrong psi settings?
Using incorrect psi settings can cause nail jams, uneven drives, and even damage to your materials.
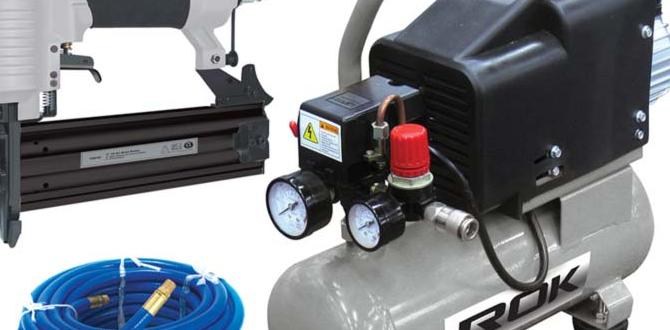
Maintaining Your Bostitch Framing Nailer for Consistent PSI Performance
Regular maintenance practices to keep your nailer operating efficiently.. Importance of lubrication and inspections for PSI consistency..To keep your nailer in top shape, think of it like giving it a spa day! Regular maintenance is essential. Check the air filter often and keep it clean to ensure proper airflow. Lubrication is key too; oil your tool to avoid rust and wear. A lube-free nailer is like a car without gas—no fun! Additionally, inspect for any loose screws or parts. You wouldn’t want a runaway nailer, right?
| Maintenance Task | Frequency |
|---|---|
| Clean air filter | Monthly |
| Lubricate tool | Every use |
| Inspect screws and parts | Before each use |
This simple routine helps maintain consistent psi for your Bostitch nailer. Think of it as keeping your trusty steed healthy for the big race. If your nailer works well, you’ll nail every project like a pro, maybe even with some flair!
Comparing Bostitch to Competitors: PSI Performance Analysis
Comparison of Bostitch PSI settings and performance with other popular brands.. Evaluating the effectiveness of PSI management across different nailer models..Many users compare Bostitch nailers to others like DeWalt and Hitachi. Bostitch typically has different PSI settings that affect how nails are driven. Here’s a quick look:
- Bostitch: Flexible PSI settings improve accuracy.
- DeWalt: Consistent power but less adjustable.
- Hitachi: Fast operation but may require more power.
These differences impact performance in various projects. Proper PSI management helps achieve better results. Remember, selecting the right nailer can enhance your crafting experience!
Which nailer brand has the best PSI settings?
The best brand really depends on your project. Generally, Bostitch offers more adjustable PSI settings, making it popular among users who need versatility.
Conclusion
In summary, understanding the right psi settings for your Bostitch framing nailer is crucial. Proper settings ensure better performance and fewer jams. Always consult your tool’s manual for specific recommendations. Experiment with different psi levels to find what works best for you. We encourage you to keep learning about nailers and practice safely to improve your skills!FAQs
Certainly! Here Are Five Related Questions On The Topic Of High Power Bostitch Framing Nailer Psi Settings:Sure! A high power Bostitch framing nailer needs the right air pressure to work well. Usually, you set it between 70 and 120 PSI, which means pounds per square inch. You can adjust it for different tasks. Always check the manual to be safe. Proper PSI helps the nails go in just right!
Sure! Just ask your question, and I will provide a simple, easy-to-understand answer!
What Is The Recommended Psi Setting For A Bostitch Framing Nailer When Working With Different Types Of Framing Materials?For a Bostitch framing nailer, the best air pressure is usually between 70 and 120 PSI. If you’re using softer wood like pine, you can set it lower, around 70-90 PSI. For harder wood like oak, use 100-120 PSI. Make sure to adjust the pressure based on the wood you are using. This helps the nails go in just right!
How Can Incorrect Psi Settings Affect The Performance Of A Bostitch Framing Nailer?If you set the PSI (pounds per square inch) wrong on a Bostitch framing nailer, it can cause problems. If the PSI is too low, the nails won’t go in all the way. If it’s too high, the nails might shoot out too hard and damage the wood. We need the right PSI for the tool to work well. Always check the settings before using it!
Are There Specific Guidelines For Adjusting The Psi On Various Models Of Bostitch Framing Nailers?Yes, there are guidelines for adjusting the PSI, or pounds per square inch, on Bostitch framing nailers. First, check the manual for your specific model. It will tell you the right PSI to use. Adjust the PSI using a simple dial or knob on the tool. Remember, setting it too high or too low can affect how well the nails go in.
What Are The Common Symptoms Of Operating A Bostitch Framing Nailer At The Wrong Psi Level?If you use a Bostitch framing nailer at the wrong PSI (pounds per square inch) level, you might see problems. Your nails could bend or not go in straight. The nailer may fire too slowly or not at all. You might also hear loud noises or feel it shaking a lot. These signs mean the pressure is set wrong.
How Does Temperature And Humidity Impact The Optimal Psi Settings For A Bostitch Framing Nailer During Operation?Temperature and humidity change how a Bostitch framing nailer works. When it’s hot and humid, the air can be thicker. This can make the nailer work less effectively. You might need to adjust the PSI, which stands for pounds per square inch, to make it shoot nails correctly. In cooler or drier air, you might need different settings to keep the nails going in straight.