Imagine stepping into a cozy home with beautiful, shiny floors. That warmth often comes from hardwood flooring. Have you ever wondered about the magic behind its installation? Hardwood flooring not only looks great; it can also last for many years. Knowing how to install it can save you time and money.
Many homeowners want this timeless beauty, but they feel unsure about taking the first step. Installing hardwood might seem tough, but it is not as hard as it looks. You can create a stunning space that friends and family will admire.
Did you know that hardwood floors can add value to your home? A fun fact is that each type of wood has a unique story, just like your home. Let’s explore how you can achieve the perfect hardwood flooring installation and make your home shine!
Table of Contents
A Complete Guide To Hardwood Flooring Installation Techniques

Hardwood Flooring Installation
Hardwood flooring installation transforms a space with warmth and beauty. Did you know that proper installation can extend the life of your floors? Start by choosing the right wood type and acclimating it to your home’s environment. Measure your area carefully to minimize waste. Tools like a saw and hammer are essential. Have you considered the stunning patterns you can create? Investing time in quality installation makes all the difference for lasting elegance.Types of Hardwood Flooring
Solid hardwood vs. engineered hardwood. Pros and cons of each type.There are two main types of hardwood flooring: solid hardwood and engineered hardwood. Each one has its own good and bad sides.
- Solid Hardwood: Made from whole wood pieces. It can be sanded and refinished many times, making it last longer. However, it might not do well in damp areas.
- Engineered Hardwood: Built with layers of wood. It is more stable and can be used in basements. But, it can’t be sanded as often as solid hardwood.
Choosing between the two depends on where you plan to install the flooring and your style. Would you prefer something long-lasting or more flexible?
What are the advantages and disadvantages of each type?
Solid hardwood has great durability and beauty. It can be costly and is sensitive to moisture.
Engineered hardwood is budget-friendly. However, it can feel less luxurious than solid options.
Benefits of Hardwood Flooring
Aesthetic appeal and home value increase. Durability and longevity compared to other flooring options.Many people love hardwood floors because they look beautiful. These floors can make a house feel warm and inviting. They can also increase the value of your home. This means that when it comes time to sell, you might get more money. Hardwood is strong, lasting for years without damage. It’s much tougher than other types of flooring. With proper care, it can last decades.
- Aesthetic Appeal: Adds beauty to any room.
- Home Value Increase: Attracts buyers for higher offers.
- Durability: Can withstand heavy use.
- Longevity: Lasts longer compared to carpet or laminate.
Why is hardwood flooring a good choice?
This type of flooring is great for many reasons. It beautifies homes and increases their worth. Plus, they hold up well over time, making them a smart investment.
Preparing for Installation
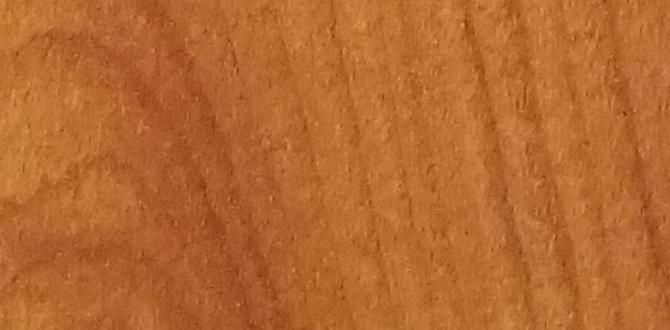
Assessing subfloor conditions. Choosing the right wood species and finish.Before you start, check your subfloor. Make sure it’s clean, dry, and flat. These things help your hardwood floor last. Next, think about the type of wood. Do you want oak, maple, or cherry? Each type looks different and has its own feel. Also, choose a finish. A natural look or something shiny? This choice affects how the floor will look and behave over time.
What should I consider before hardwood flooring installation?
Consider the subfloor, wood type, and finish. These choices affect the strength and appearance of your floor.
Key points:
- Check subfloor conditions: clean, dry, and even.
- Choose the right wood species: oak, maple, or cherry.
- Select a finish: natural or shiny.
Tools and Materials Needed
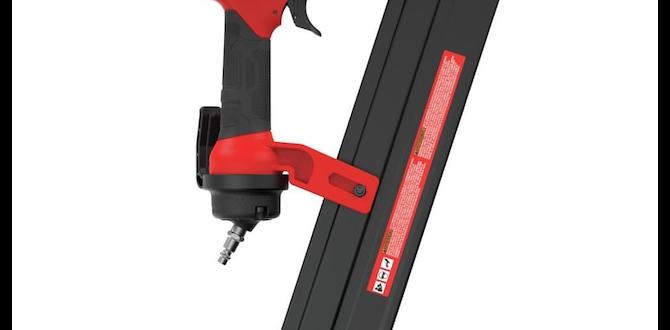
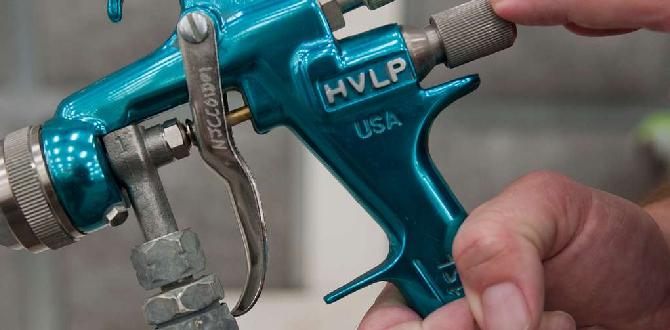
Essential tools for hardwood flooring installation. Recommended materials and supplies.Getting ready for hardwood flooring installation is exciting! You need some essential tools and materials. Think of your tools as your trusty sidekicks. You’ll want a saw, hammer, and measuring tape. Don’t forget safety goggles—your eyes will thank you later! Here’s a quick list of recommended materials:
| Tool/Material | Purpose |
|---|---|
| Saw | Cutting planks to size |
| Hammer | Nailing down the boards |
| Measuring Tape | Ensuring accurate measurements |
| Flooring Adhesive | For gluing the floor down |
| Underlayment | Soundproofing and cushioning |
With these tools in hand, you’ll be on your way to flooring fame! Remember, measuring twice helps avoid mistakes, and laughter is the best tool of all!
Step-by-Step Installation Process
Acclimating hardwood planks. Installation methods: naildown, gluedown, and floating.Before you start laying hardwood, it’s important to prepare the planks. Acclimating them helps them adjust to the room’s temperature and humidity. This step ensures they fit well when installed. Choose from these methods for hardwood flooring installation:
- Nail-down: Secure the planks with nails to the subfloor.
- Glue-down: Use strong adhesive to bond the planks directly to the floor.
- Floating: Lay the planks without attaching them, allowing them to “float” on the surface.
Understanding these methods helps you choose the best way to install your beautiful new flooring!
Why is acclimating hardwood planks important?
Acclimating hardwood planks prevents warping and gaps after installation. This simple step can save you from expensive repairs later!
Common Installation Mistakes to Avoid
Overlooking moisture issues. Incorrect plank alignment and spacing.Many people forget about moisture before laying down hardwood. Too much water can damage the wood. Make sure the area is dry first. Also, plank alignment matters. If planks are not lined up well, it looks bad and can lead to gaps. Proper spacing helps them fit together as they expand and contract.
What are some common installation mistakes?
Common mistakes include:
- Overlooking moisture issues.
- Incorrect plank alignment.
- Poor spacing between planks.
Always check the area for dryness and plan your layout. It’s worth it for a great finish!
Post-Installation Care and Maintenance
Cleaning and maintaining hardwood floors. Repairing and refinishing options.Taking care of hardwood floors is easy and important. Regular cleaning helps keep them shiny and new. Use a soft broom or a vacuum with a wood floor setting. For spills, clean them right away with a damp cloth. Repairing minor scratches can be done using a touch-up kit. For big scratches or damage, you may want to consider refinishing. This makes the floor look brand new again!
How do I clean and maintain hardwood floors?
Use a soft broom, vacuum regularly, and wipe up spills right away to keep floors clean.
Repair and Refinishing Options
- Use a touch-up kit for small scratches.
- Consider refinishing for larger damage.
Cost Considerations
Average costs of hardwood flooring installation. Factors affecting total installation price.Getting hardwood flooring installed can be exciting but also involves costs. On average, you might spend between $6 to $12 per square foot for the wood itself. Don’t forget about installation fees, which can range from $2 to $8 per square foot. Factors that can affect the final bill include the type of wood, labor costs, and how tricky your space is to work in. If your floor has more curves than a roller coaster, expect to pay a bit more!
| Cost Factors | Average Cost |
|---|---|
| Materials | $6 – $12 per sq ft |
| Installation | $2 – $8 per sq ft |
| Total Average Cost | $8 – $20 per sq ft |
Hiring a Professional vs. DIY Installation
Benefits of hiring professionals. When to consider a DIY approach.Choosing between experts and DIY for hardwood flooring installation can be tricky. Hiring professionals has many perks. They have the right tools and experience to get the job done quickly. This often saves you time and stress.
Consider DIY if you enjoy hands-on projects and have some experience. It can help you save money if you plan well.
- Benefits of hiring professionals:
- Expertise and skill
- Proper tools
- Faster completion
- Less risk of mistakes
Many folks prefer calling experts for big jobs. You may need help when facing tricky designs or large spaces.
When should I choose DIY?
Try DIY if: You have time, the right tools, and confidence in your skills. Simple projects can be fun and rewarding!
Conclusion
In conclusion, hardwood flooring installation is a rewarding project for your home. You can choose from various styles and types. Preparing the area is key for a smooth installation. Remember to gather the right tools and follow guidelines. If you’re unsure, consider asking a professional for help. Now, get excited about enhancing your space with beautiful hardwood floors!FAQs
Sure! Here Are Five Related Questions On The Topic Of Hardwood Flooring Installation:Sure! Hardwood flooring installation means putting wooden floors in your home. First, you need to measure the area to see how much wood you’ll need. Next, prepare the floor by cleaning it. Then, lay down the planks, making sure they fit well together. Finally, finish up by adding your favorite baseboards. It’s a fun project you can do!
Sure! Just give me the question you want me to answer!
What Are The Key Tools And Materials Needed For A Successful Hardwood Flooring Installation?To install hardwood flooring, you need some important tools and materials. First, get a tape measure to measure your room. You will also need a saw to cut the wood pieces. Hammer and nails or a flooring stapler help secure the boards. Don’t forget a level to make sure everything is even! Lastly, you need wood planks for the floor.
How Do You Prepare A Subfloor Before Installing Hardwood Flooring?To prepare a subfloor for hardwood flooring, first, you need to clean it well. Remove any dust, dirt, or old glue. Next, check for any squeaky or loose boards and fix them. If your subfloor is not flat, you may need to use a leveling compound. Finally, make sure the subfloor is dry before you start laying down the hardwood.
What Are The Common Methods Of Installing Hardwood Flooring, And What Are Their Advantages And Disadvantages?There are three common methods to install hardwood flooring: nail down, glue down, and floating. With the nail-down method, you use nails to attach the wood to the floor. This makes it very strong, but it can be hard to do. The glue-down method uses strong glue to stick the wood to the floor. It’s good for areas that might get wet, but it takes a long time to dry. The floating method lets the wood “float” over the floor. It’s easy to install and fix, but it might move a bit more. Each method has its own pros and cons!
How Can You Ensure Proper Expansion And Contraction Of Hardwood Planks During Seasonal Changes After Installation?To help hardwood planks change with the seasons, you can leave small gaps between the planks when you install them. These gaps let the wood expand when it gets hot and contract when it gets cold. You should also keep the room at a steady temperature. A humidifier can help in dry weather, and a dehumidifier can help if it’s too wet. This way, your wood stays happy and looks good!
What Maintenance Steps Should Be Taken After Hardwood Flooring Installation To Prolong Its Lifespan?After you install hardwood floors, you should take good care of them. First, clean up spills right away. Use a soft broom or a vacuum to remove dust and dirt regularly. Avoid wearing shoes with heavy soles indoors. Lastly, place mats at entrances to catch dirt before it gets on your floors.
{“@context”:”https://schema.org”,”@type”: “FAQPage”,”mainEntity”:[{“@type”: “Question”,”name”: “Sure! Here Are Five Related Questions On The Topic Of Hardwood Flooring Installation:”,”acceptedAnswer”: {“@type”: “Answer”,”text”: “Sure! Hardwood flooring installation means putting wooden floors in your home. First, you need to measure the area to see how much wood you’ll need. Next, prepare the floor by cleaning it. Then, lay down the planks, making sure they fit well together. Finally, finish up by adding your favorite baseboards. It’s a fun project you can do!”}},{“@type”: “Question”,”name”: “”,”acceptedAnswer”: {“@type”: “Answer”,”text”: “Sure! Just give me the question you want me to answer!”}},{“@type”: “Question”,”name”: “What Are The Key Tools And Materials Needed For A Successful Hardwood Flooring Installation?”,”acceptedAnswer”: {“@type”: “Answer”,”text”: “To install hardwood flooring, you need some important tools and materials. First, get a tape measure to measure your room. You will also need a saw to cut the wood pieces. Hammer and nails or a flooring stapler help secure the boards. Don’t forget a level to make sure everything is even! Lastly, you need wood planks for the floor.”}},{“@type”: “Question”,”name”: “How Do You Prepare A Subfloor Before Installing Hardwood Flooring?”,”acceptedAnswer”: {“@type”: “Answer”,”text”: “To prepare a subfloor for hardwood flooring, first, you need to clean it well. Remove any dust, dirt, or old glue. Next, check for any squeaky or loose boards and fix them. If your subfloor is not flat, you may need to use a leveling compound. Finally, make sure the subfloor is dry before you start laying down the hardwood.”}},{“@type”: “Question”,”name”: “What Are The Common Methods Of Installing Hardwood Flooring, And What Are Their Advantages And Disadvantages?”,”acceptedAnswer”: {“@type”: “Answer”,”text”: “There are three common methods to install hardwood flooring: nail down, glue down, and floating. With the nail-down method, you use nails to attach the wood to the floor. This makes it very strong, but it can be hard to do. The glue-down method uses strong glue to stick the wood to the floor. It’s good for areas that might get wet, but it takes a long time to dry. The floating method lets the wood float over the floor. It’s easy to install and fix, but it might move a bit more. Each method has its own pros and cons!”}},{“@type”: “Question”,”name”: “How Can You Ensure Proper Expansion And Contraction Of Hardwood Planks During Seasonal Changes After Installation?”,”acceptedAnswer”: {“@type”: “Answer”,”text”: “To help hardwood planks change with the seasons, you can leave small gaps between the planks when you install them. These gaps let the wood expand when it gets hot and contract when it gets cold. You should also keep the room at a steady temperature. A humidifier can help in dry weather, and a dehumidifier can help if it’s too wet. This way, your wood stays happy and looks good!”}},{“@type”: “Question”,”name”: “What Maintenance Steps Should Be Taken After Hardwood Flooring Installation To Prolong Its Lifespan?”,”acceptedAnswer”: {“@type”: “Answer”,”text”: “After you install hardwood floors, you should take good care of them. First, clean up spills right away. Use a soft broom or a vacuum to remove dust and dirt regularly. Avoid wearing shoes with heavy soles indoors. Lastly, place mats at entrances to catch dirt before it gets on your floors.”}}]}