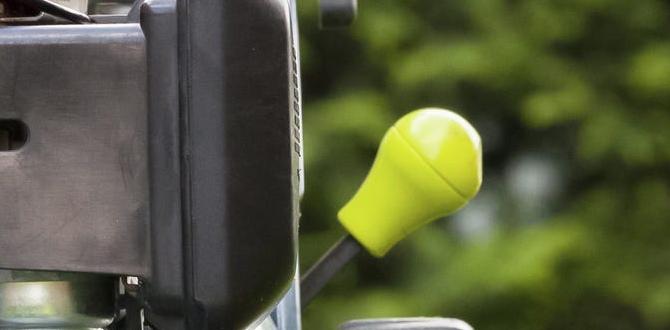
Have you ever thought about how a beautiful hardwood floor comes together? The secret often lies in a tool called a cleat nailer. This handy device makes it easy to install hardwood floors. Imagine walking into a room where the floor is smooth and flawless. That’s the magic of using the right tools.
Many DIY lovers and professional builders rely on hardwood floor cleat nailers. They help secure each board tightly, ensuring the floor lasts for years. Did you know that using a cleat nailer can save you time? Instead of hammering each nail by hand, you can quickly secure your boards with a few pulls of the trigger.
Whether you’re upgrading your home or working on a new construction project, understanding how cleat nailers work is key. Have you ever wondered why some floors look perfect while others don’t? The answer often lies in the tools used. Let’s dive into the world of hardwood floor cleat nailers and see how they can transform your space.
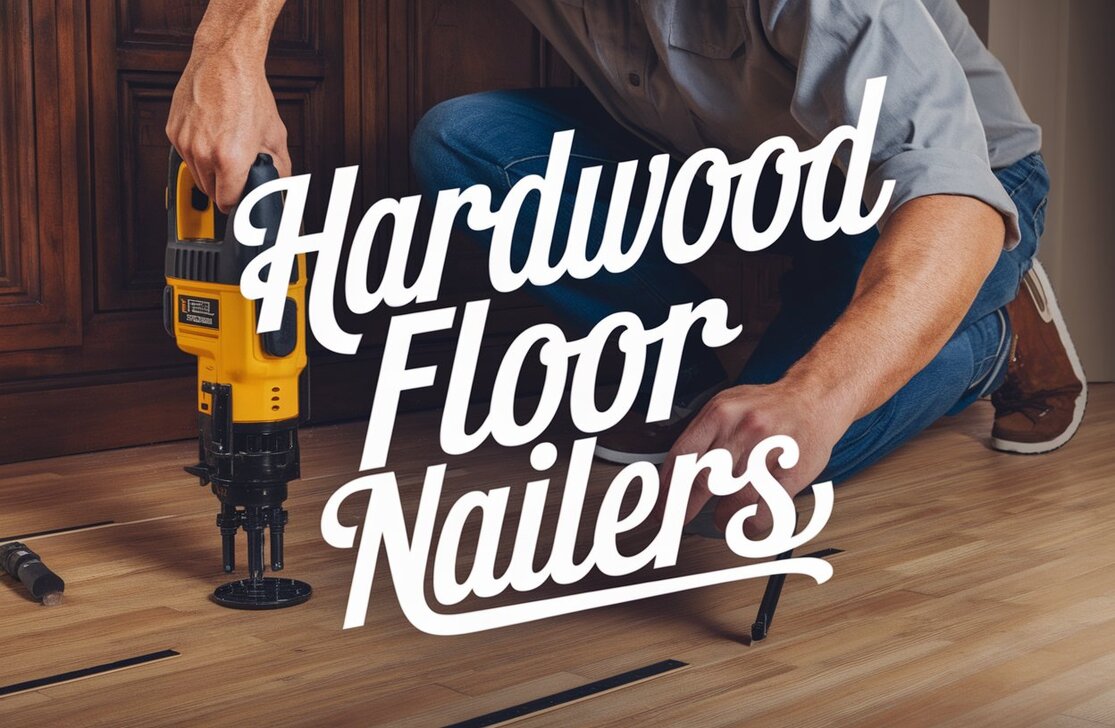
Table of Contents
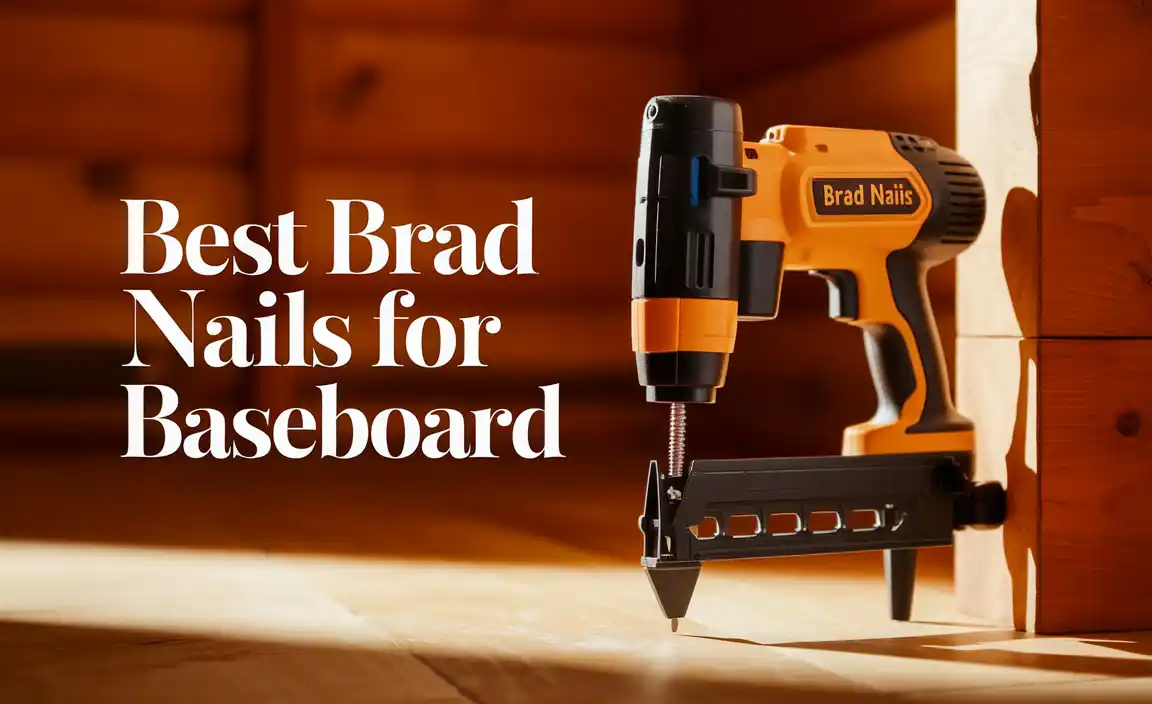
Hardwood Floor Cleat Nailers: The Ultimate Guide To Installation
Hardwood Floor Cleat Nailers
Hardwood floor cleat nailers are tools that help you install hardwood floors easily. They use special nails called cleats to hold the wood in place. Have you ever thought about how professionals make it look so simple? With a cleat nailer, you can achieve that same smooth finish at home. These nailers save time and effort, making your DIY project fun and rewarding. Plus, they ensure your floors stay secure and beautiful for years to come!
What is a Hardwood Floor Cleat Nailer?
Definition and purpose of cleat nailers. Types of cleat fasteners used.
A hardwood floor cleat nailer is a handy tool that helps you install hardwood flooring with ease. Think of it like a superhero for your floors! Its main job is to drive cleat fasteners into the wood, securing it snugly. There are two main types of cleat fasteners: cleat nails and staples. Each serves the same purpose but works a bit differently. Cleat nails are like little pirates that hold your floor in place, while staples are the best friends, giving extra support!
| Type of Fastener | Description |
|---|---|
| Cleat Nails | Longer and provide a stronger hold. |
| Staples | Wider, giving a quicker installation. |
Benefits of Using Cleat Nailers for Hardwood Flooring
Efficient fastening and installation speed. Reduced damage to floorboards. Versatility with various hardwood types.
Using cleat nailers for hardwood flooring brings many perks. First, they help you install boards quickly so you can dance on that new floor sooner! Plus, they’re gentle on your floorboards. Unlike some tools, they won’t stab, poke, or leave unsightly marks. Lastly, cleat nailers are versatile. They work with different hardwood types, from oak to maple, making any wood feel like a superstar.
| Benefit | Description |
|---|---|
| Fast Installation | Speed up your flooring project! |
| Reduced Damage | Less poking means happier floorboards! |
| Versatility | Perfect for many hardwood types! |
Key Features to Look for in a Hardwood Floor Cleat Nailer
Drive mechanism options (manual vs. pneumatic). Weight and size considerations. Adjustable depth settings.
Choosing the right hardwood floor cleat nailer can make your job easier. Here are some important features to consider:
- Drive Mechanism: You can pick between manual and pneumatic options. Pneumatic tools usually allow faster nailing.
- Weight and Size: A lightweight nailer is easier to handle. Look for compact sizes for better maneuverability.
- Adjustable Depth Settings: This feature helps you control how deep the nails go. It’s great for different wood types!
These features help ensure you have a smooth and successful flooring project.
What should I consider when buying a hardwood floor cleat nailer?
When buying a hardwood floor cleat nailer, consider the weight, size, and drive mechanism. Don’t forget the need for adjustable depth settings for precision. Each feature can make your flooring job easier and faster!
Top Hardwood Floor Cleat Nailers on the Market
Comparison of popular brands and models. Pros and cons of each option. Price range and value for money.
Choosing the right cleat nailer for hardwood floors can be tricky. Many brands are out there, each with something special. Let’s compare a few top contenders. For example, the Bostitch BTFP12569 is budget-friendly and light, making it a favorite among homeowners. On the flip side, the Hitachi NT65MA4 is a pro pick, though it comes at a higher price. Here’s a quick look:
| Brand | Model | Pros | Cons | Price Range |
|---|---|---|---|---|
| Bostitch | BTFP12569 | Lightweight, affordable | Can jam sometimes | $150-$180 |
| Hitachi | NT65MA4 | Powerful, durable | Pricey | $250-$300 |
Every model has its ups and downs. While some are cheap and cheerful, others pack a punch but can hit your pocket hard. Remember, the best choice is one that suits your needs and budget! Happy nailing!
How to Properly Use a Hardwood Floor Cleat Nailer
Stepbystep installation process. Safety precautions and best practices. Common mistakes to avoid.
Using a hardwood floor cleat nailer is like being a superhero on the job site! First, make sure to read the manual—trust me, it’s less boring than it sounds. Start by prepping your workspace. Safety gear is a must. Grab those goggles and gloves to keep your eyes and hands safe. Next, lay out the wood planks, ensuring they’re straight, like a row of soldiers ready for a parade.
Now for the fun part: nail away! Keep the nailer at a 45-degree angle and press it firmly on the floor. It’s like a good game of darts—aim well and don’t miss! Watch out for common mistakes, like over-nailing. It won’t make your floor stronger, just messier! And remember, no one likes a crooked floor; keep your lines straight.
| Tip | Details |
|---|---|
| Prep the Area | Clear the space of debris. |
| Safety First | Wear goggles and gloves. |
| Aim Properly | Hold the nailer at a 45-degree angle. |
| Avoid Over-Nailing | Too many nails won’t help! |
By following these steps, you’ll make your hardwood floor shine like a diamond! Just remember, practice makes perfect—so don’t rush and have some fun while doing it!
Maintenance Tips for Hardwood Floor Cleat Nailers
Regular cleaning and care routines. Lubrication techniques for longevity. Troubleshooting common issues.
To keep hardwood floor cleat nailers running smoothly, regular care is essential. First, always clean the tool after each use. This helps prevent dust buildup. Next, use a light oil to lubricate moving parts. This will make your nailer last longer.
- Check for loose screws or parts regularly.
- If you notice jams, clear them right away.
- Store your nailer in a dry place to avoid rust.
Taking these steps will save you time and money in the long run!
How do I clean my hardwood floor cleat nailer?
To clean it, remove any dust and debris after use. Use a soft brush or cloth for hard-to-reach spots. A clean tool works better and lasts longer!
Common Issues and Fixes:
- Jam: Ensure nails are loaded correctly.
- Loss of power: Check battery or air supply.
- Inconsistent firing: Clean and lubricate parts.
Comparing Cleat Nailers to Other Fastening Methods
Differences between cleat and staple nailers. Pros and cons of gluedown vs. naildown installation. When to choose a cleat nailer over other options.
Choosing the right fastening method can feel like picking a favorite ice cream flavor! Cleat nailers and staple nailers differ mainly in how they hold the floorboards down. Cleat nailers use specially designed cleats, while staple nailers use, well, staples! The pros of gluedown installation include a strong bond, but it takes longer to dry. Naildown installation with cleat nailers is quicker and often easier. Use a cleat nailer when you want speed and flexibility on hardwood floors!
| Method | Pros | Cons |
|---|---|---|
| Cleat Nailer | Fast installation | May not be suitable for all floor types |
| Staple Nailer | Good for thinner boards | Can be less secure |
| Gluedown | Strong bond | Takes time to set |
| Naildown | Quicker and easier | May need more materials |
Remember, your choice should match your project needs! Whether it’s cleat or staple, let your floor shine like a superhero in a cape. Or, you know, just a really nice floor.
Cost Considerations for Hardwood Flooring Installation
Average costs associated with cleat nailers. Budgeting for tools vs. hiring professionals. Longterm savings with DIY installation.
Installing hardwood floors can be a fun adventure, but don’t forget to check your wallet first! Using a cleat nailer, you might spend about $200 to $400 on tools. Hiring pros for that same job? Expect to shell out over $1,500!
Now, think about your choices. If you’re handy and choose to DIY, you can save a ton over time. Plus, the pride of saying, “I did it myself!” is priceless, right? Just keep in mind that starting with the right tools can make all the difference.
| Cost Factor | Average Cost |
|---|---|
| Cleat Nailer | $200 – $400 |
| Professional Installation | $1,500+ |
| DIY Savings | Potentially hundreds! |
So, grab your cleat nailer and let the fun begin! After all, who needs a gym membership when you have hardwood planks to lift?
Customer Reviews and Feedback on Cleat Nailers
Analysis of user experiences and ratings. Frequently mentioned issues and praises. Recommendations based on user feedback.
Many users have shared their thoughts on cleat nailers. Their feedback ranges from helpful praises to useful concerns. Some common highlights include:
- Ease of use: Many found them simple to operate.
- Durability: Users often mentioned long-lasting performance.
- Noise level: Some noted that the noise could be too loud.
Overall, these tools receive positive ratings. However, potential buyers should weigh both the good and bad experiences. Recommendations suggest trying different brands for the best fit.
What do users think about cleat nailers?
Users are generally satisfied. They often say these tools make flooring projects easier. However, some expressed concerns about noise and maintenance. It’s important to pick the right tool!
Conclusion
In summary, hardwood floor cleat nailers are great tools for installing flooring quickly and easily. They secure boards firmly, making your floors strong and lasting. If you want to improve your DIY skills, consider getting one. You can read more guides online or watch tutorial videos to learn how to use it effectively. Happy flooring!
FAQs
What Are The Key Features To Look For When Choosing A Hardwood Floor Cleat Nailer?
When choosing a hardwood floor cleat nailer, look for a few important features. First, check if it takes the right nails for your floor. Next, see if it has a comfortable grip so you can hold it easily. You also want a nailer that is lightweight so you can use it for a long time without getting tired. Finally, make sure it has a good safety feature to prevent accidents.
How Does A Cleat Nailer Differ From A Staple Nailer For Installing Hardwood Flooring?
A cleat nailer and a staple nailer both help us put down hardwood floors. The cleat nailer uses special nails called cleats, which grab the wood tightly. The staple nailer uses metal staples to hold the wood down. Cleat nails are usually better for hardwood because they can hold stronger. So, we use each tool for different types of flooring jobs.
What Are The Advantages Of Using A Cleat Nailer For Hardwood Flooring Installation Compared To Traditional Nailing Methods?
Using a cleat nailer makes putting hardwood floors down much easier. It shoots nails in quickly and evenly. This means you save time and have a neat look. You also avoid hitting your fingers as much, which is nice! Overall, it’s faster and helps the floor stay strong.
Can You Use A Hardwood Floor Cleat Nailer For Other Types Of Flooring, Such As Laminate Or Engineered Wood?
No, you shouldn’t use a hardwood floor cleat nailer for laminate or engineered wood. These types of flooring need special tools. A cleat nailer is made for solid hardwood floors. If you want to install laminate or engineered wood, use a different tool that fits those materials better.
What Maintenance Tips Should You Follow To Ensure The Longevity And Performance Of Your Hardwood Floor Cleat Nailer?
To keep your hardwood floor cleat nailer working well, you should clean it after each use. Make sure to remove any wood bits and dust. Check the nails and adjust the pressure if needed. Oil the parts regularly, so they move smoothly. Lastly, store it in a dry place to prevent rust.