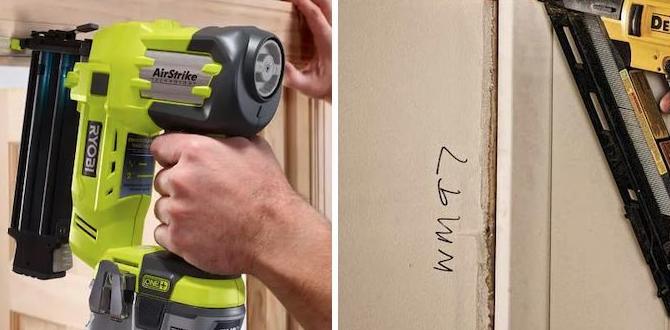
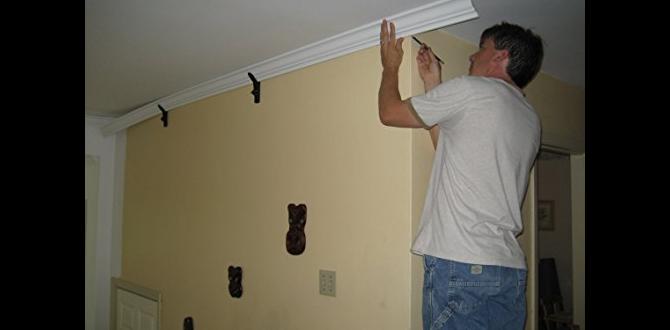
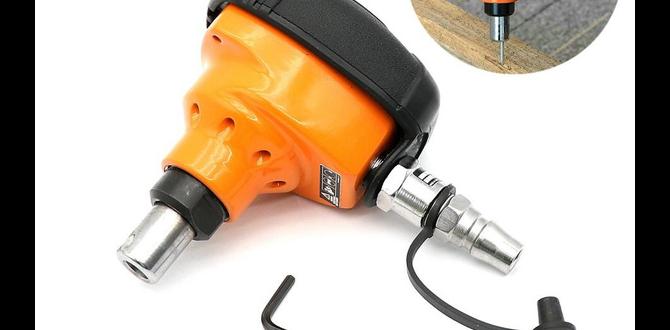
Have you ever thought about how a solid subfloor can make a big difference? It’s like a strong foundation for a house. Without it, everything can feel wobbly. One of the best tools for this job is a framing nailer. This handy device shoots nails quickly and holds everything together tightly.
Imagine you’re building your dream home. You lay down the subfloor, and it looks perfect. But wait, how do you make sure it stays in place? That’s where a framing nailer for subfloor install shines. It can save you time and energy, letting you focus on the fun parts of building.
Did you know that using a framing nailer speeds up the installation process? Many experts recommend this tool for new builders. It can turn a long day into a quick task, allowing you to move on to the next exciting project.
This article will guide you through everything you need to know about framing nailers for subfloor installs. Let’s explore how to choose the right one and get started on your building adventure!
Table of Contents
Best Framing Nailer For Subfloor Install: Top Picks Reviewed

Framing Nailer for Subfloor Install
Discover how a framing nailer can revolutionize your subfloor installation. Using a framing nailer saves time and effort, ensuring a solid foundation for your flooring. Did you know that these tools help you drive nails deeper and faster? When tackling big projects, this can be a game-changer. Plus, a well-installed subfloor prevents squeaks and repairs later. Embrace this handy tool to make your DIY tasks easier and more efficient.Understanding Subflooring Basics
Types of subfloor materials commonly used. Importance of subfloor integrity in construction.Subflooring supports everything above it. Without a proper subfloor, things can get wobbly—like a flamingo on roller skates! Common materials used for subfloors include plywood, OSB (oriented strand board), and concrete. Each has its perks. Plywood is strong, OSB is cheaper, and concrete is super durable.
Maintaining subfloor integrity is essential for a stable home. If it’s weak, it can lead to big problems. Think squeaky floors or even worse—cracks! So, keeping that subfloor solid is as important as keeping your favorite snack on the top shelf—where it’s safe!
| Subfloor Material | Advantages |
|---|---|
| Plywood | Strong and reliable |
| OSB | Cost-effective option |
| Concrete | Very durable |
Benefits of Using a Framing Nailer
Speed and efficiency of installation. Consistent nail penetration and holding power.Using a framing nailer for your project can save you time and effort. You can install your subfloor quickly, which helps you finish sooner. Plus, the nailer drives nails consistently, making sure they hold strong. This means your work lasts longer and stays secure. Overall, a framing nailer boosts speed and reliability in your work.
What are the advantages of using a framing nailer?
A framing nailer increases speed and consistency. It drives nails quickly for faster project completion. It also ensures each nail penetrates the same way for strong support. This means you get both efficient installation and durability in your flooring.
Choosing the Right Framing Nailer
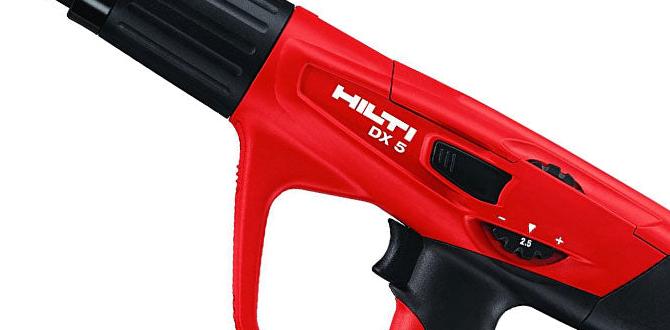
Pneumatic vs electric framing nailers. Key features to look for in a framing nailer for subfloors.Choosing the right nailer can feel like finding a needle in a haystack, or should we say, a nail in a toolbox? You’ll come across two main types: pneumatic and electric. Pneumatic nailers are powerful and great for heavy-duty jobs, but they need air compressors. Electric nailers, on the other hand, are quieter and easier to use, perfect for home projects.
When selecting a framing nailer for subfloors, focus on key features. Look for depth adjustment, which lets you control how deep the nails go. A quick jam release is vital too—nobody wants to wrestle with a stuck nail!
| Type | Pros | Cons |
|---|---|---|
| Pneumatic | Powerful, Fast | Needs compressor |
| Electric | No air needed, Quiet | Less power |
In summary, choose the nailer that matches your needs. Picking the right one will make your subfloor installation a breeze—or at least a lot less bumpy!
Essential Tools and Materials
List of necessary tools for subfloor installation. Recommended types of nails for framing nailers.Installing a subfloor requires some key tools and materials. Here’s what you need:
- Framing Nailer: This helps drive nails quickly.
- Measuring Tape: Accurate measurements are essential.
- Level: Ensures the floor is even.
- Safety Gear: Don’t forget goggles and gloves!
For your framing nailer, use:
- 16d nails: Great for wood-to-wood connections.
- Spiral or ring shank nails: These grip better, preventing loosening.
Having the right tools makes installation easier and safer.
What nails are best for a framing nailer?
The best nails for a framing nailer include 16d nails and spiral or ring shank nails. They provide strong connections and help keep everything in place.
Preparation for Subfloor Installation
Steps for prepping the area before installation. Importance of moisture and temperature considerations.Before starting your subfloor installation, it’s important to prepare the area well. Begin by cleaning the space and removing any old flooring. Next, check for any moisture. High moisture can harm your new floor. Ensure the temperature is stable, ideally between 60°F and 80°F.
- Clear the area of debris.
- Inspect for water damage.
- Check room temperature.
These steps help create a solid foundation for your subfloor. Proper prep will lead to a better finish and longer-lasting floor.
What should I check before installing a subfloor?
You should check for moisture levels and room temperature. This ensures your installation goes smoothly and lasts longer.
Step-by-Step Guide to Installing Subfloor with a Framing Nailer
Detailed process from layout to nailing techniques. Safety tips to follow during installation.Installing a subfloor with a framing nailer involves clear steps and careful safety practices. Start by marking your layout. Use a chalk line for accuracy. Next, place the subfloor panels. Ensure they fit snugly together. As you nail, aim for the edges for strong support. Always wear safety glasses and a mask to protect yourself from dust and debris. Keep fingers clear of the nailer’s edges. Remember, safety first!
What safety tips should I follow while installing a subfloor?
Wear safety glasses and a dust mask. Keep your fingers away from the nailing area. Ensure the work area is clear of hazards. Have a first aid kit nearby in case of minor injuries.
Following these steps will help in a successful subfloor installation.
Common Mistakes to Avoid
Pitfalls that can compromise subfloor stability. How to troubleshoot common framing nailer issues.When working with a framing nailer, mistakes can lead to squishy subfloors. First, watch out for uneven spacing between the nails! Too close or too far apart can spell trouble. If your nailer jams, don’t panic! A quick check can save the day. Clean it regularly and use the right nails. Poor nailing can weaken the floor, making it feel like a trampoline. Remember, measure twice, nail once. And always ask, “Is this straight?” It’s better than falling on your face!
| Mistake | Why It Matters |
|---|---|
| Uneven Nail Spacing | Causes weak spots in the floor. |
| Nailer Jams | Slows down your progress. |
| Wrong Nail Type | Can damage materials and compromise stability. |
Maintenance Tips for Your Framing Nailer
Routine upkeep to ensure optimal performance. Signs that your framing nailer needs servicing.Taking care of your framing nailer can keep it working like a champ. Routine maintenance is easy! Check for dirt and oil it regularly. You know it’s time for a checkup if it starts making weird noises or the nails don’t go in straight. Don’t let your tool turn into a troublemaker!
| Signs Your Nailer Needs Servicing | Routine Upkeep Tips |
|---|---|
| Unusual noises | Keep it clean |
| Nails misfiring | Oil moving parts regularly |
| Slow operation | Check air filters |
Staying on top of these tips will have your framing nailer performing its best, making your subfloor installation smooth and fun! Happy nailing!
FAQs about Framing Nailers and Subfloor Installation
Answering common questions from DIYers and professionals. Clarifications on best practices in subfloor installation.Are you curious about framing nailers and installing subfloors? You’re not alone! Many DIYers and professionals have similar questions. First, when using a framing nailer, always choose the right nail length for your project. Shorter nails won’t hold, and longer nails might just poke through the other side! It’s also key to secure the subfloor properly with at least 6 nails per panel. You don’t want it to sound like a squeaky toy, right? Here’s a table with common questions that might tickle your curiosity:
| Question | Answer |
|---|---|
| What size nails should I use? | Usually, 2.5 to 3-inch nails work best. |
| Do I need to pre-drill? | Not usually, framing nailers do the job! |
| How often should I nail? | Every 6-8 inches is a good rule! |
Remember these tips, and you’ll nail that project like a pro!
Conclusion
In summary, a framing nailer is perfect for installing subfloors. It speeds up your work and ensures strong, secure connections. Remember to choose the right nails and safety gear. With practice, you’ll master this tool and improve your projects. Explore more online for tips and tutorials. Let’s get building and make your home stronger!FAQs
What Are The Advantages Of Using A Framing Nailer For Subfloor Installation Compared To Traditional Methods Like Hammer And Nails?Using a framing nailer for subfloor installation is faster than using a hammer and nails. You can drive nails in quickly, making the job easier. It also makes it less tiring because you don’t have to swing a hammer a lot. Plus, the nails are more even, so your floor will be stronger. Overall, you finish the work faster and your floor will be better!
What Type Of Nails Are Recommended For A Framing Nailer When Installing A Subfloor, And What Length Should They Be?When using a framing nailer for a subfloor, you should use branded nails called framing nails. These nails need to be 3 to 3.5 inches long. They’re strong and help hold the floor tightly. Using the right size will make your floor safe and sturdy.
How Do You Ensure Proper Depth Adjustment On A Framing Nailer To Avoid Damage To The Subfloor Material?To avoid damage when using a framing nailer, you need to adjust the depth carefully. First, find the depth adjustment knob. Then, set it according to the thickness of your subfloor material. Start with a lower setting and test it on a scrap piece. If the nail goes too deep, turn the knob to a higher setting until it looks just right.
Are There Specific Safety Precautions Or Equipment You Should Use When Operating A Framing Nailer During Subfloor Installation?When using a framing nailer, wear safety goggles to protect your eyes. Ear protection is important to save your hearing from loud noises. Always keep your fingers away from the front of the nailer. Make sure you’re standing on a stable surface to avoid slipping. Lastly, read the user manual to understand how to use the tool safely.
What Features Should You Look For In A Framing Nailer To Ensure It Is Suitable For Subfloor Installation Projects?When choosing a framing nailer for subfloor projects, look for a few key features. First, it should use nails that are the right length—at least 2.5 inches long. Next, make sure it has a strong motor for quick nailing. Also, check if it is lightweight and easy to handle. Lastly, a good safety feature is important to prevent accidents while you work.