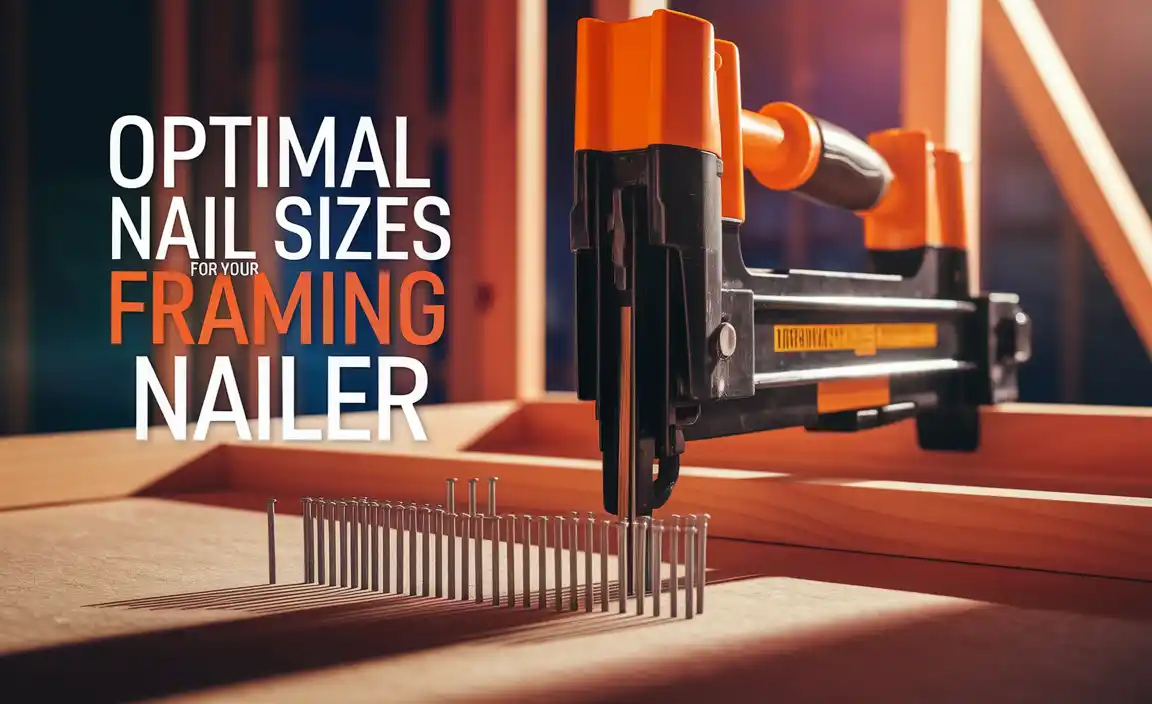
Quick Summary
To fix nail misalignment, ensure your nailer is on a stable surface, adjust the depth setting correctly, check the nail collation angle, and use consistent pressure. Proper technique and tool maintenance are key to consistent, straight nails every time.
Hey everyone, Jack Shaffer here from Nailerguy! You’re deep into a project, feeling good, and then… THWACK! Instead of a perfectly driven nail, you get one that’s bent, crooked, or just plain missed the mark. It’s frustrating, right? Nail misalignment is a common hiccup for DIYers and seasoned woodworkers alike, but it doesn’t have to derail your beautiful build. Don’t worry, it’s usually a fixable problem! In this guide, we’ll break down exactly why nails go astray and how you can get them driving straight and true, every single time. Let’s get your projects back on track!
Table of Contents
Why Your Nails Aren’t Driving Straight: Common Culprits
It feels like magic when a nail gun fires, doesn’t it? One moment it’s a loose component, the next it’s holding two pieces of wood together like they were always meant to be. But when that magic wand goes a little wonky, it can leave you scratching your head. Understanding the common reasons for nail misalignment is your first step to solving it. Think of it like diagnosing a car problem – you need to know what’s likely wrong before you can fix it!
1. Incorrect Depth Setting
This is arguably the most frequent offender. When your nail gun’s depth setting is too high, the nail can drive too deep, especially into softer woods. This over-penetration can cause the nail to hit resistance in the underlying material, forcing it to bend or veer off course. Conversely, if the depth is set too shallow, the nail might not seat properly and can also be pushed askew during driving.
2. Improper Nail Collation Angle
Nails are typically held together in strips or coils by a specific angle, called collation. Nailers are designed to accept a specific collation angle. If you’re using nails with the wrong collation angle for your nail gun, the magazine won’t feed them correctly. This can lead to jams, misfires, and, you guessed it, misaligned fasteners.
3. Tool Angle and Pressure
How you hold and press the nailer against the workpiece matters more than you might think. If you’re not holding the tool flush and perpendicular to the surface, the nail will naturally enter at an angle, leading to misalignment. Also, applying too much or too little force can affect the nail’s drive. A wobbly grip or inconsistent pressure means an inconsistent nail.
4. Workpiece Material and Resistance
Sometimes, the material you’re fastening into can be the culprit. Hitting a knot in the wood, a metal brace, or even a section of harder grain can deflect a nail. On the other hand, driving nails into very soft wood without backing can also lead to blow-out or bending, especially with larger nails.
5. Worn-Out Parts or Improper Maintenance
Over time, parts within your nailer can wear down. A dull or damaged driver blade, a weak spring, or even debris in the air line can all impact how the nail is propelled and seated. Regular cleaning and maintenance are crucial for consistent performance.
6. Nail Type and Size Mismatch
Using the wrong type or size of nail for the job can cause issues. For example, attempting to drive a brad nail where a finish nail is needed might lead to bending, as the brad isn’t robust enough. Always refer to your project plans or tool manual for recommended nail sizes.
Troubleshooting Nail Misalignment: A Step-by-Step Approach
Alright, let’s get our hands dirty and fix that nail misalignment! We’ll walk through it logically, starting with the easiest checks and moving to more involved solutions. Remember, patience is your best tool here. Take your time, and you’ll be driving straight nails in no time!
Step 1: Assess the Nailer’s Depth Setting
This is your first line of defense. Most nail guns have an adjustable depth-of-drive feature—often a dial or lever you can turn.
How to adjust:
- Locate the depth adjustment wheel/collar (usually near the nose of the nailer).
- Turn it clockwise (usually) to drive nails deeper, and counter-clockwise to drive them shallower.
- Pro Tip: Always test your setting on scrap wood first! Drive a few nails and check if they’re flush, slightly proud, or slightly countersunk. Aim for flush or very slightly countersunk for most applications.
Step 2: Verify Nail Collation and Compatibility
This sounds technical, but it’s pretty straightforward once you know what to look for. Nails come in different angles:
- 15-degree (coil) nails: These have a rounded head and are fed from a coil.
- 20-22 degree (wire collation) nails: These have a D-shaped or offset head and are in strips.
- 30-34 degree (paper collation) nails: These often have a rectangular head and are also in strips, with paper holding them together.
Your nail gun is designed for a specific collation angle. Check your nailer’s manual or look for markings on the tool itself (often near the magazine) to see which angle it accepts. Using the wrong angle is a sure recipe for misalignment or jams.
Action:
- Visually inspect the nails you are using. Do they look like they’re glued or taped at an angle?
- Check the angle of the nails in the strip or coil.
- Compare this angle to what your nailer is designed for. If they don’t match, switch to the correct type of nails.
For an authoritative guide on nail types and their uses, organizations like the National Association of Home Builders (NAHB) often provide excellent resources and have detailed articles available on their sites and through industry publications discussing fastener technology.
Step 3: Master Your Tool Angle and Pressure
This is all about your technique. A nailer needs to be held firmly and at a 90-degree angle to the surface you’re fastening.
Technique Check:
- Flush Contact: Press the nose of the nailer firmly against the wood. You should feel it seat securely.
- Perpendicular Drive: Look down the nose of the nailer. Is it pointed straight at the wood, or at an angle? Adjust your grip to ensure it’s perpendicular.
- Consistent Pressure: Once you’ve pressed the nose against the wood, pull the trigger. Don’t jab or hammer the nailer; let the tool do the work. A gentle, even pressure ensures the nail drives straight.
- Workpiece Stability: Make sure the pieces you are fastening are stable and not wobbling. A moving piece can easily cause a nail to go crooked.
Step 4: Consider the Wood and Obstructions
Wood isn’t always uniform. Sometimes, the material itself fights back!
What to look for:
- Knots: These are dense spots in the wood that can easily deflect a nail. Try to avoid driving nails directly into the center of a knot if possible.
- Hard vs. Soft Wood: Hardwoods like oak or maple require more power and proper depth settings. Softwoods like pine are more forgiving but can splinter or bend thinner nails if the depth is off.
- Pre-drilling: For very hardwoods or when placing nails near edges where splitting is a concern, consider pre-drilling a pilot hole that is slightly smaller than your nail shank diameter. This is especially helpful for securing delicate trim.
- Hidden Dangers: Are you sure there isn’t a metal bracket, existing nail, or even a very old screw just under the surface that your nail is hitting? A quick scan with a metal detector can sometimes save a lot of frustration on remodels.
Step 5: Inspect and Maintain Your Nailer
A well-maintained tool is a happy tool! Worn out parts are often the silent saboteurs of straight nailing.
Maintenance Checklist:
- Clean the Nose/Magazine: Use a soft brush or cloth to remove any sawdust or debris that might be obstructing the nail feed.
- Check the Driver Blade: Look at the part that actually hits the nail. Is it sharp and straight? If it’s damaged or worn, it might need replacement. Consult your tool’s manual for instructions on accessing and inspecting this component.
- Lubrication: Most pneumatic nailers require a few drops of specialized nailer oil in the air inlet after each use. This keeps internal parts moving smoothly. Electric and battery nailers typically don’t need this, but check your manual.
- Air Pressure (Pneumatic Tools): If you’re using a pneumatic nailer, ensure your air compressor is set to the correct PSI (pounds per square inch) recommended for your tool. Too little pressure leads to weak drives; too much can damage the tool or cause excessive wear. Typical operating pressures range from 70-120 PSI. You can find the recommended range in your tool’s manual.
- O-rings and Seals: If your nailer is losing power or leaking air, worn O-rings or seals might be the issue. These are often user-replaceable but refer to your manual or a professional if you’re unsure.
For detailed information on power tool maintenance, the ToolRank website offers practical advice and guides for keeping your equipment in top condition.
Step 6: Use the Right Nails for the Job
It sounds obvious, but sometimes we grab what’s convenient. Don’t compromise here!
Nail Selection Guide:
- Gauge: This refers to the thickness of the nail. Lower gauge numbers mean thicker nails. Thicker nails (lower gauge) are less likely to bend in hardwood or under stress.
- Head Size: Larger heads offer more holding power but can be more visible. Smaller heads (like brads or pins) are for delicate work where aesthetics matter more than brute force.
- Length: Always choose a length that provides sufficient penetration into the underlying material without going all the way through if not intended. A good rule of thumb is to have at least 2/3 of the nail embedded in the primary piece or joining wood.
- Material: Stainless steel or galvanized nails are essential for outdoor projects or areas exposed to moisture to prevent rust and staining.
Step 7: Test Fire on Scrap Materials
Before you commit to your actual project piece, always test fire your nailer on scrap wood that closely matches your project material. This is your quality control station!
Testing Protocol:
- Grab a piece of scrap wood.
- Set up your nailer with the intended nails and your current depth setting.
- Hold the nailer flush and perpendicular to the scrap.
- Drive a nail.
- Inspect the nail. Is it straight? Is it at the desired depth?
- If it’s not perfect, make one adjustment (depth, pressure, etc.) and try again.
- Continue testing and adjusting until you consistently get perfect nails.
Common Nail Misalignment Scenarios and Solutions
Let’s get specific. Sometimes, you encounter a particular pattern of misalignment. Here’s a quick-reference table for some common issues and their likely fixes:
| Symptom | Likely Cause(s) | Proven Solutions |
|---|---|---|
| Nails are consistently bent in the same direction. | Improper tool angle; Worn driver blade; Obstruction in the nail path. | Ensure the tool is held at a 90-degree angle. Check driver blade for damage; inspect nose for debris. |
| Nails are not fully driven (sticking out too much). | Depth setting too shallow; Insufficient air pressure (pneumatic); Weak driving spring. | Increase depth setting. Check and adjust compressor PSI. Consider tool maintenance or service. |
| Nails are driven too deep (countersunk too much or blowing out wood). | Depth setting too deep; Driving into very soft wood. | Decrease depth setting. Use slightly shorter nails or test in a harder piece for comparison. |
| Nails are driving at an angle, even with correct tool posture. | Incorrect collation angle for the nailer; Worn magazine or feed mechanism. | Verify nail collation angle matches tool specification. Clean magazine; inspect for damage and wear. |
| Nails are jamming or misfiring frequently. | Wrong nail type/size; Debris in the magazine or air line; Worn internal parts. | Use specified nails. Clean the tool thoroughly. Perform regular maintenance. |
When to Call In the Pros (or Consider a New Tool)
While most nail misalignment issues are user-fixable with a little patience and the right approach, there are times when the problem might be with the tool itself. If you’ve tried all the troubleshooting steps, performed regular maintenance, and are still experiencing consistent nail misalignment, it might be time to consider:
- Professional Repair: Some tool repair shops can diagnose and fix internal problems with nailers for a fee. This can be a cost-effective option for high-quality tools.
- Tool Replacement: If your nailer is an older model, has suffered significant damage, or if the cost of repair approaches the cost of a new tool, it might be time for an upgrade. Newer models often have improved features and reliability. Check reviews and specifications carefully to choose a tool that suits your needs.
When choosing a new nailer, consider what you’ll be using it for most. For general DIY home improvement, a decent finish nailer or brad nailer is a great start. For framing or heavier decks, you’ll need a framing nailer. Always look for tools from reputable manufacturers that offer good warranties and readily available replacement parts.
Frequently Asked Questions (FAQ)
Q1: My nailer is driving nails crooked. What’s the most common reason?
A1: The most common reasons are an incorrect depth setting that causes the nail to hit resistance and bend, or not holding the nailer perfectly perpendicular (90 degrees) to the surface. Always press the nailer firmly and ensure it’s straight before firing.
Q2: Can using the wrong size nails hurt my nailer?
A2: Yes, it absolutely can. Using nails that are too short, too long, or have the wrong collation angle can cause jams, damage the driver blade, or even stress internal mechanisms and O-rings, leading to leaks and poor performance.
Q3: How often should I lubricate my pneumatic nailer?
A3: For most pneumatic nailers, it’s recommended to add 2-3 drops of specialized nailer oil into the air inlet after each day of use or after every few hours of continuous work. Always check your tool’s manual for specific instructions.
Q4: What’s the difference between a brad nailer and a finish nailer, and how does it affect alignment?
A4: A brad nailer uses very thin, small-headed nails (brads) for delicate trim and molding where minimal hole visibility is key. A finish nailer uses slightly thicker nails with a small head, offering more holding power for less delicate trim and general woodworking. Both require precise depth settings and proper tool angle for alignment, but brads are more prone to bending if hit with too much force into hard materials.
Q5: I’m getting a squeaking noise and air leaks from my nailer. Is this a nail alignment issue?
A5: While not directly a nail alignment issue, air leaks and unusual noises often indicate worn seals or O-rings within the tool. This can lead to reduced power, affecting your nailer’s ability to drive nails straight and to the proper depth. It’s a sign your tool needs maintenance or repair.
Q6: Can hitting a knot in the wood permanently damage my nailer?
A6: While hitting a knot might cause a nail to bend or misfire, it typically won’t permanently damage a sturdy nailer. Repeatedly hitting very hard knots with excessive force or incorrect angles might eventually wear down the driver blade or internal components faster, so it’s best to try and avoid them if possible.
Conclusion
There you have it – your comprehensive guide to tackling nail misalignment head-on! From understanding the quirky behaviors of your nailer to implementing practical, step-by-step fixes, you’re