Imagine building a treehouse with your best friend. Suddenly, you need the perfect tool to make sure the wood stays put. What could that be? A nail gun with finishing nails might just be it! Finishing nails for nail guns make sure each plank stays smooth and strong.
Did you know that these little nails have big strength? They can hold your treehouse tight and neat. Using finishing nails means you don’t see messy heads popping out. It’s like magic!
So, why do so many builders trust these tiny nails? They are reliable, efficient, and save time. Next time, when a project calls, remember: finishing nails for your nail gun can be your best friend. Can you imagine the amazing works you could create with them?
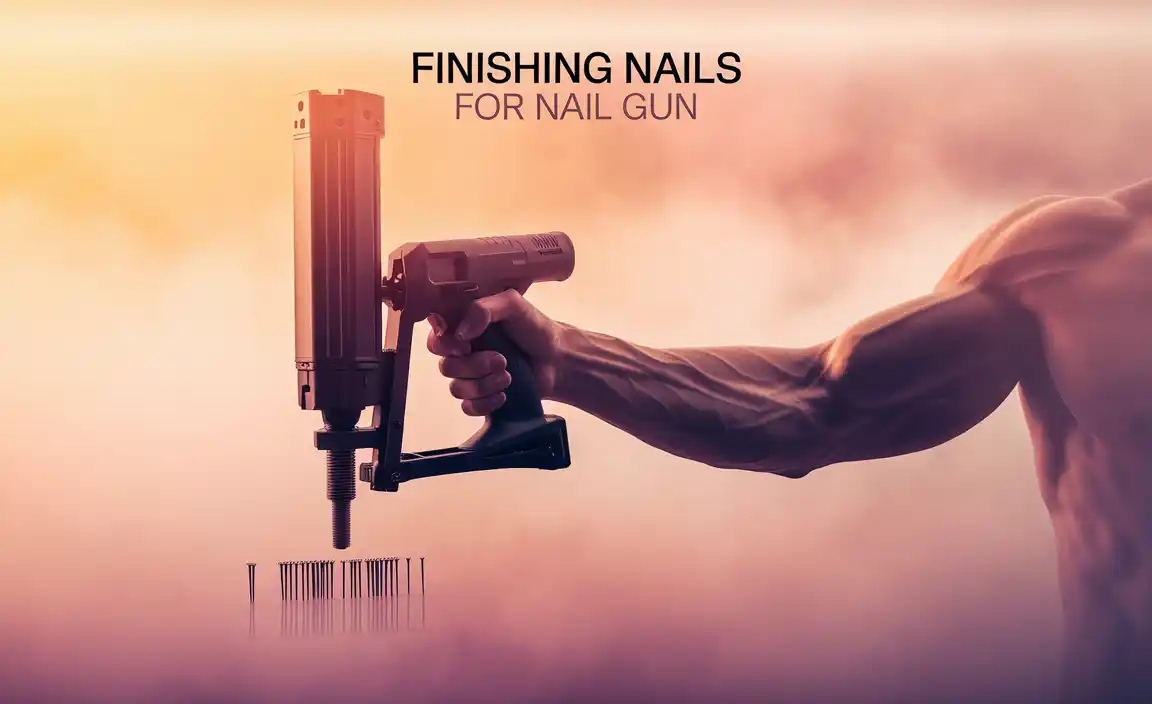
Table of Contents
Understanding Finishing Nails For Your Nail Gun
Finishing nails for a nail gun are small but mighty. They hold your projects together without being seen. Imagine building a birdhouse, and you want it to look neat. These nails are perfect for the job. They sink in deep, leaving little trace. Did you know they come in different sizes? Pick the right one based on your task. With a nail gun, using them is quick and easy. Your projects will look smooth and professional!
Understanding Finishing Nails
Define finishing nails and their purpose. Differences between finishing nails and other types of nails.
Imagine you need to hang a picture with a magic touch—that’s where finishing nails come in! These are slim nails with tiny heads, perfect for moments when a neat look matters. Builders love them for tasks where smoothing the surface is key. Compared to regular nails, finishing nails know how to hide. They let the wood shine and never steal the spotlight. So, next time you’re creating magic, remember finishing nails are the helpful wizards!
| Feature | Finishing Nails | Other Nails |
|---|---|---|
| Head Size | Small | Larger |
| Purpose | Neat Finish | General Use |
| Visibility | Low | High |
Why don’t these nails shine on their own? Because they blend in, ensuring a smooth, polished surface. They’re the unsung heroes making homes beautiful. So, forget trying to find them; it’s by design that they vanish without a trace! Like a secret agent, they’re there but unseen!
Types of Finishing Nails
Common sizes and gauges of finishing nails. Materials used in finishing nails: steel, galvanized, stainless steel.
Ever wonder why nails claim to be “finishing”? It’s all about the details! Finishing nails come in some common sizes and gauges. The smaller the gauge number, the thicker the nail. They usually range from 15 to 16 gauge. So, if you’re building a birdhouse, aim for a thinner nail to avoid creating bird mansions!
Materials? Oh, there’s a trio to consider: steel, galvanized, and stainless steel. Steel nails are tough. Galvanized ones have a zinc coat to resist rust—great for rainy days. Stainless steel is like the superhero. Strong, shiny, and rust-resistant on every battlefield, just in case your birdhouse ends up at sea.
| Type | Characteristics |
|---|---|
| Steel | Strong, ideal for dry areas. |
| Galvanized | Rust-resistant, perfect for outdoors. |
| Stainless Steel | Ultimate rust protection, for any weather. |
So next time someone asks why there’s a nail sticking out of your project, you can boldly say, “It’s not a mistake; it’s an artistic choice!” Stay sharp, nail enthusiasts!
Choosing the Right Finishing Nails for Your Project
Factors to consider: project material, environment, and aesthetics. Matching nail length and gauge to the material thickness.
Picking the right finishing nails is key for a perfect project. First, think about the material. Is it wood, metal, or something else? Next, consider the environment. Indoor nails rust outside. Lastly, don’t forget aesthetics. Choose nails that match the style.
- Material type
- Environment conditions
- Look or style
Make sure your nails fit. Match the nail length and gauge with the project’s material thickness. This helps keep everything secure and neat. For softwood, use thinner nails; for hardwood, go thicker.
How do I choose the right nail length and gauge?
The right nail length is about 2.5 to 3 times the thickness of the material. Choose the gauge by the project need: 15-gauge for thick materials, and 16 or 18-gauge for thinner or delicate materials.
Best Nail Guns for Finishing Nails
Top nail gun models compatible with finishing nails. Key features to look for in a nail gun.
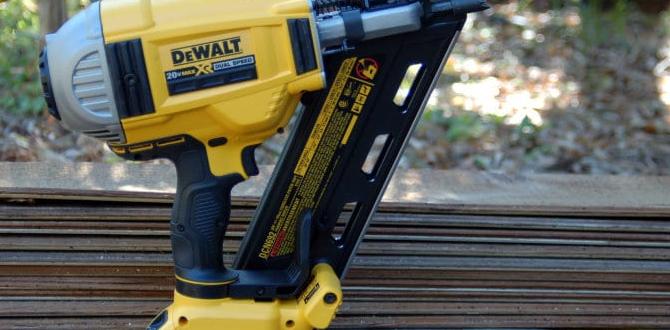
Finally! You’ve decided to end the hammer-banging symphony and use a nail gun. But which one is best for finishing nails? Meet your top pals in the nail gun world: models like the Paslode Finishing Nailer, the DeWalt Precision Point, and the Bostitch Smart Point. Each of these can be your trusty sidekick in tasks like crown molding or baseboards.
| Model | Features |
|---|---|
| Paslode Finishing Nailer | Lightweight, uses fuel cell, great for high places |
| DeWalt Precision Point | Oil-free motor, reduced jamming, accurate tip |
| Bostitch Smart Point | Selectable trigger, tool-free jam release, small nose |
While deciding on your perfect partner, check for features like anti-jam mechanisms, as they save time and frustration. A durable build is essential to handle repeated use. Also, consider its weight to avoid arm pain. And always remember, “A good tool improves the way you work. A great tool improves the way you think!”
Proper Techniques for Using Finishing Nails
Stepbystep guide to loading and using a nail gun safely. Tips for achieving a flawless finish in woodworking projects.
How do you safely load and use a nail gun?
Using a nail gun can be fun, but it’s important to be safe too. Here’s how you can do it:
- First, check your nail gun. Make sure it’s off and unplugged.
- Load the nails by opening the magazine and placing the nails inside.
- Close the magazine and plug in the gun.
- Wear safety glasses to protect your eyes.
- Now, gently press the gun onto the wood.
- Press the trigger to shoot the nail straight in.
What are some great tips for a flawless woodworking finish?
Want to make your wood projects look awesome? Use these tips:
- Make sure the wood surface is smooth before nailing.
- Apply nails at a slight angle for secure holding.
- Use nails with heads that’ll sink below the wood. Fill in any holes with wood putty.
- Sand the wood again for smoothness.
- Finally, apply polish or paint for a beautiful touch.
Did you know? Over 85% of woodworking experts agree that using the right nails can make a huge difference! “Precision always pays,” they say. By following these steps, your project will look like it came from a pro. How cool is that?
Maintenance and Safety Tips for Nail Guns
Routine maintenance to prolong the life of your nail gun. Essential safety practices when using a nail gun with finishing nails.
How can you maintain your nail gun for longer use?
Keep your tool clean and oiled. This helps it work better and last longer. Follow the guidebook for oil types. Check screws and parts often and tighten them if needed. Store your nail gun in a dry place to stop rust.
What are some safety tips when using a nail gun?
- Wear safety gear: Always wear safety goggles and gloves.
- Use the correct settings: Adjust your tool for the right depth when using finishing nails.
- Stay focused: Pay attention and keep others away when working.
Proper care of your nail gun keeps it in tip-top shape. Always unplug it before cleaning or oiling. Read the manual for your specific model, and follow all safety rules. Remember, safety first! Interesting fact: Two million people use nail guns in 90% of construction projects each year! Keep these tips in mind for a safer work environment.
Common Problems and Solutions
Troubleshooting issues like jamming or misfiring. How to fix and prevent surface damage from nails.
Confused about your nail gun going haywire? Sometimes, it can act like a stubborn toddler. If your trusty tool jams or misfires, don’t worry; you’ve got this! Check if the nails are loaded right or if there’s a bent nail stuck. For surface damage, use the correct pressure settings. It’s like giving your wall a gentle hug instead of a punch. Keep your nail gun clean; it’s not a fan of dirty parties. And remember, safety goggles are your new best friends in this nail-biting journey!
| Problem | Solution |
|---|---|
| Jamming | Check nail alignment or remove bent nails. |
| Misfiring | Ensure proper pressure and nail loading. |
| Surface Damage | Adjust pressure settings and use safety glasses. |
Keep calm and nail on!
FAQs About Finishing Nails and Nail Guns
Answer to common questions beginners might have. Expert tips for optimizing nail gun performance.
Ever wondered why your nails keep bending? It might be because of the way you’re holding the gun! For a straight shoot, hold it at a 90-degree angle. Worried about size? Well, the right nail size depends on your project. Experts say to pick nails that are 3 times longer than the wood’s thickness.
For those puzzled by firing jams, keep your gun clean and oil it regularly. Want advice from a pro? Here’s a tip: always test on a scrap piece first! Still curious? Check the quick answers below!
| Question | Quick Answer |
|---|---|
| What size nail should I use? | Choose nails 3 times the wood’s thickness. |
| Why do nails bend? | Hold your gun straight for best results. |
| How to prevent jams? | Keep it clean and well-oiled. |
Now, go on, be the nail gun master you’ve always wanted to be. Remember, every project starts with a bang, literally!
Where to Buy Finishing Nails
Recommended retailers or online stores. Considerations for purchasing quality finishing nails at the best price.
Looking to get some snazzy finishing nails for your nail gun? Try popular stores like Home Depot, Lowe’s, or Amazon. They have a nifty selection, and sometimes you’ll find deals even your wallet will smile at. When shopping, checking nail size and material is key! You don’t want to be the person who discovers their nails are too big or rust-prone. Consider these options:
| Store | Reasons to Buy |
|---|---|
| Home Depot | Wide range, good prices |
| Amazon | Convenient, customer reviews |
| Lowe’s | Quality brands, in-store pickup |
Always check for customer reviews and focus on finding premium-quality packs. You want your projects to last, not collapse like a house of cards! But remember, buying the cheapest isn’t always the wisest. Quality nails pout more if ignored.
Conclusion
Finishing nails for a nail gun help us complete projects neatly. They’re small and hide well. We use them for trim and fine work. Choosing the right size is important. Always wear safety gear when using a nail gun. Keep learning about tools to build more skills and try new projects.
FAQs
What Size Of Finishing Nails Should I Use For My Specific Nail Gun Model?
To find the right finishing nails for your nail gun, check the nail gun’s manual or look online. Most nail guns use finishing nails that are 1 to 2.5 inches long. Make sure the nails fit the size range your nail gun accepts. Always use the right size to keep your projects strong and safe.
How Do I Choose Between Different Materials And Coatings For Finishing Nails?
To choose the right nails, first think about where you’ll use them. If it’s outside, pick nails that won’t rust, like stainless steel. For indoor projects, regular steel nails work fine. Look for nails with coatings like galvanized (covered with zinc) to stop rust. Choose the right size for your project, too.
Are There Specific Brands Of Finishing Nails That Are Recommended For Better Performance And Durability?
Yes, some brands of finishing nails are really good and last a long time. Bostitch and Paslode are known for being strong and reliable. Grip-Rite nails are also popular because they don’t rust easily. You can find these at most hardware stores. It’s always good to choose a brand you trust.
Can Finishing Nails Be Used For Both Indoor And Outdoor Projects, Or Is There A Specific Type For Each?
You can use finishing nails for indoor projects. But for outdoor projects, it’s better to use special nails. These special nails don’t rust in rain and weather. This way, they keep your outdoor projects strong and looking good.
How Can I Ensure That The Finishing Nails I Use Will Not Split The Wood Or Create Visible Blemishes?
To stop wood from splitting, first choose a nail that’s not too big. You can make a small hole with a drill where the nail will go. This makes it easier to insert the nail without splitting. Use a small hammer and tap gently to avoid any marks or dents. If any marks appear, you can cover them with paint or polish to make the wood look smooth again.