Quick Summary:
A finish nailer is excellent for attaching skirting boards, offering a clean, professional look. Choose a cordless, pneumatic, or electric model with the right nail size (typically 16-gauge, 1 1/2″ to 2″) and power. Proper technique ensures secure, hidden fastenings and a beautiful finish for your walls.
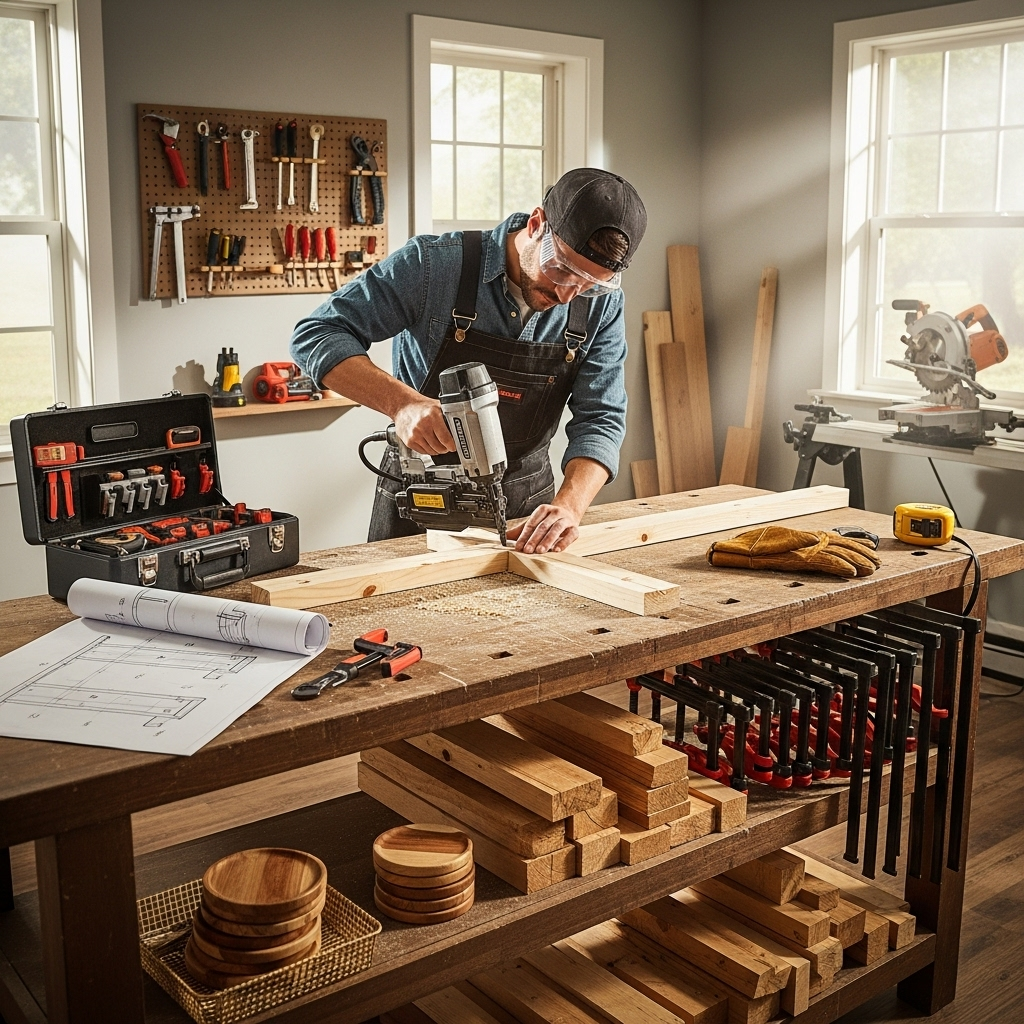
Hey there, DIY enthusiasts! Jack Shaffer here from Nailerguy, ready to help you nail that skirting board project with confidence. Ever look at your baseboards and think, “Could I do that myself, but make it look professional?” You absolutely can! Installing skirting boards can seem daunting, especially getting those smooth, clean finishes. But with the right tool and a little know-how, it’s a very achievable project. Forget messy glue or visible hammer marks. We’re going to dive deep into using a finish nailer, your new best friend for this task.
This guide will walk you through everything you need to know, from picking the perfect nailer to making those final, satisfying nail drives that secure your skirting boards beautifully. We’ll cover the best nailer types, nail considerations, how to prep your walls and boards, and the step-by-step process. Get ready to elevate your home’s look!
Table of Contents
Why a Finish Nailer is Your Go-To for Skirting Boards
When it comes to installing skirting boards (also known as baseboards), you want a method that’s both efficient and leaves a clean, professional finish. This is precisely where a finish nailer shines. Unlike older methods that might involve much more manual labor and a higher risk of visible mistakes, a finish nailer automates the process with precision.
The primary goal during skirting board installation is to secure the wood firmly to the wall while minimizing any visible damage. You want the nails to be small enough that the heads can be easily concealed with a bit of wood filler and paint, or just barely proud of the surface for easy filling. A finish nailer is designed to drive these smaller gauge nails, making it the ideal tool for this job.
Benefits of Using a Finish Nailer for Skirting Boards:
- Speed: Significantly faster than manually nailing.
- Cleanliness: Drives nails flush or slightly countersunk for easy filling.
- Precision: Allows for accurate placement of fasteners.
- Reduced Damage: Minimizes marring to the skirting board and wall.
- Professional Look: Achieves a smooth, seamless finish.
Choosing the Right Finish Nailer for Your Skirting Board Project
Not all finish nailers are created equal, and the “best” one for your skirting board project depends on a few factors, including your budget, how often you plan to use it, and your existing tools. Let’s break down the main types:
Types of Finish Nailers:
Finish nailers come in a few main flavors, each with its pros and cons for installing skirting boards.
1. Pneumatic Finish Nailers
These are the workhorses of the tool world. They require an air compressor to operate. The air compressor sends pressurized air through a hose to the nailer, powering the drive mechanism.
- Pros: Generally lighter in hand than electric models, powerful, reliable, and often less expensive upfront (if you already own a compressor).
- Cons: Requires an air compressor and hose, which can be cumbersome to set up and move around a room. The compressor itself can be noisy.
When to choose: If you do a lot of woodworking projects and already have or plan to invest in a good air compressor, a pneumatic nailer is a fantastic choice for its power and longevity.
2. Cordless Electric Finish Nailers (Battery-Powered)
These are powered by rechargeable batteries and don’t require any hoses or compressors. They contain their own motor and sometimes a small gas cartridge for firing nails, though most newer models are purely electric.
- Pros: Ultimate portability and freedom of movement – no cords or hoses to manage. Easy to set up and use.
- Cons: Can be heavier and bulkier due to the battery, more expensive upfront than pneumatic models, battery life might be a concern for very large jobs.
When to choose: For maximum convenience and if you’re tackling projects in areas without easy access to power outlets, or if you hate dealing with hoses.
3. Corded Electric Finish Nailers
These plug directly into a wall outlet. They are a good middle ground between pneumatic and cordless options.
- Pros: Consistent power, no need to worry about battery life, generally less expensive than cordless models.
- Cons: You’re tethered by a power cord, which can get in the way. Not as portable as cordless models.
When to choose: If you have a project where you’ll be working near an outlet and want reliable, consistent power without battery hassles.
Key Features to Look For:
- Gauge: For skirting boards, a 16-gauge nailer is ideal (more on this below).
- Magazine Capacity: The number of nails the tool can hold. More capacity means less reloading.
- Depth Adjustment: Crucial for ensuring nails are driven to the correct depth without damaging the wood or going too deep.
- Sequential vs. Contact Fire: Sequential fire allows you to control exactly when each nail is fired, offering more precision. Contact fire fires a nail whenever the nose touches the wood and the trigger is pulled, which is faster but requires more practice for precise placement. For skirting boards, sequential fire is generally preferred for accuracy.
- Weight and Ergonomics: You’ll be holding the tool for a while, so a comfortable grip and balanced weight are important.
Understanding Nail Sizes and Types for Skirting Board Installation
The nail you use is just as important as the nailer itself! For skirting boards, you need a nail that’s strong enough to hold the board securely but small enough to be discreet.
Recommended Nail Gauge:
For skirting boards, the most common and recommended gauge is 16-gauge. Here’s why:
- 16-Gauge Nails: These are considered “finish nails.” They have a relatively slim profile, which means they leave a small hole that’s easy to fill. They offer good holding power for lighter materials like standard skirting boards without splitting the wood.
You might occasionally see people using 18-gauge nails, but these are very slender and might not provide enough holding power for longer sections or heavier skirting materials. Avoid framing nails (like 8d or 10d common nails) as they are too large and will split the wood and be impossible to conceal.
Nail Length:
The length of your nail depends on the thickness of your skirting board and how well it sits against the wall. You want the nail to penetrate through the skirting board and get a good grip into the wall studs (the wooden frame behind your drywall). A good rule of thumb is:
- Skirting Board Thickness: Measure this first.
- Wall Material: Drywall is typically 1/2 inch or 5/8 inch thick.
- Stud Depth: You want to embed the nail into the stud by about 3/4 to 1 inch.
A common range for skirting board nails is 1 1/2 inches to 2 inches. For a standard 1/2-inch thick skirting board, a 1 1/2″ or 1 3/4″ nail is usually sufficient to reach into the stud.
Nail Type:
- Brad Nails: These are typically 18-gauge and are too small for skirting boards.
- Finish Nails: These are typically 16-gauge and are the right choice.
- Nails vs. Screws: While screws offer superior holding power, they leave larger holes that are much harder to conceal. For a smooth finish, nails are preferred.
Coated vs. Uncoated Nails:
Finish nails for skirting boards often come with a light coating. This coating, sometimes called “lubricated” or “friction-reducing,” helps the nail drive more easily into the wood and wall, reducing wear on your nailer and preventing jams. They are usually a good choice.
Essential Tools and Materials You’ll Need
Beyond your finish nailer, you’ll need a few other items to ensure your skirting board installation goes smoothly and looks fantastic. Having everything ready beforehand makes the process much more efficient.
Your Finish Nailer Checklist:
- Finish Nailer: (16-gauge is recommended)
- Nails: Appropriate size and length for your skirting board.
- Air Compressor & Hose (if using pneumatic): Ensure the compressor is rated for consistent air delivery.
- Charged Batteries (if using cordless): Have a spare or ensure they are fully charged.
- Power Cord (if using corded electric): Heavy-duty extension cord if needed.
Other Essential Tools:
- Measuring Tape: For accurate measurements.
- Pencil: For marking cuts and stud locations.
- Utility Knife: For scoring and detailing cuts.
- Miter Saw: Essential for making precise angled cuts for corners (both internal and external). A miter saw is highly recommended for clean joints.
- Stud Finder: To locate wall studs for secure fastening.
- Safety Glasses: Absolutely non-negotiable! Always wear eye protection when using power tools.
- Hearing Protection: Especially with pneumatic nailers or in enclosed spaces.
- Gloves: For grip and protection.
- Caulk Gun & Paintable Caulk: For filling gaps between the skirting board and the wall.
- Wood Filler/Putty: To fill nail holes.
- Sanding Block or Electric Sander: For smoothing filler and any rough edges.
- Paint or Stain & Brushes/Rollers: For the final finish.
- Shims (optional): If your wall isn’t perfectly flat, thin shims can help ensure the board sits flush.
Materials:
- Skirting Boards: Measure your room and add a little extra for cuts and mistakes.
- Primer (if painting): For a better paint finish.
Preparation is Key: Setting Up for Success
Before you even think about firing your nailer, proper preparation of your walls and skirting boards will make a world of difference. This is where you lay the groundwork for a professional-looking finish.
1. Measure and Plan Your Cuts
Measure the length of each wall section where skirting will be installed. Plan your cuts, especially for corners. Internal corners often require a specific angle, and external corners do too. A common angle for internal corners is 45 degrees, but this assumes your walls are perfectly square, which they often aren’t. You might need to “cope” your joints for a truly seamless look on internal corners, or use a simple miter cut. External corners are usually a straightforward miter.
Tip: Always measure twice, cut once! Account for wastage.
2. Locate Wall Studs
This is critical for securely fastening your skirting boards. Use a stud finder to mark the center of each stud along the wall where you’ll be installing the boards. Aim to hit a stud with at least one nail for every 16-24 inches of skirting board. You can learn more about how to find studs effectively from resources like This Old House, a trusted authority on home improvement.
3. Prepare the Skirting Boards
If your skirting boards are raw wood, you’ll want to pre-finish them. This usually means:
- Cutting to size: Make your precise cuts using a miter saw.
- Sanding: Lightly sand the boards to smooth any rough edges or surfaces.
- Priming/Painting/Staining: It’s far easier to paint or stain the skirting boards before they are installed. Applying a primer and then your topcoat will give you a much cleaner finish than trying to do it in place. Let them dry completely.
4. Prepare the Wall
Ensure the wall surface is clean and free of debris. If you’re replacing old skirting, remove it carefully, being mindful not to damage the drywall too much. Fill any large holes or gouges in the drywall.
5. Test Your Nailer
Before you start working on your actual skirting boards, always test fire your finish nailer on a scrap piece of wood. This allows you to:
- Check the depth adjustment. You want nails to be flush or slightly below the surface.
- Ensure the nailer is firing correctly and the nails are going in straight.
- Get a feel for the tool’s recoil and operation.
Step-by-Step: Installing Skirting Board with a Finish Nailer
Now for the exciting part! With your tools ready and your space prepped, it’s time to attach those skirting boards. Take your time and focus on accuracy for the best results.
Step 1: Position the First Skirting Board
Hold the first skirting board section in place against the wall. Ensure the bottom edge is resting on the floor (or your existing base material) and the top edge is where you want your skirting to finish. If you have any gaps between the board and the wall because the wall isn’t perfectly flat, you can use small shims behind the board to close these gaps before you nail.
Step 2: Align with Studs
Using your marked stud locations, ensure that you have at least one nail going into a stud. For long pieces, try to get a nail into a stud every 16-24 inches. Also, place nails near the top and bottom edges of the board for maximum stability.
Step 3: Load Your Finish Nailer
Load the appropriate 16-gauge finish nails into your nailer’s magazine according to the manufacturer’s instructions. Connect your air hose (for pneumatics) or ensure your battery is in place.
Step 4: Fire the First Nail (Carefully!)
Place the nose of your finish nailer firmly against the skirting board where you want the first nail. Position it so it will go into a stud. Press the nose firmly against the wood. Then, pull the trigger. The nail should drive into the wood.
Important: Ensure the tip of the nailer is flat against the surface. Do not fire the nailer against your hand or any part of your body.
Step 5: Continue Nailing Along the Board
Work your way along the length of the skirting board, placing nails every 6-8 inches. Aim to hit a stud with as many nails as possible. Place nails at key points:
- Along the top edge, into studs.
- Along the bottom edge, into studs.
- In the middle section, into studs.
- Near the ends of the board if they are not butting up against another board or trim.
Pro Tip: If your nailer has a sequential fire mode, use it. This means you press the nose to the wood first, then pull the trigger. This gives you control over exactly where each nail goes. Some nailers have a “contact fire” mode which fires when you bump the nose and pull the trigger – this can be faster but less precise for precise placement.
Step 6: Nailing Corners and Joints
When you reach a corner or the end of a board where it meets another, ensure your cuts are snug. Fire a couple of nails near the edge to secure the joint. If you have a longer board, you might need to nail it into a stud at the end of the board as well.
Step 7: Inspect Your Work
Once the board is attached, step back and check that it’s straight and flush against the wall. Adjust any wobbling boards by adding more nails into studs or by carefully using shims if needed (though shims should ideally be placed before nailing).
Step 8: Attach Subsequent Boards
Repeat steps 1-7 for each subsequent section of skirting board, ensuring your corners and joints meet cleanly.
Finishing Touches: Making It Look Perfect
You’ve attached your skirting boards with the finish nailer – great job! Now, it’s time for the magic that makes it look like a professional job.
1. Fill the Nail Holes
Select a wood filler or putty that matches your skirting board’s finish. If you painted, use a white or paintable filler. If stained, find a matching stainable filler.
- Use a putty knife