Quick Summary: Finish nailer magazine latch types primarily include tool-free release levers and screw-fastened plates. Understanding these latches ensures quick magazine changes, proper loading, and consistent nail feeding, crucial for efficient woodworking and DIY projects.
Hey there, fellow woodworkers and DIY enthusiasts! Jack Shaffer, your go-to guy at Nailerguy, here. Ever been in the middle of a project, ready to drive a perfect finish nail, only to find your nailer’s magazine is empty? Frustrating, right? Then you try to open, and… it’s not as straightforward as you’d hoped. The mechanism for accessing the magazine, where all those beautiful nails live, can sometimes be a bit of a puzzle. But don’t worry, it’s usually quite simple once you know what you’re looking for!
Many of us have faced this little snag. It’s a common point of confusion, especially when you’re new to using a finish nailer or if you’ve just picked up a new model. The good news is that understanding how your finish nailer’s magazine latch works is key to smooth operation. It’s not just about loading nails; it’s about maintaining your tool and ensuring it performs its best when you need it most.
In this guide, we’re going to break down the different types of magazine latches you’ll encounter on finish nailers. We’ll look at what they are, how they work, and why knowing the difference can save you time and hassle. We’ll cover everything from the simplest latch to slightly more involved ones. Get ready to become a finish nailer magazine expert!
Table of Contents
The Heart of Your Finish Nailer: The Magazine
Think of your finish nailer’s magazine as its ammunition belt. It’s the component that holds the nails and feeds them into the firing chamber. Its design is critical because it needs to hold a good number of nails securely, allow for easy reloading, and ensure that each nail is precisely lined up for the piston to drive it.
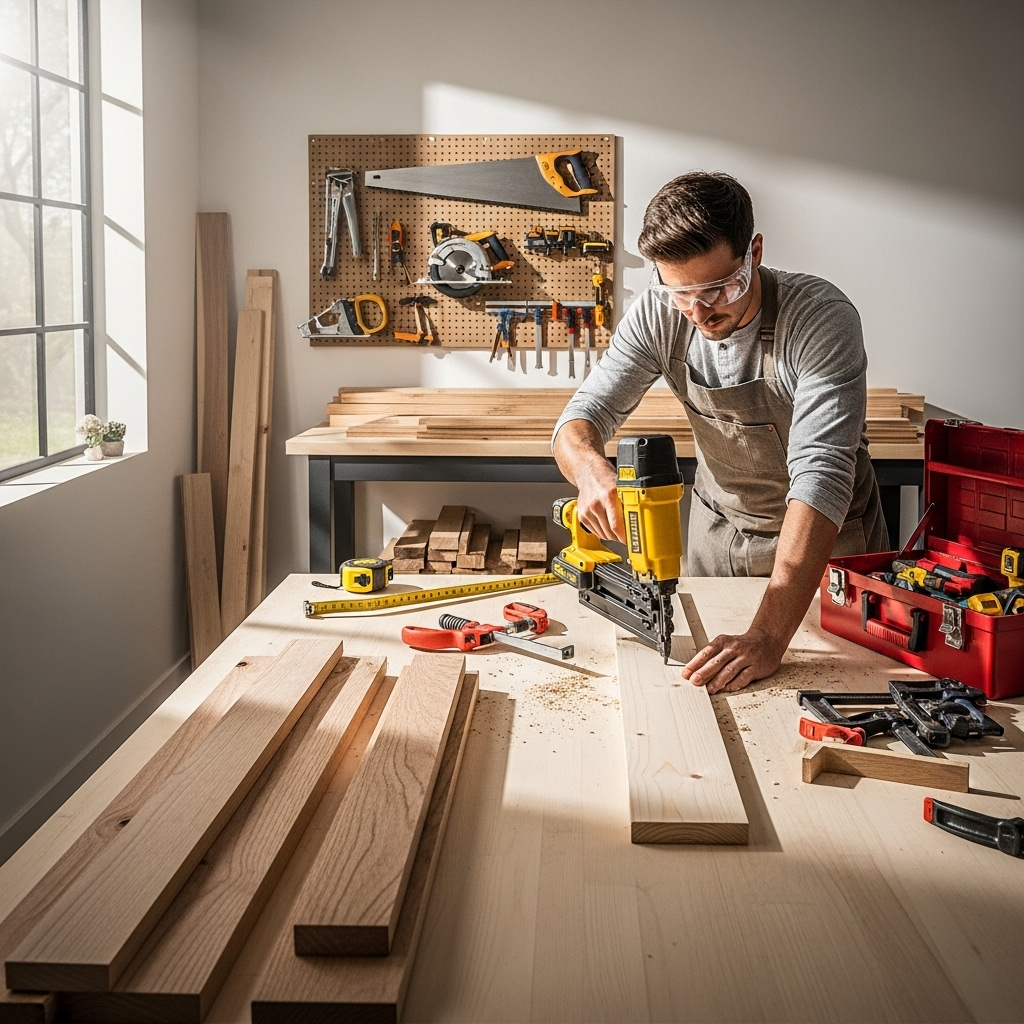
The magazine is usually a long, slender metal or composite housing attached to the front of the nailer. Inside, a spring-loaded follower pushes the nails up towards the nose of the tool. When you pull the trigger, a mechanism drives the nail out. But before all that magic can happen, you need to load the nails. And that’s where the magazine latch comes in. It’s the gatekeeper, the locking mechanism that keeps the loaded nails in place and the magazine secure during operation.
A well-designed magazine latch is all about efficiency and ease of use. The easier it is to open and close, the faster you can reload, and the less time you spend fiddling with your tool and the more time you spend building! This latch is usually located at the very front or the back of the magazine, depending on the nailer’s design.
Why Different Latch Types Exist
The variety in finish nailer magazine latch types isn’t just about catering to different design preferences; it often stems from a combination of factors impacting performance, cost, and user experience. Manufacturers are constantly looking for ways to improve the ergonomics, durability, and cost-effectiveness of their tools.
For instance, a tool-free latch is designed for speed. If you’re on a ladder or have your hands full, you don’t want to be searching for a screwdriver. Conversely, a screw-fastened latch might be chosen for its sheer robustness and ability to withstand tougher jobsite conditions. Some designs might also be influenced by patent considerations or the desire to differentiate their product line from competitors. Ultimately, these variations exist to serve different user needs and manufacturing goals.
Understanding these differences is beneficial for a few reasons:
- Ease of Use: Knowing how to operate your specific latch means faster reloading.
- Maintenance: Some latches might require occasional cleaning or lubrication.
- Troubleshooting: If your nailer isn’t feeding nails properly, the latch mechanism is often a good place to start looking.
- Tool Selection: When buying a new nailer, you might prefer one latch type over another based on your typical work environment.
The Most Common Finish Nailer Magazine Latch Types
When you pick up a finish nailer, the magazine likely attaches in one of a few principal ways. These have been refined over the years to offer various benefits in terms of speed, security, and simplicity. Let’s dive into the most common types you’ll encounter.
Type 1: Tool-Free Release Levers
This is arguably the most popular and user-friendly type of magazine latch found on modern finish nailers. As the name suggests, these latches operate without the need for any extra tools like screwdrivers or Allen keys. They are designed for quick and convenient magazine access.
How They Work:
Typically, there’s a lever or a button assembly located at the base of the magazine, often where it meets the nailer body or at the very end of the magazine. To open the magazine, you’ll usually need to:
- Locate the release lever or button.
- Press, push, or slide the lever/button in a specific direction (often downwards, forwards, or sideways).
- As you hold the lever/button, the magazine should slide open, or a gate will swing out of the way, allowing you to load nails.
- To close it, you simply slide the magazine back into place or close the gate, and it will typically snap or click shut, indicating it’s secured.
Common Variations:
- Plunger Style Release: Some have a spring-loaded plunger that you push, which releases a catch.
- Sliding Release: A lever that slides along a track to unlock the magazine.
- Pivoting Gate: A section of the magazine that pivots open like a small door.
Pros:
- Speed: Extremely fast for reloading, which is great for high-volume tasks.
- Convenience: No need to carry or search for tools.
- Ergonomics: Often designed to be operated with one hand.
Cons:
- Wear and Tear: The spring-loaded mechanisms can potentially wear out over time and become less reliable if not maintained.
- Accidental Release: In rare cases, a sharp impact might dislodge a less secure latch.
Type 2: Screw-Fastened Magazine Plates
This is a more traditional and often found on older or heavy-duty models. Instead of a quick-release lever, this type requires you to loosen or completely remove screws to access the magazine. While not as fast as tool-free options, they offer a very secure closure.
How They Work:
The magazine is often a solid piece that slides into a channel. To load nails, a plate or cover at the back or bottom of the magazine needs to be removed. This is typically held in place by one or two screws.
- Identify the screw(s) holding the magazine cover or plate in place.
- Use the appropriate screwdriver (often Phillips head) to loosen or remove the screws. Keep them safe!
- Once the screws are out, you can slide the cover off or detach a component.
- Load your nails into the exposed magazine channel.
- Reattach the cover and tighten the screws.
Common Variations:
- Single Screw Plate: Holds a cover with just one screw.
- Double Screw Plate: Uses two screws for more secure attachment.
- Sliding Plate with Screws: The plate might slide out after screws are loosened.
Pros:
- Security: Once tightened, the magazine is very securely held. Less chance of accidental opening.
- Durability: Fewer moving parts can sometimes mean greater long-term durability, especially in harsh environments.
- Simplicity: The mechanism itself is very straightforward.
Cons:
- Time-Consuming: Requires tools and more steps to reload, slowing down your work.
- Tool Dependent: You need the correct screwdriver, and it’s easy to lose screws.
- Maintenance: Screws can strip if over-tightened or damaged, making access difficult.
Type 3: Integrated Magazine with Spring-Loaded Latch
This type is a bit of a hybrid, often seen on specific brands or models that aim for a sleeker profile. The latch might not be a separate lever but integrated more subtly into the magazine’s design, often involving a spring that you press or pull to release.
How They Work:
Imagine a magazine where part of its structure is designed to flex or slide. You might need to push a specific point on the side or bottom of the magazine, often where a seam would be, to disengage a hidden latch. This can feel similar to tool-free levers but might be less pronounced.
- Examine the magazine closely for subtle seams or pressure points.
- Apply pressure to the indicated area or along the seam. This often requires a firm thumb press or push.
- The magazine should then open – this might be by sliding open or by a hinged section revealing the nail channel.
- Reload and close the magazine until it clicks securely shut.
Pros:
- Sleek Design: Can make the nailer look more streamlined and less prone to snagging.
- Moderate Speed: Generally faster than screw-based systems.
- Tool-Free: Still offers the convenience of not needing extra tools.
Cons:
- Less Intuitive: Can sometimes be tricky to find the release point, especially on a new tool.
- Potential for Jamming: If debris gets into the integrated mechanism, it can be harder to clear.
Comparing Latch Mechanisms
To help you visualize the differences and make an informed decision about which features you prefer, here’s a comparison table:
| Feature | Tool-Free Release Levers | Screw-Fastened Plates | Integrated Spring-Loaded Latch |
|---|---|---|---|
| Reload Speed | Very Fast | Slow | Moderately Fast |
| Ease of Use | High | Low (requires tools) | Moderate (can be less intuitive) |
| Tool Requirement | None | Screwdriver (specific type) | None |
| Security Level | Moderate to High | Very High | Moderate to High |
| Durability Concern | Spring mechanism wear | Screw stripping/loss | Debris jamming integrated parts |
| Common On | Most modern finish nailers | Older models, heavy-duty industrial tools | Some specific brands, streamlined designs |
How to Handle Your Finish Nailer Magazine and Latch Safely
Regardless of the latch type, safety is always the top priority when working with pneumatic tools. A finish nailer is powerful, and accidental firing can cause serious injury. Treat your nailer as if it’s always loaded and ready to fire. Here are some essential safety tips:
General Safety Guidelines for Your Nailer:
- Always Disconnect Air: Before loading nails, performing maintenance, or clearing jams, always disconnect the air hose from the compressor. This is crucial!
- Never Point at People: Never, ever point the nailer at yourself or anyone else. Even without an air connection, there might be residual pressure, or the tool could be bumped.
- Wear Safety Glasses: Always wear safety glasses or a face shield to protect your eyes from flying debris or nails.
- Keep Fingers Off the Trigger: Keep your finger off the trigger unless you are actively driving a nail.
- Understand Firing Modes: Be aware of your nailer’s firing mode (sequential vs. contact actuation). If it has contact actuation, be extra careful where you place the nose, as it could fire unintentionally if bumped. Many modern nailers have safety features to prevent this, but it’s good practice nonetheless.
- Read Your Manual: Every nailer is slightly different. Your owner’s manual is the best resource for specific safety instructions and operating procedures for your model. You can often find these online on the manufacturer’s website.
Specific Safety Tips for Magazine Latches:
- Ensure Latch is Secured: Before connecting the air hose or firing, always double-check that the magazine latch is fully closed and secured. A loose magazine can cause misfeeds and potentially lead to nail jams or even damage to the tool.
- Load Nails Correctly: Ensure nails are loaded properly, sitting flat against the magazine base and aligned with the follower. Misloaded nails are a primary cause of jams. For guidance on nail collation and loading, check out resources like this from the Woodsmith Shop.
- Inspect for Damage: Periodically inspect your magazine and latch mechanism for any cracks, bends, or damage. A damaged latch might not close properly or could fail during operation.
- Cleanliness is Key: Keep the magazine and latch mechanism clean from sawdust and debris. This ensures smooth operation and prevents the latch from sticking or becoming difficult to operate.
Troubleshooting Common Magazine and Latch Issues
Even the best tools can sometimes act up. When your finish nailer isn’t cooperating, the magazine and latch are often the culprits. Here are some common problems and how to fix them:
Issue 1: Magazine Won’t Open
- Cause: Debris, dirt, or a bent component preventing the latch from disengaging. For screw-fastened types, a stripped screw head can also prevent removal.
- Solution:
- First, disconnect the air supply!
- Carefully inspect the latch mechanism and magazine opening for any visible obstructions. Gently try to clear any dirt or sawdust with a brush or compressed air.
- For tool-free levers, try wiggling the lever while applying a little pressure. Sometimes a gentle tap with a rubber mallet can help free a stuck mechanism.
- If it’s a screw-fastened plate and the screw is stripped, you might need a screw extractor, or professional repair might be necessary.
- If the magazine itself appears bent, minor adjustments might be possible, but significant damage often requires replacement of the magazine assembly.
Issue 2: Magazine Won’t Close or Latch Securely
- Cause: Nails are misloaded, the follower is stuck, or the latch mechanism is damaged.
- Solution:
- Disconnect the air supply.
- Ensure no nails are protruding or jammed at the opening.
- Check that the follower (the part that pushes the nails) is moving freely. Sometimes a nail can get jammed under it.
- If it’s a tool-free latch, examine the locking pins or catch mechanism. Ensure they are extending properly when the magazine is closed.
- For screw-fastened types, ensure the plate is seated correctly before tightening.
- If the latch mechanism appears broken or bent, it’s likely time for a replacement part or professional service.
Issue 3: Nails Not Feeding Correctly (Doubles, Jams in Magazine)
While this isn’t strictly a latch issue, the magazine housing and latch play a role in proper feeding.
- Cause: Bent nails, incorrect nail size for the magazine, a weak or damaged magazine spring, or a slightly misaligned magazine.
- Solution:
- Always disconnect air and remove all nails.
- Check your nail collation (the strips of nails). Are they straight? Are you using the correct size and type of nails recommended by the manufacturer? Using nails that are too short or the wrong collation angle can cause feeding issues.
- Inspect inside the magazine channel. Are there any bent nails or debris stuck in the track?
- The magazine spring might be weak or broken. This is often replaceable; check your manual or contact the manufacturer.
- Ensure the magazine is properly seated and latched. If the magazine is slightly loose, it can affect nail alignment.