Have you ever thought about changing your old floors? Maybe you want something that looks great but is also easy to care for. Engineered wood flooring could be the answer. It combines style with strength. You don’t need to be an expert to install it. Many people are starting to try engineered wood flooring DIY projects.
Imagine stepping onto beautiful wood floors that you put in yourself. Isn’t that a cool idea? Engineered wood flooring is made to last. It can handle more wear and tear than regular wood. This means it’s perfect for busy homes with kids or pets.

Plus, it’s a fun project. You can choose from many designs and colors. This way, your floor can match your style. Why not create a space that truly feels like home? With a little effort, your dream floor is within reach.
In this article, we’ll explore how you can get started. You’ll learn about the benefits, tools you need, and tips to make it easier. Get ready to transform your floors and impress your friends!
Table of Contents
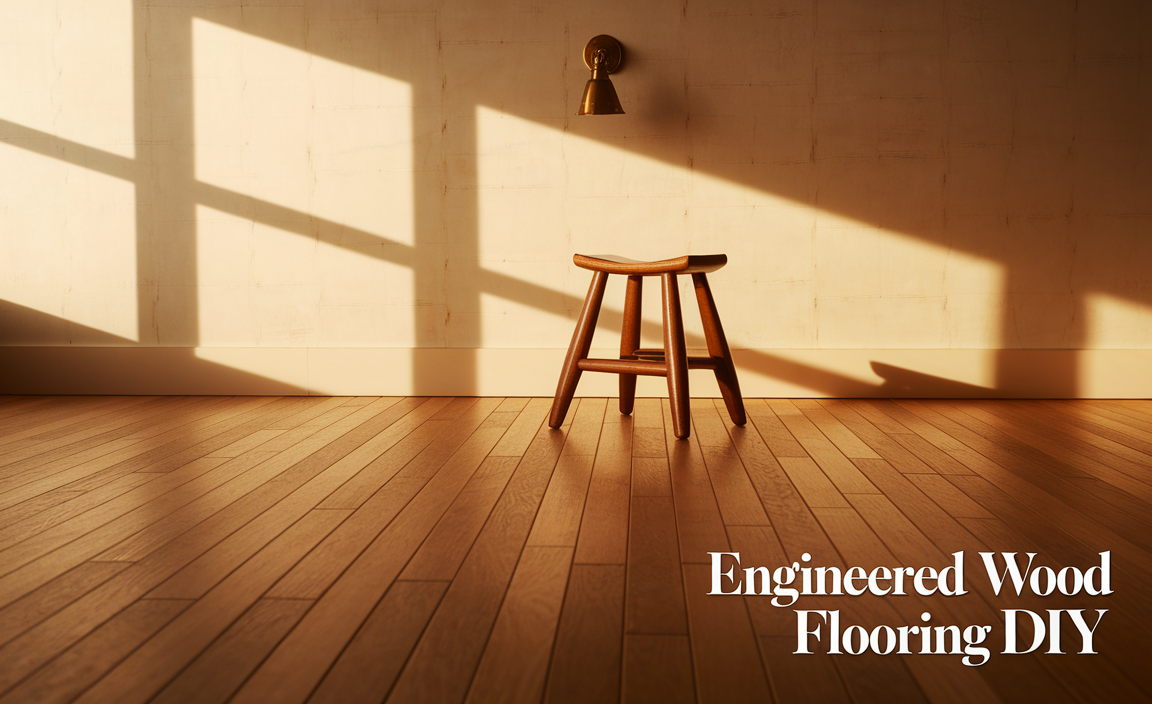
Engineered Wood Flooring Diy: A Comprehensive Guide
Engineered wood flooring can transform your space without breaking the bank. Did you know it combines real wood with plywood? This makes it strong and stable. DIY installation saves money and is quite easy. Simply follow a few steps, and you can achieve a professional-looking finish. Plus, it’s available in many styles and finishes. Imagine walking on beautiful wood every day, made by your own hands! It’s satisfying and helps create a unique home.
Understanding Engineered Wood Flooring
Definition and construction of engineered wood flooring. Benefits over traditional hardwood flooring.
Engineered wood flooring is a smart choice for many homes. It’s made of layers of wood glued together, giving it a strong and stable base. This makes it less likely to warp than traditional hardwood. You can even find specs that will make you giggle—who knew flooring could be so entertaining? With engineered wood, you get a beautiful wood look without the fuss. It’s perfect for all kinds of rooms!
| Feature | Engineered Wood Flooring | Traditional Hardwood Flooring |
|---|---|---|
| Water Resistance | Better | Poor |
| Cost | Lower | Higher |
| Installation | Easy (DIY-friendly!) | Complex |
So, why mess with traditional hardwood? Ideally, with engineered wood, you can enjoy the same stunning look without the headaches—and that’s flooring magic!
Choosing the Right Engineered Wood Flooring for Your Home
Factors to consider: thickness, wear layer, and finish. Comparing different styles and finishes.
Picking the perfect engineered wood flooring can feel like choosing your favorite ice cream flavor—so many options! First, consider the thickness. Thicker planks are more sturdy and can last longer. Next is the wear layer, which protects against scratches. A thicker wear layer means better defense! Lastly, think about the finish. Matte finishes hide dirt but glossy ones shine bright like diamonds. With so many styles and finishes, your floor can go from drab to fab with just a little thought!
| Factor | What to Look For |
|---|---|
| Thickness | Opt for at least 3/8 inch for durability. |
| Wear Layer | Choose 3mm or thicker for heavy traffic. |
| Finish | Decide between matte for subtlety or gloss for drama! |
Tools and Materials Needed for DIY Installation
Essential tools for installation: saws, hammers, and spacers. Other materials: underlayment, adhesives, and floor cleaners.
Getting ready for a flooring project? Gather your tools before diving in! Essential items include saws for cutting, hammers for nailing, and spacers to keep things even. Don’t forget the underlayment for cushioning, adhesives to stick everything down, and some floor cleaner for the finishing touches. You wouldn’t want a sticky mess when showing off your new floor!
| Tools | Materials |
|---|---|
| Saws | Underlayment |
| Hammers | Adhesives |
| Spacers | Floor Cleaners |

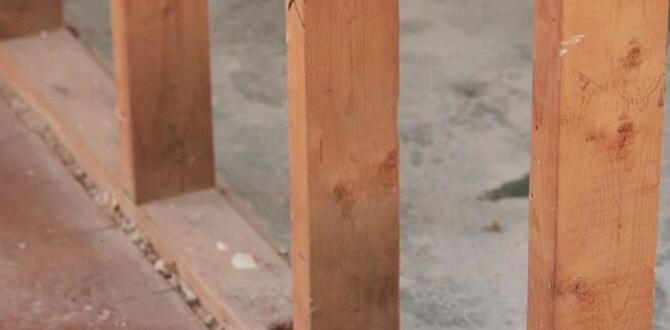
Preparing Your Space for Installation
Assessing the subfloor and making necessary repairs. Ensuring proper moisture levels and acclimating planks.
Before installing your new wood floor, checking the subfloor is key. Look for cracks or bumps. A flat base helps your floor look great. If you find any issues, fix them up first! Next, moisture is a sneaky troublemaker. Use a moisture meter to check levels. The perfect range is between 6% and 12%. Lastly, let those planks relax! Acclimate them for at least 48 hours. They need to get used to your space. Like you, they prefer a cozy environment!
| Step | Description |
|---|---|
| Check Subfloor | Look for cracks and bumps. |
| Fix Issues | Repair any problems before proceeding. |
| Test Moisture | Use a moisture meter to ensure levels are 6%-12%. |
| Acclimate Planks | Let them sit for 48 hours in your space. |
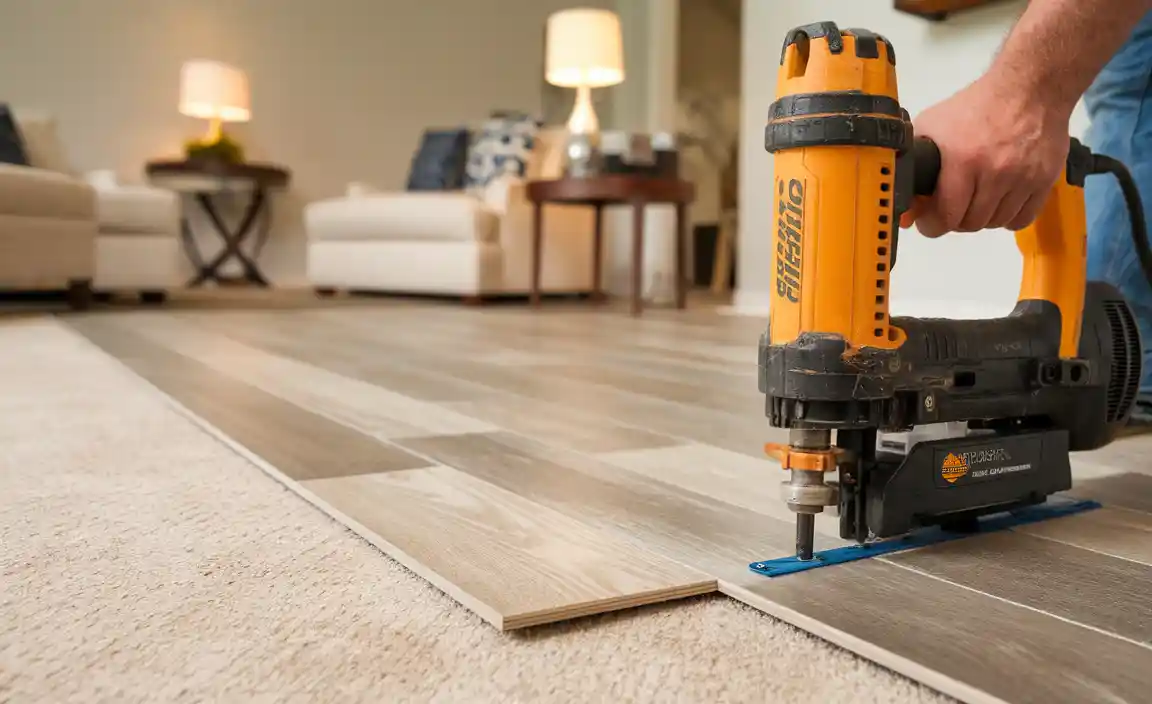
Step-by-Step Guide to Installing Engineered Wood Flooring
Detailed instructions for different installation methods: floating, gluedown, and naildown. Common pitfalls and how to avoid them during installation.
Installing engineered wood flooring can be fun and rewarding. Here’s how to do it step by step. First, choose your installation method:
- Floating: This method uses a foam underlayment. Lay boards side by side without glue or nails.
- Glue-down: Spread adhesive on the floor and stick the planks directly. Make sure to follow instructions.
- Nail-down: Secure the boards with nails through the tongue of each plank. This is great for stability.
Avoid these common mistakes:
- Don’t forget to acclimate your wood before installing.
- Don’t rush—take your time to measure.
- Check for level floors; fix any bumps first.
Following these tips helps you end up with beautiful, lasting floors!
What’s the best installation method for engineered wood flooring?
The best method depends on your skills and the room’s use. For easy installation, floating is best. For a strong hold, go for nail-down. Glue-down is great for moisture-prone areas.
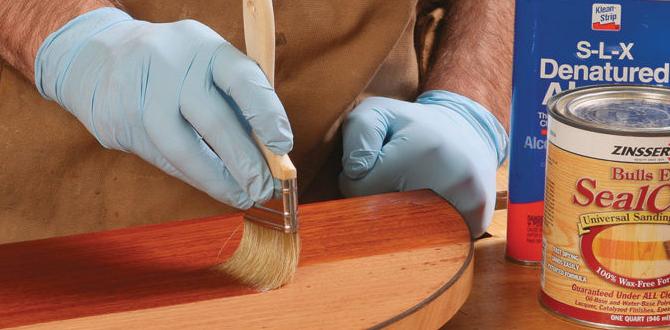
Post-Installation Care and Maintenance
Cleaning tips and recommended products for longlasting floors. Routine maintenance tasks to enhance durability.
To keep your floors looking great, clean them regularly. Use a damp mop and mild cleaner. Avoid harsh chemicals. For daily dust, a soft broom works well. Routine maintenance tasks can help, too. Here are some tips:
- Wipe up spills immediately to prevent stains.
- Use rug pads to protect high-traffic areas.
- Check for scratches and touch up with matching stain.
Remember, your floors can last a long time with care!

How can I clean and maintain engineered wood flooring?
Use a soft mop and gentle cleaner. Avoid water pooling, and clean spills right away!
Cost Analysis: Budgeting Your DIY Engineered Wood Flooring Project
Breakdown of costs associated with materials and tools. Comparison with professional installation costs.
Let’s break down the costs of your engineered wood flooring DIY project. First, you need materials. This includes the flooring itself, underlayment, and adhesive. Expect to spend around $3 to $7 per square foot. Then, add tools like a saw, hammer, and measuring tape. Renting may cost about $50 to $100.
Here’s a quick comparison:
- DIY Costs: $1,500 for materials plus tools.
- Professional Installation: Around $4,000 to $6,000 for the same area.
Doing it yourself can save you money. Plus, you gain skills and a sense of achievement!
What tools do you need for DIY engineered wood flooring?
You will need a saw, hammer, measuring tape, and adhesive. Renting these tools can be more affordable than buying.
Cost Breakdown:
- Flooring: $3-$7 per sq. ft.
- Tools (rent): $50-$100
Planning helps you stay within budget. Think wisely about what you want to achieve!
Frequently Asked Questions About Engineered Wood Flooring
Addressing common misconceptions. Answers to typical queries encountered during DIY projects.
Many people have questions about engineered wood flooring DIY. Some think it’s too hard to install. Others wonder if it looks as good as real wood. Let’s clear up some common myths:
What are some common myths about engineered wood flooring?
The main myths are:
- It’s not strong: It is durable and can last years.
- It doesn’t look real: It can look just like solid wood.
- It’s tricky to install: Many DIYers find it easy to put down.
How can I start my DIY project?
Start by measuring your space. Make sure to pick quality materials. Read the instructions carefully to avoid mistakes. Practice makes perfect!
Conclusion
In conclusion, engineered wood flooring is a great DIY option for your home. It’s durable, easy to install, and beautiful. You can choose from many styles to match your taste. If you’re ready to start, consider reading up on installation tips and tools. Let’s transform your space together with this fun project! Happy DIYing!
FAQs
Sure! Here Are Five Questions Related To Engineered Wood Flooring Diy:
Sure! Here are five questions about engineered wood flooring DIY: 1. **What is engineered wood flooring?** Engineered wood flooring looks like real wood. It is made of thin layers of wood glued together. This makes it strong and stable. 2. **How do I install it?** You can install engineered wood flooring by clicking the pieces together or using glue. Follow instructions that come with your flooring. 3. **Can I do it myself?** Yes, you can! With the right tools and some care, you can install it by yourself. 4. **How do I clean it?** To clean it, use a broom or a damp mop. Avoid too much water so it doesn’t get damaged. 5. **Is it good for my home?** Yes! Engineered wood flooring looks nice and is good for different rooms. It can handle changes in temperature and humidity well.
Sure! Please provide the question you want me to answer, and I’ll be happy to help!
What Tools And Materials Are Required For A Successful Diy Installation Of Engineered Wood Flooring?
To install engineered wood flooring, you need a few tools and materials. First, get a tape measure to check your room size. You also need a saw to cut the pieces and a hammer to help fit them together. Don’t forget to have a level to make sure the floor is even. Lastly, use flooring underlayment for extra comfort and support.
How Do You Prepare A Subfloor Before Installing Engineered Wood Flooring?
To prepare a subfloor for engineered wood flooring, start by cleaning it. You need to remove dust, dirt, and any old carpet. Next, check for any bumps or holes. If you find any, fill them in with a patch. Finally, make sure the subfloor is dry and level before laying down the new floor.
What Are The Steps Involved In Measuring And Cutting Engineered Wood Flooring Planks For A Precise Fit?
To measure engineered wood flooring planks, you start by using a tape measure. First, measure the length of the area where the flooring will go. Next, mark where you need to cut the planks for a good fit. Then, we use a saw to carefully cut along the marked lines. Finally, check the fit by placing the cut plank in the space. Adjust if necessary before laying it down.
How Can You Ensure Proper Acclimation Of Engineered Wood Flooring Before Installation To Avoid Expansion Or Contraction Issues?
To make sure your engineered wood flooring works well, let it adjust to your home’s temperature first. You should leave the flooring in the room for at least 48 hours. Keep the room at a normal temperature, around 60 to 80 degrees Fahrenheit. Make sure there’s no moisture in the air, too. This helps the wood fit just right without getting too big or small.
What Are Some Common Mistakes To Avoid When Installing Engineered Wood Flooring As A Diy Project?
When installing engineered wood flooring, don’t forget to check the floor surface first. It should be clean and flat. Make sure you leave space around the edges for expansion. If you skip the underlayment, it can cause noise and damage. Also, don’t rush; take your time to ensure each piece fits well.
{“@context”:”https://schema.org”,”@type”: “FAQPage”,”mainEntity”:[{“@type”: “Question”,”name”: “Sure! Here Are Five Questions Related To Engineered Wood Flooring Diy:”,”acceptedAnswer”: {“@type”: “Answer”,”text”: “Sure! Here are five questions about engineered wood flooring DIY: 1. **What is engineered wood flooring?** Engineered wood flooring looks like real wood. It is made of thin layers of wood glued together. This makes it strong and stable. 2. **How do I install it?** You can install engineered wood flooring by clicking the pieces together or using glue. Follow instructions that come with your flooring. 3. **Can I do it myself?** Yes, you can! With the right tools and some care, you can install it by yourself. 4. **How do I clean it?** To clean it, use a broom or a damp mop. Avoid too much water so it doesn’t get damaged. 5. **Is it good for my home?** Yes! Engineered wood flooring looks nice and is good for different rooms. It can handle changes in temperature and humidity well.”}},{“@type”: “Question”,”name”: “”,”acceptedAnswer”: {“@type”: “Answer”,”text”: “Sure! Please provide the question you want me to answer, and I’ll be happy to help!”}},{“@type”: “Question”,”name”: “What Tools And Materials Are Required For A Successful Diy Installation Of Engineered Wood Flooring?”,”acceptedAnswer”: {“@type”: “Answer”,”text”: “To install engineered wood flooring, you need a few tools and materials. First, get a tape measure to check your room size. You also need a saw to cut the pieces and a hammer to help fit them together. Don’t forget to have a level to make sure the floor is even. Lastly, use flooring underlayment for extra comfort and support.”}},{“@type”: “Question”,”name”: “How Do You Prepare A Subfloor Before Installing Engineered Wood Flooring?”,”acceptedAnswer”: {“@type”: “Answer”,”text”: “To prepare a subfloor for engineered wood flooring, start by cleaning it. You need to remove dust, dirt, and any old carpet. Next, check for any bumps or holes. If you find any, fill them in with a patch. Finally, make sure the subfloor is dry and level before laying down the new floor.”}},{“@type”: “Question”,”name”: “What Are The Steps Involved In Measuring And Cutting Engineered Wood Flooring Planks For A Precise Fit?”,”acceptedAnswer”: {“@type”: “Answer”,”text”: “To measure engineered wood flooring planks, you start by using a tape measure. First, measure the length of the area where the flooring will go. Next, mark where you need to cut the planks for a good fit. Then, we use a saw to carefully cut along the marked lines. Finally, check the fit by placing the cut plank in the space. Adjust if necessary before laying it down.”}},{“@type”: “Question”,”name”: “How Can You Ensure Proper Acclimation Of Engineered Wood Flooring Before Installation To Avoid Expansion Or Contraction Issues?”,”acceptedAnswer”: {“@type”: “Answer”,”text”: “To make sure your engineered wood flooring works well, let it adjust to your home’s temperature first. You should leave the flooring in the room for at least 48 hours. Keep the room at a normal temperature, around 60 to 80 degrees Fahrenheit. Make sure there’s no moisture in the air, too. This helps the wood fit just right without getting too big or small.”}},{“@type”: “Question”,”name”: “What Are Some Common Mistakes To Avoid When Installing Engineered Wood Flooring As A Diy Project?”,”acceptedAnswer”: {“@type”: “Answer”,”text”: “When installing engineered wood flooring, don’t forget to check the floor surface first. It should be clean and flat. Make sure you leave space around the edges for expansion. If you skip the underlayment, it can cause noise and damage. Also, don’t rush; take your time to ensure each piece fits well.”}}]}
Resources:
-
Step-by-step floating floor guide — This Old House
-
DIY flooring tools and tips — The Home Depot Project Guide
-
Wood flooring technical guidance — National Wood Flooring Association (NWFA)
-
Practical DIY advice for home floors — Family Handyman