Easy woodworking projects for beginners GUARANTEE success with simple steps, common tools, and achievable results, turning your DIY dreams into reality without intimidation. Learn to build confidently with our proven guide!
Hey there, woodworkers! Ever looked at a beautiful wooden creation and thought, “I wish I could make that”? Maybe you’ve got a corner of your garage begging for some tools, or you’ve just bought your first set of plans. Feeling a little unsure about where to start? You’re not alone! Lots of folks get a bit overwhelmed by woodworking. Will my first project fall apart? Do I need fancy tools? The good news is, absolutely not! We’re going to walk through some super simple projects that are designed for beginners. We’ll keep things clear, safe, and fun. Get ready to build something you’ll be proud of!
Table of Contents
Your First Steps Into Woodworking: Simple Projects That Wow
Alright, let’s dive into the exciting world of making things with wood! As Jack Shaffer from Nailerguy, I’ve helped countless beginners get their hands dirty (in the best way possible!). My goal is to make woodworking accessible and enjoyable for everyone. We’ll focus on projects that don’t require a ton of specialized tools or expensive lumber. The key is starting small, learning the basics, and building your confidence with each cut and joint. Think of it as building a strong foundation for all the amazing projects to come!
We’ll cover:
- Brainstorming your first project.
- Essential tools for beginners.
- Step-by-step guides for a few fantastic projects.
- Tips to ensure your projects turn out great.
- How to stay safe and have fun!
Ready to grab your tape measure and see what you can create? Let’s go!
Choosing Your Very First Woodworking Project
Picking the right beginner woodworking project is key to a positive experience. You want something that’s satisfying to complete, uses basic woodworking techniques, and doesn’t require a huge investment in time or materials. Think about what you need around the house or what would make a nice gift. This makes the project more meaningful and gives you a clear purpose.
Here are some ideas for types of projects that are perfect for beginners:
- Small Decorative Items: Think picture frames, simple shelves, or decorative blocks. These teach basic cutting and joining without demanding perfection.
- Functional Small Items: Things like coasters, a simple phone stand, or a small toolbox are great for learning how to assemble functional pieces.
- Basic Furniture Pieces: A simple stool or a small side table can be very doable and teaches fundamental construction techniques.
When you’re browsing for plans, look for those that specifically mention “beginner-friendly.” These usually have simplified cuts and joinery methods. Don’t be afraid to ask questions at your local lumberyard or online forums if you’re unsure about a material or step in a plan.
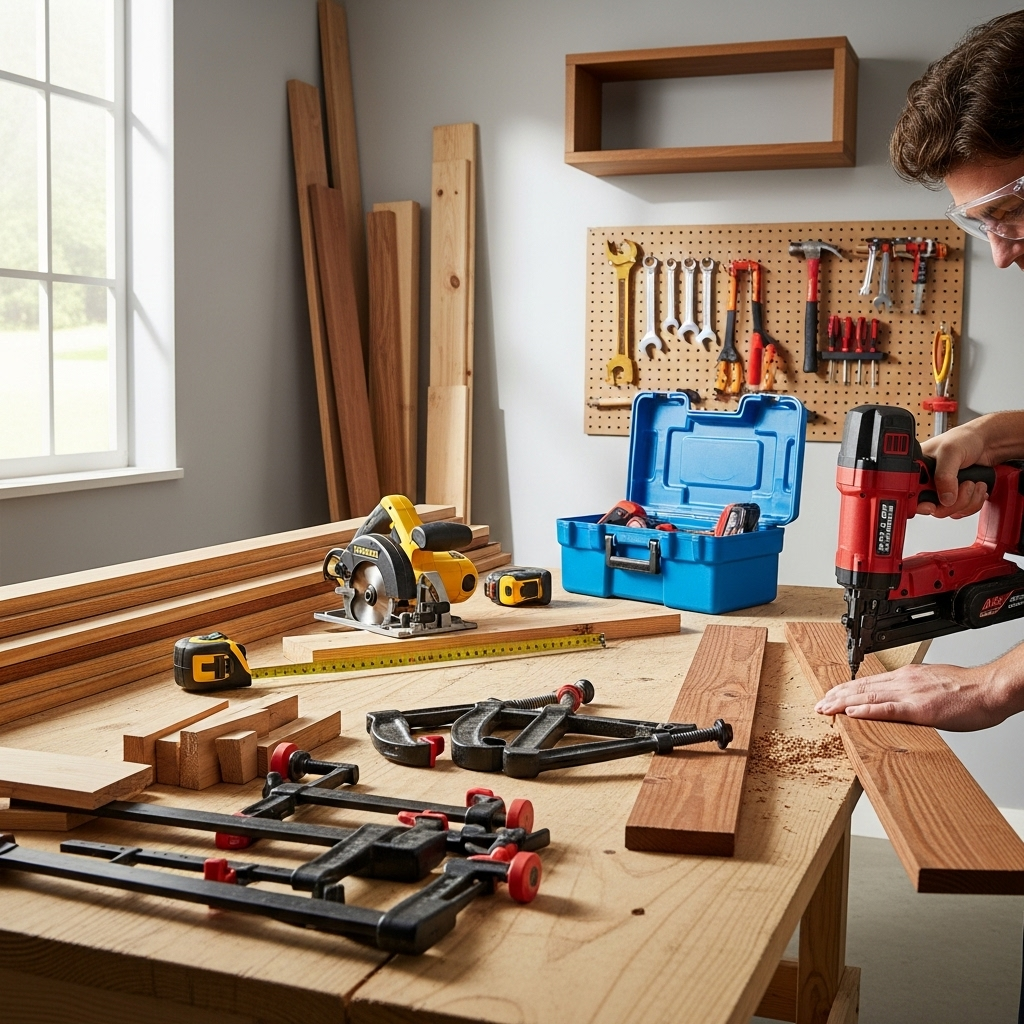
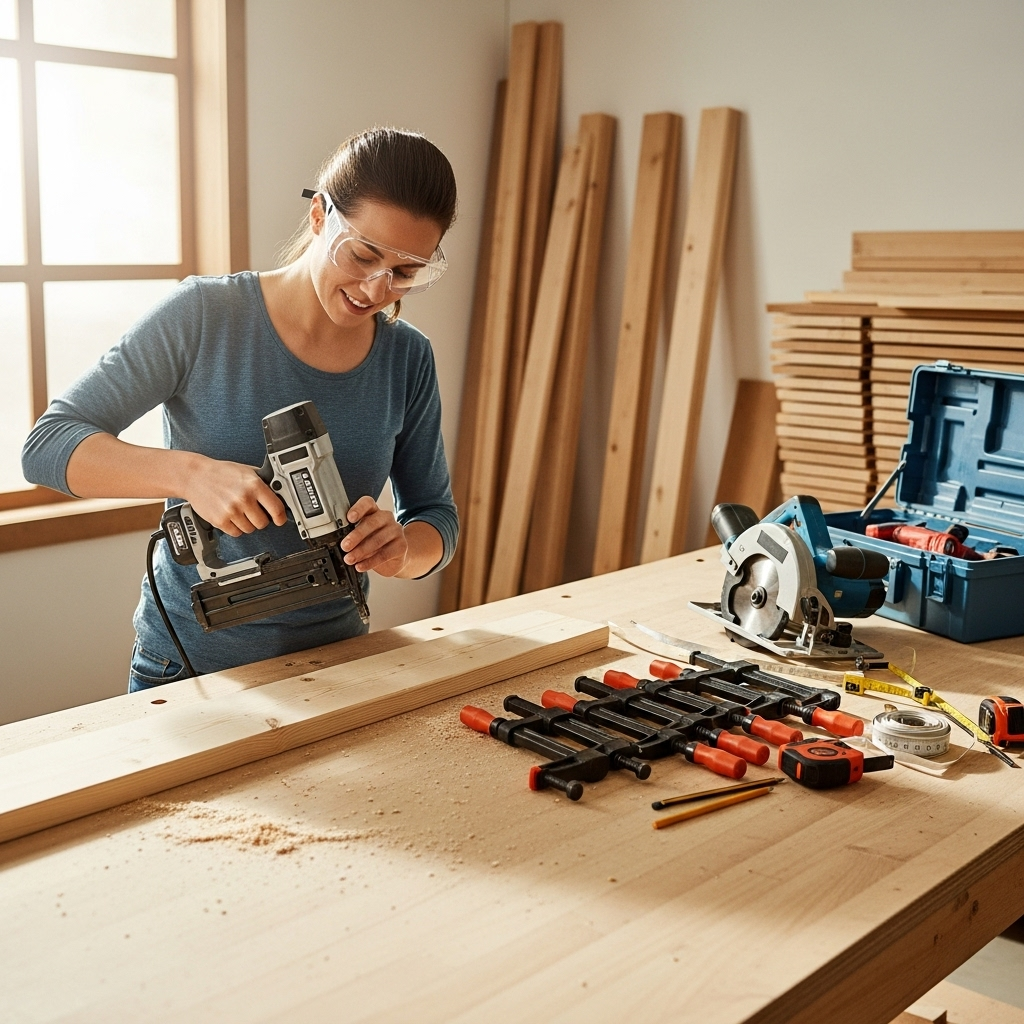
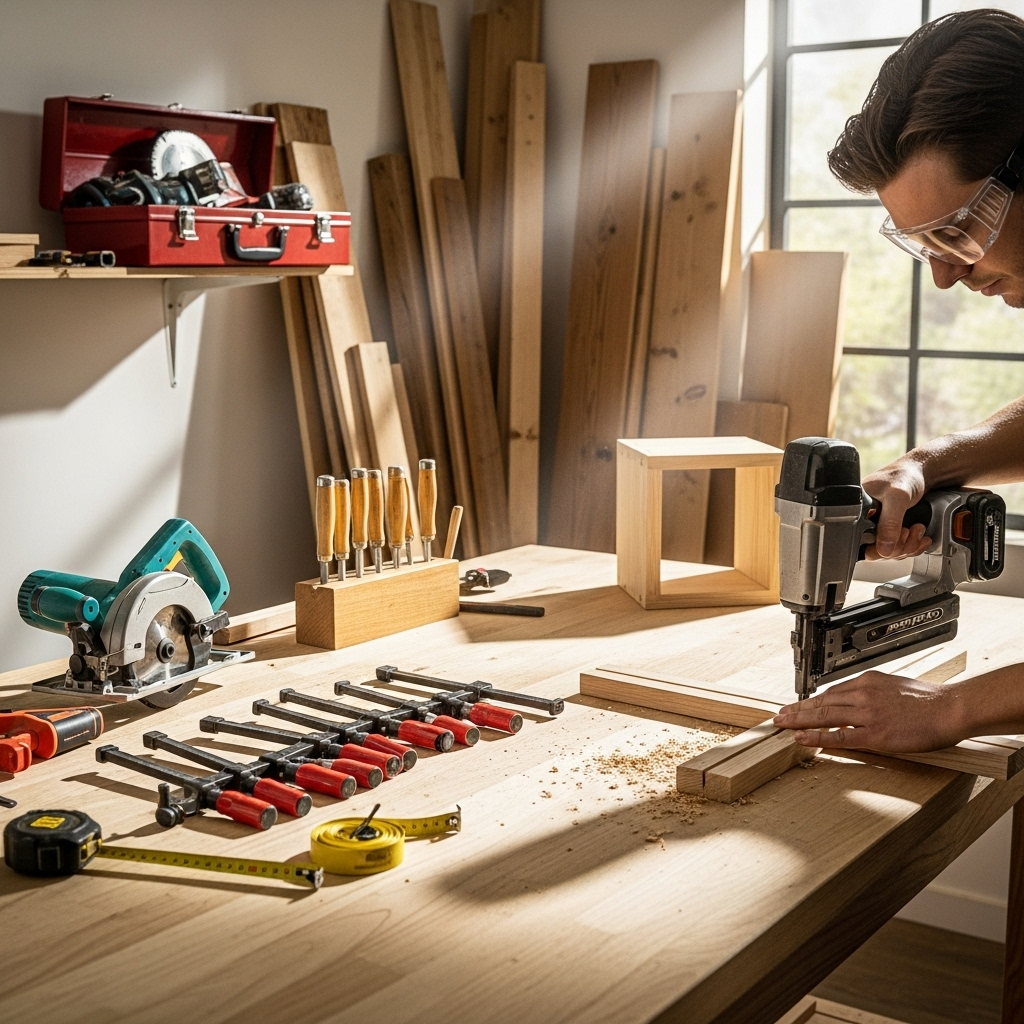
Must-Have Tools for Beginner Woodworkers
You don’t need a workshop full of professional-grade tools to start woodworking. A few essential hand tools and maybe one or two power tools will get you going. The important thing is to understand how to use these tools safely and effectively. Always remember: safety first!
Here’s a list of basic tools that will serve you well for many beginner projects:
- Measuring Tape: Absolutely essential for accuracy. A good quality tape measure makes a huge difference.
- Pencil: For marking your cuts and measurements.
- Safety Glasses: Non-negotiable. Protect your eyes from sawdust and flying debris. You can grab a decent pair for under $10.
- Hand Saw: For smaller projects or if you don’t have a power saw yet. A crosscut saw is a versatile choice.
- Clamps: You’ll need these to hold pieces together while glue dries or while you’re working. Bar clamps and C-clamps are very handy.
- Hammer and Nails/Screwdriver and Screws: For basic assembly.
- Wood Glue: A strong adhesive is crucial for strong joints.
- Sandpaper: In various grits (e.g., 80, 120, 220) for smoothing surfaces.
- Square: A combination square or speed square is vital for making sure your cuts and joints are at a perfect 90-degree angle.
As you progress, you might consider adding a power tool. For beginners, a cordless drill/driver is incredibly useful. If you plan on making a lot of cuts, a circular saw or a miter saw can be a great investment down the line. For projects requiring precise cuts and assembly, a nailer can significantly speed up the process and improve the finish. For instance, a brad nailer is excellent for attaching trim or small pieces, while a finish nailer is great for larger projects where you want a cleaner look without pre-drilling for screws.
I always recommend starting with the basics and adding tools as your needs and skills grow. You can find great starter toolkits at most hardware stores, and many reputable brands offer durable, entry-level options.
Project 1: The Classic Wooden Crate
A wooden crate is a fantastic first project. It’s sturdy, useful for storage (think books, plants, toys), and forgiving of minor imperfections. It teaches you basic cutting, assembly, and how to create a strong box shape.
What You’ll Need:
- One 1″ x 6″ board, about 6 feet long (pine is inexpensive and easy to work with)
- Wood glue
- 1 1/4″ finishing nails or screws
- Sandpaper (medium and fine grit)
- Measuring tape, pencil, square
- Saw (hand saw or preferably a miter saw/circular saw)
- Hammer or drill/driver
- Clamps (optional, but helpful)
Cutting List:
Measurements are nominal. Assume your 1×6 board is actually about 3/4″ thick and 5 1/2″ wide.
- Sides (2): 15 inches long
- Ends (2): 11 inches long
- Bottom Slats (3): 11 inches long
Step-by-Step Assembly:
- Measure and Mark: Carefully measure and mark all your cuts on the 1×6 board according to the cutting list using your measuring tape, pencil, and square. Ensure your marks are straight and clear across the width of the board.
- Make Your Cuts: Using your saw, carefully cut out all the pieces. If using a hand saw, take your time and follow your line precisely. For power saws, ensure you have a stable surface and proper safety gear. Double-check measurements after cutting!
- Assemble the Ends and Sides: Take one 11-inch “end” piece and two 15-inch “side” pieces. You’re forming an “H” shape. The end piece will sit between the two side pieces, flush with their ends. Apply a thin bead of wood glue along the edges where the pieces will meet. Position the end piece, ensuring it’s square to the sides.
- Fasten the Structure: Use your hammer and nails (or drill and screws) to secure the end piece to the side pieces. Drive a couple of nails/screws through each side piece into the end piece. Repeat this for the other end piece to create a U-shape. Make sure the corners are 90 degrees using your square.
- Add the Second Side: Now, attach the second 15-inch side piece to the other side of the end pieces, completing the basic rectangular frame. Once again, use glue and fasteners, ensuring everything is square.
- Attach the Bottom Slats: Turn your U-shaped frame upside down. Place the three 11-inch bottom slats across the frame. They should fit snugly within the width of the frame. Space them out evenly. Apply glue to the bottom edges of the side and end pieces. Place the slats and secure them with nails or screws into the sides and ends.
- Sand and Finish: Once the glue is dry, sand all surfaces of the crate. Start with a medium-grit sandpaper to remove any rough spots or pencil marks, then move to a fine-grit for a smooth finish. Round over any sharp edges for a nicer feel. You can leave it natural, or apply a stain, paint, or sealant if you wish.
Congratulations! You’ve just built your first wooden crate. This project is a gateway to many other box-style builds, from toolboxes to bookshelves.
Project 2: Simple DIY Coasters
Coasters are another excellent beginner project. They’re small, quick to make, and can be customized to match any decor. They’re perfect for practicing precise cuts and making something useful for yourself or as a thoughtful gift. Plus, you can make a set from a single board!
What You’ll Need:
- One 1″ x 4″ board, about 2 feet long (or scrap wood)
- Wood glue
- Small brad nails or wood screws (optional, for extra strength)
- Sandpaper (medium and fine grit)
- Measuring tape, pencil, square
- Saw
- Drill/driver (if using screws)
- Wood finish (e.g., polyurethane, wax)
Cutting List (for a set of 4):
- Coaster Pieces (4): Cut from the 1×4 board to your desired size. A good starting point is 4 inches long. This will give you a roughly 4″ x 3.5″ coaster (since a 1×4 is actually 3.5″ wide).
Step-by-Step Assembly:
- Measure and Mark: Measure and mark four 4-inch segments on your 1×4 board. Use your square to ensure the lines are perfectly across the board.
- Cut the Coasters: Carefully cut each of the four segments. Aim for perfectly straight cuts, as this will make assembly much easier.
- (Optional Assembly for Layered Coasters): If you want thicker, more substantial coasters, you can cut two identical squares (e.g., 4″ x 4″) and glue them together. Another option is to cut several thin strips and glue them side-by-side to form a larger panel, then cut your coaster squares from that. For this simple guide, we’ll assume a single layer coaster.
- Sand the Edges: Take each coaster piece and sand all the cut edges until they are smooth and free of splinters. This makes a huge difference in the final feel.
- Smooth the Surfaces: Now, sand both flat sides of each coaster. Start with medium-grit sandpaper and finish with fine-grit to get a really smooth surface ready for finishing.
- Apply Finish: Wipe away all dust from sanding. Apply your chosen wood finish according to the product instructions. This usually involves brushing on a thin coat, letting it dry, and then applying additional coats. A few coats of polyurethane will make them water-resistant and durable. A natural wax finish is also a great option.
- Allow to Cure: Let the finish cure completely before using the coasters. This is important for durability and to prevent the finish from rubbing off on your cups.
And there you have it – a set of handmade coasters! This project is a fantastic way to practice cutting accuracy and finishing techniques.
Project 3: A Simple Wall Shelf

A wall shelf is incredibly practical and can be scaled up or down. This beginner version uses simple joinery and allows you to showcase a few items. It’s a great way to add functional decor to your home and get comfortable with basic measurements and assembly.
What You’ll Need:
- One 1″ x 6″ board, about 4 feet long (for the shelf and support)
- Wood glue
- 1 1/4″ finishing nails or screws
- Sandpaper (medium and fine grit)
- Measuring tape, pencil, square
- Saw
- Hammer or drill/driver
- Optional: Keyhole hangers or L-brackets for mounting
Cutting List:
- Shelf (1): 24 inches long
- Support (1): 6 inches long (this will be the cleat that attaches to the wall)
Step-by-Step Assembly:
- Measure and Mark Cuts: On your 1×6 board, measure and mark a 24-inch piece for the shelf and a 6-inch piece for the support. Use your square to ensure accurate 90-degree angles.
- Make Your Cuts: Cut both pieces using your saw. Ensure the ends are as square as possible for clean joints.
- Sand All Surfaces: Lightly sand all surfaces and edges of both pieces. Start with medium grit and finish with fine grit for a smooth feel.
- Attach Support to Shelf: This is where your square is crucial. Place the 6-inch support piece perpendicular to the back edge of the 24-inch shelf, about 1-2 inches from one end. It should sit flush on top of the shelf, forming a right angle. Apply wood glue along the edge of the support that will contact the shelf.
- Fasten the Support: Secure the support to the shelf by driving a couple of nails or screws from the top of the shelf down into the support piece. Ensure you don’t drive them all the way through into the visible part of the support if you want a cleaner look. Alternatively, you can drive them from the back of the support into the shelf, but ensure they are centered.
- Finishing Touches: Once the glue is dry, do any final sanding needed. Ensure all nail/screw heads are flush or slightly countersunk. You can fill any holes with wood filler before painting or staining for a perfectly smooth look.
- Install Mounting Hardware: Add keyhole hangers to the back of the support piece, or attach L-brackets to the ends of the support for mounting to studs. For a 24-inch shelf mounted into studs, you might only need two holes in the support.
- Mount Your Shelf: Using a stud finder and appropriate screws, mount your shelf securely to the wall according to the hardware instructions. Make sure it’s level!
You now have a stylish and functional wall shelf. This project is a great intro to building things that attach to your home and can support weight.
Essential Safety Tips for Beginners
Woodworking can be incredibly rewarding, but safety should always be your top priority. Even with simple projects, a moment of distraction can lead to an injury. Adhering to these safety guidelines will help ensure your woodworking journey is positive and injury-free.
General Safety Principles:
- Always Wear Safety Glasses: This is non-negotiable. Sawdust, wood chips, and even small pieces of debris can cause serious eye damage.
- Wear Appropriate Clothing: Avoid loose-fitting clothing, jewelry, or anything that could get caught in a saw or drill. Tie back long hair.
- Keep Your Work Area Clean: A cluttered workshop is a dangerous workshop. Keep the floor clear of sawdust and scrap wood to prevent trips and falls.
- Know Your Tools: Read the manuals for your tools and understand how they operate. Never force a tool; let it do the work.
- Use Sharp Tools: Dull blades and bits require more force, increasing the risk of slippage and injury.
- Unplug Tools When Changing Blades/Bits: Always disconnect power before performing any maintenance or adjustments on power tools.
- Secure Your Work: Use clamps to hold your wood firmly in place when cutting or drilling. This prevents the wood from shifting unexpectedly.
- Take Breaks: Fatigue leads to mistakes. If you feel tired, step away from the project and take a rest.
- Listen to Your Gut: If a situation feels unsafe, stop and reassess. It’s better to be cautious than to get hurt.
For more detailed safety information, you can always consult resources like the Occupational Safety and Health Administration (OSHA) woodworking safety guidelines, which provide comprehensive best practices for safe tool operation and material handling.
Using Nailers Safely (If Applicable):
If you decide to use a nailer, remember:
- Never point a nail gun at yourself or others.
- Always disconnect the air hose or battery when not in use or when changing nails.
- Keep your fingers away from the nose of the nailer.
- Ensure the workpiece is stable before firing.
By making safety a habit, you can enjoy the process of woodworking with confidence.
Common Beginner Mistakes and How to Avoid Them
Every woodworker makes mistakes – it’s part of the learning process! But knowing what common pitfalls to look out for can save you time, frustration, and materials. Here’s a look at typical beginner errors and how to sidestep them for proven success.
Mistake 1: Inaccurate Measurements
Why it happens: Rushing, not using a square, misreading the tape measure.
How to avoid it:
- Measure twice, cut once! Seriously, do it.
- Use a sharp pencil to make clear, thin lines.
- Always use a speed square or combination square to ensure your marks are perfectly 90 degrees across the wood.
- Keep your tape measure’s hook flush against the edge of the wood.
Mistake 2: Poor Glue Application
Why it happens: Not enough glue, too much glue, glue applied unevenly.
How to avoid it:
- Apply a thin, even bead of glue to both surfaces you are joining.
- Wipe away excess glue immediately with a damp cloth or an old putty knife before it dries. Dried glue can be hard to sand off.
- Have your clamps ready to go before you apply glue.
Mistake 3: Forcing Tools
Why it happens: Using a dull blade/bit, trying to cut too fast, not letting the tool do the work.
How to avoid it:
- Ensure your blades and bits are sharp.
- Feed the material at a steady, consistent pace.
- Let the saw blade or drill bit do the cutting. Pushing too hard can lead to burning, rough cuts, or tool kickback.
Mistake 4: Not Sanding Properly
Why it happens: Skipping sanding, using only one grit of sandpaper, not removing dust between grits.
How to avoid it:
- Always sand! It makes a huge difference in the finished product.
- Start with a coarser grit (like 80 or 120) to remove imperfections, then move to a finer grit (like 220) for a smooth finish.
- Wipe away all dust between grit changes.
Mistake 5: Rushing the Project
Why it happens: Eagerness to finish, underestimating the time required.
How to avoid it:
- Break down your project into smaller, manageable steps.
- Set realistic time goals for each step.
- Enjoy the process! Woodworking should be relaxing and rewarding, not a race.
By being aware of these common issues, you can approach your projects with a proactive mindset and dramatically improve your results.
What to Do With Your Finished Projects
The moment you’ve finished a project is incredibly satisfying! You’ve taken raw materials and transformed them into something tangible and, hopefully, beautiful. Now, what do you do with your creations?
- Use Them! The simplest answer is to put them to work. Use your shelves to display photos, your crates for storage, and your coasters for their intended purpose. This is the most rewarding way to enjoy your handiwork every day.
- Give Them as Gifts. Hand-made gifts are often the most cherished. The effort and thought you put into a custom-made item speak volumes. Think about friends, family, or colleagues who might appreciate a unique, personalized gift.
- Sell Them. If you find you have a knack for making desirable items and enjoy the process, you could consider selling your creations. Online marketplaces like Etsy, local craft fairs, or even just word-of-mouth can be avenues to share and profit from your skills.
- Build More! Once you successfully complete a project, it’s natural to want to build something else. Use the skills and confidence you’ve gained to tackle slightly more complex projects.
- Admire Your Work. Take a moment to appreciate what you’ve achieved. Woodworking takes patience and skill, so give yourself credit for your accomplishments! Learn more about finishing techniques to enhance the beauty of your work.
Frequently Asked Questions About Beginner Woodworking Projects
What is the easiest woodworking project to start with?
The easiest projects are typically small, simple boxes or crates, coasters, or basic shelves. These require minimal cuts and straightforward assembly, making them perfect for learning the fundamentals.
Do I need power tools to start woodworking?
No, not necessarily! You can start with basic hand tools like a hand saw, measuring tape, pencil, square, clamps, hammer, and sandpaper. Power tools like a drill/driver and a circular saw can make things faster and easier, but aren’t essential for your very first projects.
How much wood do I need for a beginner project?
For most small beginner projects, one or two standard boards (like a 1×6 or 1×4, about 6 feet long) are usually sufficient. Always check the cutting list in your project plan to determine the exact lengths and quantities needed.
What kind of wood is best for beginners?
Softwoods like pine, poplar, and fir are excellent choices for beginners. They are readily available, inexpensive, and easy to cut and sand. They are also more forgiving of mistakes.
How can I make my projects look professional?
Start with accurate measurements and cuts. Sand thoroughly with progressively finer grits of sandpaper. Pay attention to the glue-up process and clean up excess glue. Finally, apply a good quality finish (paint, stain, or sealant) evenly.
What is the most important safety equipment for woodworking?
Safety glasses are the absolute most important piece of safety equipment. Gloves and dust masks are also highly recommended, especially when sanding or working with certain types of wood. Hearing protection is crucial when using loud power tools.
Conclusion
You’ve got this! Starting with easy woodworking projects is the best way to build your skills and confidence without feeling overwhelmed. From handy wooden crates to stylish coasters and simple wall shelves, these proven beginner projects are designed for success. Remember to always prioritize safety, take your time with measurements, and enjoy the process of creating something with your own hands. The satisfaction of building something useful and beautiful is a fantastic reward. So, grab your tools, pick a project, and get ready to discover the joy of woodworking!