Build your own TV stand with these DIY woodworking projects! This expert guide uses simple steps and clear instructions, perfect for beginners. Get ready to create a custom, stylish media console that fits your space and budget.
Got a new TV, or maybe just tired of that old, wobbly stand? Building your own TV stand is a fantastic project. It’s a great way to step up your home decor and get hands-on with some fun woodworking. Many store-bought TV stands can be pricey or just not quite what you’re looking for. But with a few basic tools and some straightforward guidance, you can craft a beautiful, sturdy piece that’s perfectly suited to your living room. We’ll walk you through everything, from choosing a design to putting on the finishing touches. Let’s get building!
Table of Contents
Why Build Your Own TV Stand?
Making your own TV stand might sound like a big job, but it’s surprisingly achievable, even for beginners. Think about it: you get exactly the size you need, the style you love, and it will likely save you a good chunk of money compared to buying a new one. Plus, the pride of saying “I made that!” is pretty awesome. It’s a chance to learn new skills, use some cool tools, and create something truly functional and beautiful for your home.
Essential Tools for Your DIY TV Stand Project
You don’t need a massive workshop to build a great TV stand. Here are the essential tools that will make your project smooth sailing:
- Measuring Tape: Accurate measurements are key!
- Pencil: For marking your cuts.
- Safety Glasses: Always protect your eyes.
- Gloves: Keep your hands safe.
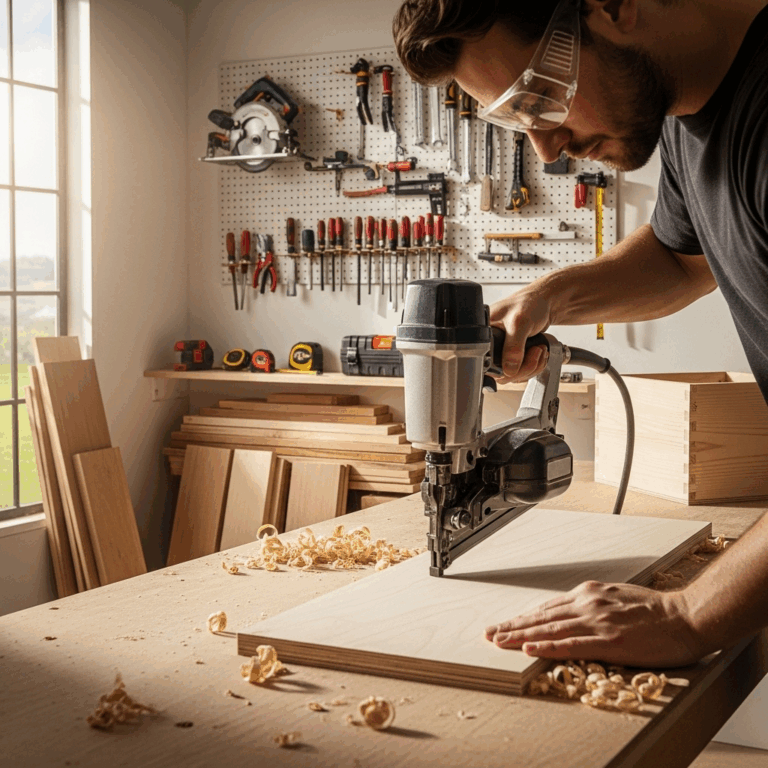
- Saw: A circular saw or a miter saw is great for making clean cuts. If you’re just starting, a handsaw can work too, but it takes more effort. For perfectly straight cuts, consider a Kreg Accu-Cut or a similar track saw guide.
- Drill/Driver: For drilling pilot holes and driving screws. It’s also handy for sanding.
- Screws: Wood screws are your best friend for assembly.
- Wood Glue: Adds extra strength to your joints.
- Clamps: To hold pieces together while the glue dries.
- Sander: An orbital sander makes smoothing wood much faster than sanding by hand.
- Level: To ensure your stand is perfectly straight.
- Optional: A nail gun (like a brad nailer or finish nailer) can speed up assembly and create neater joints for certain designs.
Choosing Your DIY TV Stand Design
The best design is one that fits your style, your space, and your skill level. Here are a few popular options:
Simple Modern TV Stand
This is a fantastic starting point for beginners. It usually involves straight cuts and simple assembly. Picture clean lines, maybe a shelf or two, and a minimalist look. These are often built with basic rectangular boxes and legs.
Farmhouse Style TV Stand
Think rustic charm! These often incorporate reclaimed wood, X-braces, or barn door elements. They tend to be a bit more forgiving with minor imperfections, adding to their character. Shiplap details can also give it that farmhouse feel.
Industrial Look TV Stand
Combine wood with metal elements for an industrial vibe. This could mean adding pipe legs, metal accents, or using a darker wood stain. It’s a great way to get a unique and trendy piece.
TV Stand with Storage
Need to hide some clutter? Designs with drawers, cabinets, or open cubbies are perfect. These might involve a few more steps, like building drawer boxes or attaching door hinges, but they offer great functionality.
DIY TV Stand Project 1: The Easy Beginner Build
This project is all about simplicity and strength. We’ll create a basic, sturdy stand that’s perfect for most flat-screen TVs and requires minimal complex cuts.
Materials You’ll Need
- 1×6 lumber (or 1×8 for a taller stand) – about 20-25 feet, depending on desired size. Pine is affordable and easy to work with.
- 1×4 lumber – about 6 feet for legs.
- Wood screws (1 1/4 inch and 2 inch)
- Wood glue
- Sandpaper (120-grit and 220-grit)
- Wood stain or paint
- Optional: Wood filler
Cutting List Example (for a 48-inch wide stand)
Remember, you can adjust these dimensions to fit your TV and space!
| Part | Material | Cut Length | Quantity |
|---|---|---|---|
| Top Panel | 1×6 | 48 inches | 1 |
| Bottom Panel | 1×6 | 44 inches | 1 |
| Side Panels | 1×6 | 14 inches | 2 |
| Divider (Optional for shelf support) | 1×6 | 14 inches | 1 |
| Legs | 1×4 | 6 inches | 4 |
Step-by-Step Assembly
- Cut Your Wood: Carefully measure and cut all your pieces according to the cutting list. Double-check your measurements before you cut! For perfectly straight cuts on lumber, using a circular saw with a guide like the Kreg Accu-Cut can be a game-changer for beginners.
- Attach Side Panels to Bottom Panel: Apply wood glue to the ends of the bottom panel. Position the two side panels on the ends of the bottom panel, forming a U-shape. Make sure they are flush and square. Use clamps to hold them in place. Drill pilot holes to prevent splitting and then secure with 1 1/4 inch screws.
- Add the Divider (Optional): If you’re adding a divider for a shelf, find the center of the bottom panel. Apply glue to one end and the top edge where it will meet the top panel. Position the divider vertically and secure it from the bottom with screws.
- Attach the Top Panel: Apply wood glue along the top edges of the side panels and the divider (if used). Carefully place the top panel on and align it. Clamp it down. Drill pilot holes down through the top panel into the side panels and divider. Secure with 2-inch screws from the top.
- Attach the Legs: Flip the main box upside down. Apply glue to the top of each leg. Position them flush with the corners of the bottom panel – about an inch in from the edges of the side panels to create a slight inset. Secure each leg with 2-inch screws, drilling through the leg into the bottom panel. You might pre-drill pilot holes from the inside of the stand to make this easier.
- Fill Holes and Sand: Once the glue is dry, use wood filler to cover any screw holes or small imperfections. Let it dry completely. Then, start sanding! Begin with 120-grit sandpaper to smooth out any rough spots and then move to 220-grit for a finer finish. Wipe away all dust with a tack cloth or damp rag.
- Stain or Paint: Apply your chosen stain or paint according to the product instructions. For a smooth finish, lightly sand with 220-grit sandpaper between coats if painting, or as recommended for stains.
DIY TV Stand Project 2: Modern Media Console with Shelves
This design offers a bit more storage and a sleeker, modern look. It uses pocket holes for a cleaner finish, but don’t worry, we’ll make it beginner-friendly!
What You’ll Need
- Plywood (3/4 inch thick – a 4×8 sheet should be enough for a medium-sized console). Since this uses plywood, consider getting it cut at your local hardware store.
- 1×2 lumber for trim or bracing (optional)
- Pocket hole jig (like a Kreg Jig) – this is highly recommended for clean joins.
- Pocket hole screws (1 1/4 inch)
- Wood glue
- Sandpaper (120-grit and 220-grit)
- Wood stain or paint
- Optional: Cabinet pulls or handles
Cutting List Example (for a 60-inch wide console)
Assume a height of 20 inches and depth of 15 inches.
| Part | Material | Cut Dimensions | Quantity |
|---|---|---|---|
| Top Panel | 3/4″ Plywood | 60″ x 15″ | 1 |
| Bottom Panel | 3/4″ Plywood | 57″ x 15″ | 1 |
| Side Panels | 3/4″ Plywood | 18 3/4″ x 15″ | 2 |
| Vertical Dividers | 3/4″ Plywood | 18 3/4″ x 14 1/4″ | 2 |
| Shelves | 3/4″ Plywood | 28 1/2″ x 14″ | 2 |
| Back Panel (Optional, can use thin hardboard) | 1/4″ Plywood or Hardboard | 60″ x 20″ | 1 |
How to Use a Pocket Hole Jig
A pocket hole jig creates angled holes so screws can join pieces of wood without visible fasteners on the outside. Follow your jig’s specific instructions, but generally:
- Set the jig for the thickness of your wood (in this case, 3/4 inch).
- Clamp the jig to your workpiece.
- Drill the pocket holes as instructed.
For this project, you’ll drill pocket holes on the underside of the top and bottom panels, and on the ends of the vertical dividers. You’ll drill them on the sides of the shelves that will push into the vertical dividers.
Step-by-Step Assembly (Modern Console)
- Prepare Your Plywood: If you didn’t have the big box store cut your plywood, do it now. Smooth all the edges with sandpaper. Also, sand all faces of the plywood to prepare for finishing.
- Drill Pocket Holes: On the bottom panel, drill pocket holes along the edges that will attach to the side panels and the vertical dividers. On the top panel, drill pocket holes along the edges that will attach to the side panels. On the vertical dividers, drill pocket holes on both ends of the edges that will attach to the top and bottom panels. On the sides of the shelves, drill pocket holes where they will attach to the vertical dividers.
- Assemble the Base: Apply wood glue to the appropriate edges. Attach the side panels to the bottom panel using your pocket hole jig and screws. Then, attach the vertical dividers to the bottom panel where marked. Use clamps to ensure everything stays square and secure.
- Attach the Top: Apply glue to the top edges of the side panels and vertical dividers. Position the top panel and secure it using pocket hole screws from underneath.
- Install Shelves: Slide the shelves into place. Apply glue to the mating edges of the shelves and vertical dividers. Secure the shelves by driving pocket hole screws through the shelves into the vertical dividers.
- Add Back Panel (Optional): If you’re adding a back panel, align it squarely with the back edges of your console. You can attach it with small screws or brad nails. This adds stability.
- Sand and Finish: Fill any visible pocket holes with wood plugs or filler if desired. Sand the entire console smooth, starting with 120-grit and finishing with 220-grit. Wipe clean. Apply your stain or paint, following product instructions.
- Attach Hardware (Optional): If your design includes doors or drawers with pulls, now is the time to install them.
Tips for a Professional Finish
Want your DIY TV stand to look like it came from a high-end furniture store? Here’s how:
- Measure Twice, Cut Once: This old adage is true for a reason. Accuracy at the cutting stage saves headaches later.
- Use Wood Glue: Always use wood glue in addition to screws or nails. It creates a bond that’s stronger than the wood itself.
- Pilot Holes Are Your Friend: Especially when working with hardwoods or near the ends of boards, drilling pilot holes prevents wood from splitting. A good drill bit set from a reputable brand like Bosch will last you for years.
- Square is King: Use a framing square or speed square to check that your corners are 90 degrees during assembly. Consistent squareness makes a huge difference in the final look.
- Sand, Sand, Sand: Don’t skimp on sanding! Start with a coarser grit (like 80 or 120) and move to finer grits (like 180 or 220) for a silky smooth surface.
- Wipe Away Dust: After each sanding step, clean off all the dust. A damp cloth or a tack cloth works wonders.
- Even Coats of Finish: Whether you’re staining or painting, apply thin, even coats. It’s always better to do multiple thin coats than one thick, drippy one.
- Consider Edge Banding: For plywood projects, applying edge banding can hide the exposed plywood layers and give it a solid wood look. This is a great tip from finishing experts at places like Woodworking Network.
Safety First, Always!
Woodworking is fun, but safety should always be your top priority. Here are the essentials:
- Wear Safety Glasses: ALWAYS. Sawdust, flying chips, and dropped tools can cause serious eye injury.
- Use Hearing Protection: Power tools can be loud. Protect your hearing.
- Wear Appropriate Clothing: Avoid loose clothing, jewelry, or anything that could get caught in a tool.
- Keep Your Work Area Tidy: Clutter leads to accidents. Clean up sawdust and scraps regularly.
- Know Your Tools: Read the manuals for your tools and understand how they work before you use them.
- Unplug When Not In Use: Always unplug power tools when changing blades, bits, or making adjustments.
- Ventilation: When staining or painting, work in a well-ventilated area or wear a respirator mask.
FAQ: Your DIY TV Stand Questions Answered
Q1: What is the best wood for a DIY TV stand?
For beginners, pine is a great choice. It’s affordable, readily available, and easy to cut and sand. Plywood is also excellent for modern designs, especially for larger panels, and can be more stable than solid wood. Hardwoods like oak or walnut are beautiful but more expensive and harder to work with.
Q2: How big should my DIY TV stand be?
The general rule is that the stand should be wider than your TV, at least by a few inches on each side, for aesthetic balance and to prevent the TV from looking top-heavy. Measure your TV stand’s base and add an extra 4-6 inches total for a good look. Also, consider the height – you want the center of the screen to be roughly at eye level when you’re seated.
Q3: Do I need a pocket hole jig?
You don’t strictly need one, but it makes assembling cabinets, consoles, and other box-like furniture much easier and gives a cleaner look by hiding screws. If you plan on building more furniture, investing in a good pocket hole jig (like a Kreg Jig) is highly recommended. For very simple frames, regular screws and glue are fine.
Q4: How do I make my DIY TV stand look professional?
Consistency is key! Accurate measurements, sharp cuts, careful sanding, and even application of your finish are crucial. Filling screw holes and using wood plugs or edge banding for plywood can also elevate the look significantly. Don’t rush the finishing steps!
Q5: Can I build a TV stand without power tools?
Yes, you can! It will take more time and effort. You’ll need a good handsaw, a miter box for straighter cuts, a hammer and nails or a hand drill and screws, and plenty of patience for sanding. For example, you could build a simple modern stand entirely with hand tools if you’re dedicated!
Q6: What weight can a DIY TV stand support?
A properly built stand using solid wood or sturdy plywood with adequate bracing and support can easily support the weight of most modern TVs. For example, a stand built with 1×6 or 1×8 lumber, well-glued and screwed, will generally support a TV up to 100 pounds or more. Always ensure your legs are securely attached and your main frame is robust. If in doubt, add extra bracing.
Q7: How do I plan my TV stand dimensions?
Start by measuring your TV’s screen size diagonally. Then, decide on the desired height (often eye-level when seated). For width, add about 4-6 inches to your TV’s base width. For depth, consider the size of your TV’s stand, plus a little extra space for cables and ventilation. Think about what you want to store (remotes, consoles, etc.) and factor that into shelf or compartment sizes.
Conclusion: Your Custom TV Stand Awaits
There you have it! Building your own DIY TV stand is a rewarding project that brings both style and savings to your home. Whether you chose the super-simple beginner build or the slightly more involved modern console, you’ve learned valuable woodworking skills and created a functional piece of furniture you can be proud of. Remember to prioritize safety, measure carefully, and enjoy the process. Soon, your new DIY TV stand will be the perfect centerpiece for your living room, holding your TV and all your entertainment essentials. Happy building!