Have you ever wished to brighten up your home with a unique touch? DIY wooden lantern plans are the perfect way to add charm and warmth to your space. Imagine walking into a room filled with soft, flickering candlelight. It feels inviting, doesn’t it?
Making your own wooden lantern is not just fun, but it’s also rewarding. You can choose your style and colors. This project allows you to express your creativity while also learning new skills. Did you know that lanterns have been used for centuries? They have lit the way for travelers and now can light up your home.
You don’t need to be a master craftsman to start. With a few simple steps and some basic tools, you can create a stunning lantern. Are you ready to explore our easy DIY wooden lantern plans? Let’s get started and illuminate your space!
Table of Contents
Diy Wooden Lantern Plans: Illuminate Your Space Elegantly! Introduction Creating A Warm And Inviting Atmosphere In Your Home Can Be As Simple As Adding A Few Well-Placed Decorative Items. One Charming Way To Achieve This Is Through Diy Wooden Lanterns. These Wooden Lanterns Not Only Serve As Functional Light Sources But Also Add A Touch Of Rustic Charm To Your Décor. In This Article, We Will Explore Various Diy Wooden Lantern Plans That Will Inspire You To Illuminate Your Space Beautifully. Benefits Of Making Your Own Wooden Lantern Before Diving Into The Plans, Let’S Discuss Why You Should Consider Making Your Own Wooden Lanterns. 1. **Customization**: When You Create Your Own Lanterns, You Can Choose The Sizes, Shapes, And Finishes That Match Your Unique Style And Decor. 2. **Cost-Effective**: Diy Projects Often Save Money Compared To Purchasing Pre-Made Items. You Can Use Scrap Wood Or Low-Cost Materials To Create Something Beautiful And Functional. 3. **Personal Touch**: A Handmade Item Adds A Personal Touch To Your Home, Making It Feel More Cozy And Inviting. 4. **Skill Development**: Engaging In Woodworking Will Improve Your Skills And May Inspire You To Take On More Complex Projects In The Future. Essential Materials And Tools Before You Start Building Your Diy Wooden Lantern, Here Are Some Essential Materials And Tools You Might Need: – **Materials**: – Untreated Wood (Pine, Cedar, Or Plywood) – Wood Screws – Glass Or Acrylic Panels – Wood Stain Or Paint – Wax And Wick For Candle Inserts Or Led Candles – **Tools**: – Saw (Hand Saw, Miter Saw, Or Jigsaw) – Drill – Screwdriver – Sandpaper – Measuring Tape Diy Wooden Lantern Plans Now That You Have Your Materials And Tools Ready, Here Are A Few Diy Wooden Lantern Plans You Can Follow: 1. Basic Tabletop Lantern This Simple Design Is Perfect For Beginners. It Typically Requires Just Four Wooden Panels For The Sides, A Base, And A Top. Assemble The Panels Into A Box Shape. You Can Add A Handle For Easy Carrying. 2. Hanging Lantern For A Hanging Lantern, Cut Your Wood Into Pieces To Create A Cube Shape. Add A Metal Chain To The Top For Hanging. This Type Of Lantern Works Well For Outdoor Patios And Gardens. 3. Multi-Tier Lantern For A More Elaborate Look, Create Multi-Tiered Wooden Lanterns. Stack Several Smaller Lanterns On Top Of Each Other. This Design Adds Depth And Can Be Illuminated With String Lights For A Magical Effect. 4. Decorative Lantern Try Adding Intricate Cut-Out Designs To Your Lanterns For A More Artistic Flair. You Can Use A Jigsaw To Carve Out Shapes On The Sides. This Allows The Light To Peek Through In Beautiful Patterns. Finishing Touches Once You’Ve Assembled Your Lantern, The Next Step Is To Give It A Polished Look. Sand Down Any Rough Edges, And Apply A Wood Stain Or Paint To Achieve Your Desired Finish. If You’Re Using Glass Or Acrylic, Ensure That It Is Firmly Held In Place And Safe For Use. Conclusion With These Diy Wooden Lantern Plans, You Can Effectively Illuminate Your Space While Adding A Personal Touch That Reflects Your Style. Not Only Will These Handcrafted Pieces Provide Light, But They Will Also Serve As Beautiful Decorative Elements In Your Home. So Gather Your Materials, Unleash Your Creativity, And Let The Warm Glow Of Your Wooden Lanterns Brighten Up Your Living Space!

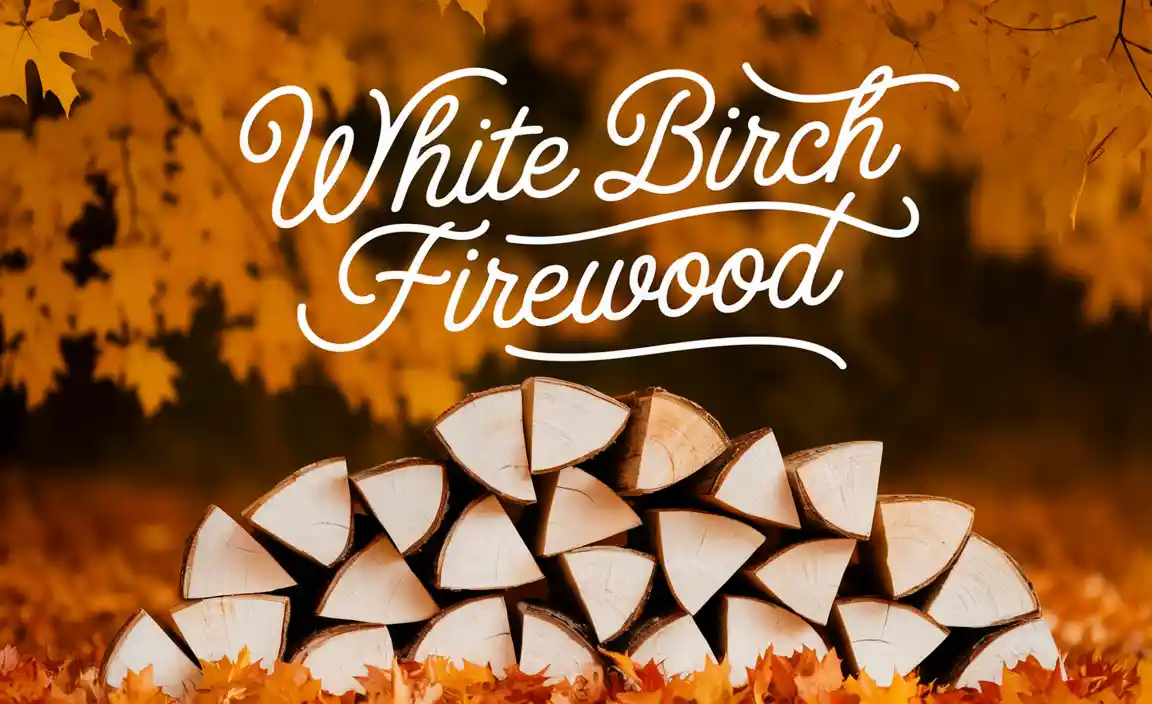
DIY Wooden Lantern Plans: Illuminate Your Space!
DIY wooden lanterns can brighten up your home in a fun and unique way. With easy-to-follow plans, anyone can create beautiful lanterns. Imagine how cozy your evenings would be with warm, glowing light! These projects require simple materials and basic tools, making it perfect for families or beginners. Plus, customizing your lanterns adds a personal touch. Why not try making one today? Add a spark of creativity and charm to your space!Materials Needed for DIY Wooden Lanterns
List of essential materials (wood types, tools, etc.). Suggestions for alternative materials and ecofriendly options.To build your own wooden lantern, you’ll need some basic materials. Here’s a simple list:
- Wood types: Pine, cedar, or plywood work well.
- Tools: A saw, hammer, screws, and sandpaper are essential.
- Glass: Use glass jars or panels for the lantern’s sides.
- Light source: Battery-operated candles are safe and easy.
For eco-friendly options, consider reclaimed wood or bamboo. Both are great for the planet. Crafting with natural materials adds beauty and warmth to your home!
What is the easiest wood to use for lanterns?
The easiest wood to use for lanterns is pine. It’s lightweight, cheap, and easy to cut.
Step-by-Step Instructions for Building Your Wooden Lantern
Detailed process from cutting to assembling the lantern. Tips for achieving precise measurements and cuts.Start by measuring your wood accurately. Use a tape measure for precise lengths. Mark your cuts clearly with a pencil. Next, cut the wood using a saw. Be careful and wear safety goggles! After cutting, sand the edges for smoothness. Now it’s time to assemble your lantern. Use wood glue and nails to hold the pieces together. Ensure everything aligns perfectly. Measure twice to cut once! This will help your lantern look great.
How can I ensure precise measurements and cuts?
To ensure precise measurements, always double-check your numbers and use a square tool to keep corners straight. Also, work slowly and carefully to avoid mistakes.
Design Variations for Customization
Ideas for different styles (rustic, modern, themed). Examples of decorative elements (paints, stains, embellishments).Customizing your DIY lantern can be fun! You can pick styles like rustic, modern, or even themed designs. Consider these unique ideas:
- Rustic: Use natural wood and add twine or burlap.
- Modern: Go sleek with metallic paints or geometric shapes.
- Themed: Create lanterns for holidays or special occasions.
For decorative elements, think about:
- Paints: Bright colors or soft pastels.
- Stains: Dark finishes for an antique look.
- Embellishments: Add beads, shells, or other fun stuff.
With these ideas, your lantern will shine with your personality!
What styles can I use for my wooden lantern?
You can use styles like rustic, modern, or themed designs. Each style adds its unique charm!
Creative Uses for Your Wooden Lanterns
Ideas for different settings (home decor, events, outdoor spaces). Suggestions for combining lanterns with other DIY projects.Wooden lanterns can add charm to many places. Use them indoors or outdoors. Consider these ideas:
- Brighten up your living room or bedroom as part of your decor.
- Create an inviting atmosphere for birthday parties or weddings.
- Set them in your garden for a cozy evening feel.
Combine lanterns with other DIY projects for a special touch. Try pairing them with:
- Painted flower pots for a pop of color.
- Seasonal wreaths for festive looks.
- String lights to create a magical ambiance.
These lanterns can make any space feel warm and welcoming!
Can I use wooden lanterns for special occasions?
Yes, wooden lanterns are perfect for special events. They add a lovely glow and create a nice mood.
Maintenance and Durability Tips
Care and maintenance for longevity of wooden lanterns. Weatherproofing methods for outdoor lanterns.Taking care of your wooden lantern is key to keeping it shining bright. Regularly clean it with a damp cloth to keep dirt away. Check for any scratches and fix them with some wood filler—like a dentist for your lantern! If your lantern lives outside, consider weatherproofing it with a sealant. This shields it from rain and sun damage. Just think of it as sunscreen for your lantern!
| Maintenance Tip | Action |
|---|---|
| Regular Cleaning | Wipe down with a damp cloth. |
| Scratch Repair | Use wood filler for any scratches. |
| Weatherproofing | Seal with a weatherproof coating. |
Following these tips can ensure your lantern lasts and looks fantastic. After all, who wants a sad, weather-beaten lantern hanging around? Not this person!
Common Mistakes to Avoid When Making Wooden Lanterns
Frequently encountered issues (tools, materials, assembly). How to troubleshoot common problems during the building process.Building wooden lanterns can be fun, but some traps are easy to fall into. First, make sure you have the right tools. Using the wrong ones can lead to crooked cuts or splinters that earn a trip to the Band-Aid box! Always double-check your measurements. If you’re off by even a smidge, your lantern may look like it came from a funhouse instead of a craft shop. If your lantern doesn’t fit together, it’s usually because of misaligned pieces. A little sanding can fix this. Finally, avoid cheap materials. They don’t just look bad; they can catch fire—yikes! 🕯️
| Common Mistakes | Solutions |
|---|---|
| Wrong tools | Check your toolbox! |
| Off measurements | Measure twice, cut once! |
| Poor materials | Invest in quality wood. |
Inspiration From Other DIY Lantern Projects
Showcase of popular DIY wooden lantern designs from the community. Links to social media hashtags or forums for further exploration.Looking for some lantern ideas? Check out what other DIY fans are creating! From sleek and modern designs to rustic charm, the community is buzzing with creativity. You can find amazing wooden lanterns on social media. Just search hashtags like #DIYLanterns or visit forums full of tips and tricks. You’ll be inspired to light up your space with your own touch! Remember, the only limit is your imagination (and maybe your wood supply)!
| Hashtag/Forum | Description |
|---|---|
| #DIYLanterns | A vibrant collection of lantern projects. |
| DIYForum.com | A community where you can share and get advice. |
Conclusion
In conclusion, DIY wooden lantern plans let you create beautiful lights for your home. You can choose from many designs, making it easy to find one you like. Building your lantern helps you learn new skills while adding charm to your space. So gather your materials, follow a plan, and start crafting! You’ll love the glow you create!FAQs
What Materials Are Needed To Build A Diy Wooden Lantern, And Where Can I Find Them?To build a DIY wooden lantern, you need wood, nails, glass (or plastic), and a candle or light. You can find wood at a hardware store or craft store. Nails and glass can also be picked up there. For candles or lights, check stores that sell home items.
Are There Specific Woodworking Tools Required For Creating A Wooden Lantern?Yes, you need some special tools to make a wooden lantern. First, you’ll need a saw to cut the wood. A drill helps make holes for the light. Sandpaper smooths the edges. Finally, a hammer and nails or screws hold the pieces together.
What Are Some Beginner-Friendly Designs For Diy Wooden Lanterns, And How Can I Customize Them?One beginner-friendly design is a simple box lantern. You can use small wooden pieces to make a cube shape. Another idea is a tea light holder made from a flat piece of wood with sides. To customize, you can paint or stain your lantern in your favorite colors. You can also add decorations like stickers, beads, or twine.
How Can I Safely Incorporate Electric Lights Or Candles Into My Diy Wooden Lantern?To safely use electric lights, choose battery-operated ones. These don’t need wires and are safer than regular lights. If you want to use candles, pick LED candles instead. They look real but don’t burn, so there’s no fire risk. Always make sure your lantern has enough space for the lights or candles.
What Are Some Tips For Finishing And Weatherproofing My Wooden Lantern To Ensure Durability?To make your wooden lantern last longer, start by sanding the wood to make it smooth. Then, use outdoor wood sealer to protect it from rain and sun. After that, paint or stain it with weatherproof colors. Make sure to let everything dry completely before using your lantern outside. Check it often for any damage and fix it right away!