Have you ever wanted a calculator that’s not just smart but also special? Imagine making your own DIY wooden calculator. It sounds like magic, right?
Creating something with your hands brings joy. Plus, a wooden calculator looks cool on your desk. It could impress your friends. Imagine their faces when they see it!
Did you know that calculators were once made of wood? Long ago, people used simple wooden tools to add and subtract. Those old school gadgets sparked ideas that led to today’s tech.
In this article, you will learn how to build your own DIY wooden calculator. It’s easier than you might think! You’ll need some basic tools and wood pieces. Are you ready to start this exciting project?
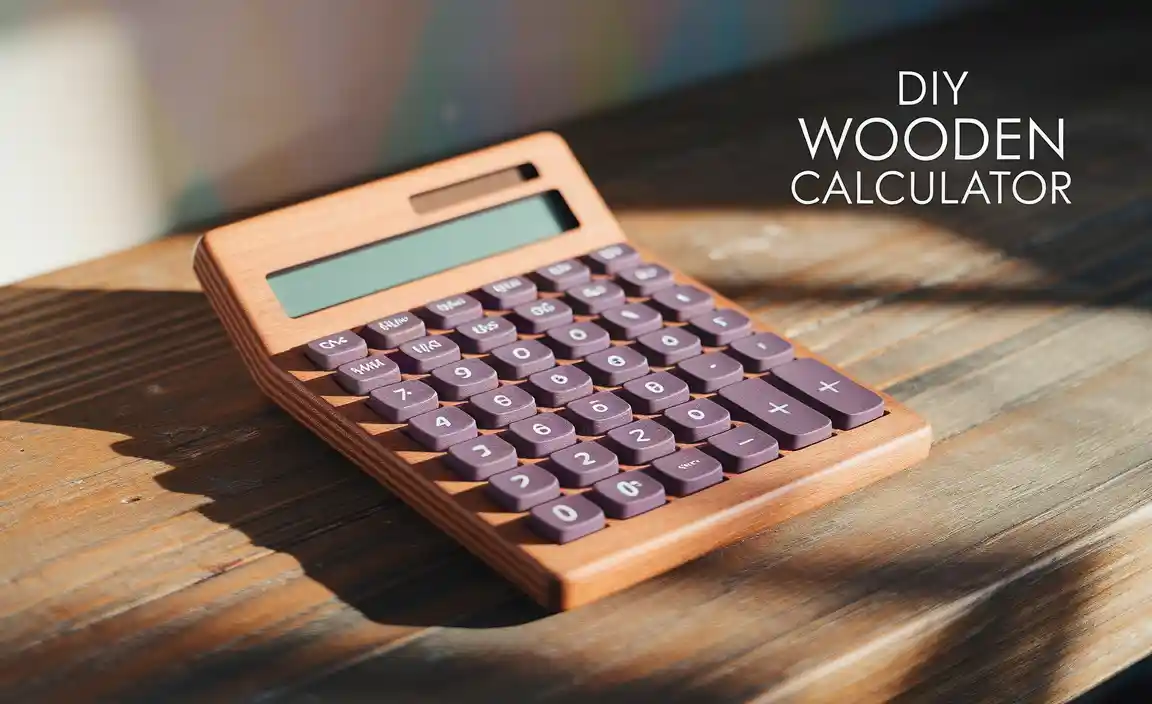
Table of Contents
Create A Unique Diy Wooden Calculator For Your Home

Discover the fun of creating a DIY wooden calculator! This project combines creativity and math, making it a perfect activity for kids and adults alike. Using simple materials, you can design a unique calculator that not only looks great but also works. Imagine showing off your handmade gadget to friends. Did you know crafting helps improve fine motor skills? Get ready, gather your supplies, and let’s make math exciting with a personal wooden touch!
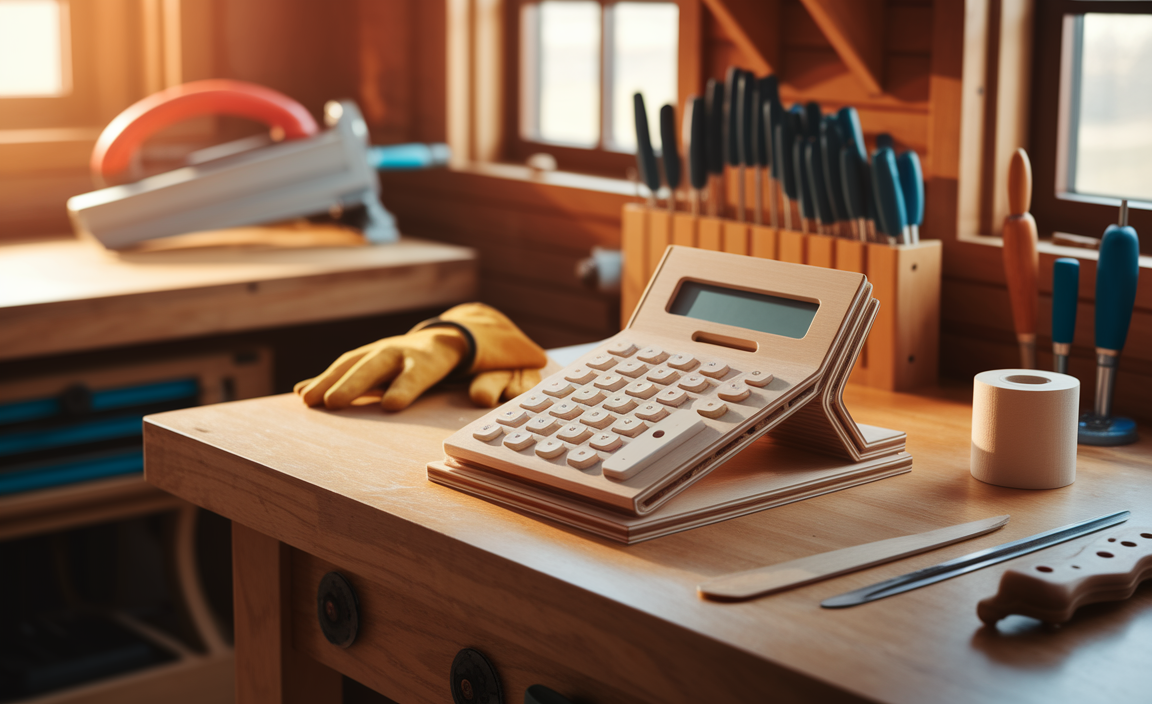
What You’ll Need for Your DIY Wooden Calculator
List of essential materials and tools required. Recommendations for types of wood and finishes. To make your own wooden calculator, you’ll need some key materials and tools. First, gather wood like bamboo or pine for a sturdy and stylish finish. Don’t forget tools like a saw, drill, and sandpaper to shape and smooth the wood. A good finish can be achieved with wood oil or varnish, making it look fabulous! Here’s a quick list to keep you on track:
| Materials | Tools |
|---|---|
| Bamboo or Pine Wood | Saw |
| Wood Glue | Drill |
| Wood Oil or Varnish | Sandpaper |
| Buttons or Knobs | Clamps |
With this list, you’re all set! Happy crafting, and remember: the only thing sharper than your tools should be your wit!
Designing Your Calculator: Sketching and Planning

Tips on creating a rough design blueprint. Importance of measuring dimensions accurately. Creating a design for your calculator is exciting! First, grab some paper and sketch your ideas. This helps you see what your calculator will look like. Next, measure everything carefully. Accurate dimensions make your project work well. Here are some tips:
- Think about the size of buttons.
- Show where the screen goes.
- Leave space for the battery and wires.
Remember, your blueprint is the first step to building something cool!
Why is Sketching Important for Your Calculator?
The blueprint helps you stay organized. A good design saves time and materials. When you plan well, your project will be easier and more fun!
Step-by-Step Instructions to Build Your Wooden Calculator
Detailed process from cutting wood to assembly. Safety precautions to consider while working with tools.
To build your wooden calculator, follow these steps carefully. First, cut the wood into the right shapes. Use a saw for straight cuts. Next, sand the edges smooth. This helps prevent splinters. Now, assemble the pieces with glue. Make sure they fit snugly. Let it dry fully before moving on. Always wear goggles to protect your eyes and gloves for safety while using tools. Keep your workspace tidy to avoid accidents.
What tools do I need for this project?
You will need basic tools like a saw, sandpaper, glue, and screws. These tools help you create your DIY wooden calculator safely and correctly.
Safety Tips
- Always wear safety goggles.
- Use gloves to protect your hands.
- Keep your workspace clean.
- Ask an adult for help with tools.
Enhancing Functionality: Adding Advanced Features
Suggestions for incorporating functions like memory or scientific calculations. Ideas for programming functions if using a microcontroller.
Imagine your wooden calculator becoming a math wizard! You can add cool features like memory functions. This way, you can store answers and recall them later. How amazing is that? Also, think about scientific calculations. Add buttons for sine, cosine, or even pi!
If you’re using a microcontroller, you can program it to do even more tricks. Just think of it as giving your calculator a brain! You can write simple code so it can add, subtract, and multiply like a champ.
| Feature | Function |
|---|---|
| Memory | Store and recall answers |
| Scientific Calculations | Sine, Cosine, Pi |
| Microcontroller | Advanced programming |
With these ideas, your DIY wooden calculator will wow all your friends. Soon, it will be the star of math class. Get ready for some number magic!
Finishing Touches: Sanding, Painting, and Sealing
Best practices for smoothing surfaces and applying finishes. Options for decorating or personalizing your calculator.
Smoothing your DIY wooden calculator makes it look great! Use sandpaper to gently scrub the surfaces. Sand in circles, then wipe off the dust. Next, apply paint or a wood finish. Choose colors that you love. You can also decorate with stickers or stencils. Here are some fun ideas:
- Use bright paint for a snazzy design.
- Try a clear coat to show off the wood grain.
- Add stickers of your favorite characters.
These finishing touches make your calculator special!
How can I personalize my DIY wooden calculator?
To personalize your calculator, you can use paint for colors or stickers for designs. Stencils also help you create cool shapes or letters!
Troubleshooting Common Issues in DIY Wooden Calculators
Guidance on resolving electronic malfunctions. Tips for fixing structural problems.
Building DIY wooden calculators can be fun, but sometimes they face issues. If your calculator won’t turn on, check the batteries first. If the wood isn’t fitting right, realign the pieces gently. Here are some tips to help you troubleshoot:
- Check connections for loose wires.
- Ensure all parts are securely glued or fitted.
- Look for any cracks in the wood.
- Replace faulty components as needed.
Fixing these common problems can lead to a smooth-operating calculator!
What do you do if the calculator displays wrong results?
Check if the batteries are installed correctly. Also, ensure all components are connected well.
Showcasing Your Finished Wooden Calculator
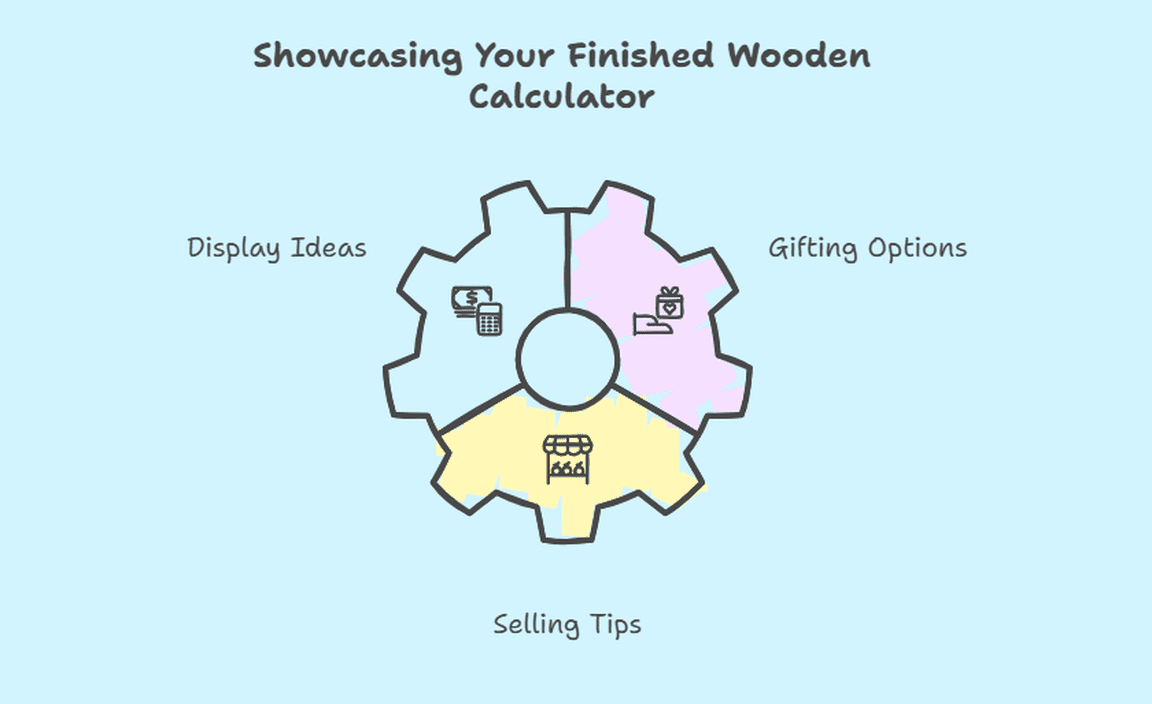
Ideas for displaying your creation or sharing with others. Options for gifting or selling your DIY project.
Once you’ve crafted your stunning wooden calculator, it deserves a grand debut! You can place it on your desk as a conversation starter or hang it on a wall like a piece of art. Don’t forget to share your creation online—social media loves a good DIY story! If you’re in a giving mood, consider wrapping it up as a gift for a friend. Or, if you’re feeling entrepreneurial, why not sell your masterpiece? After all, handmade gifts are like hugs you can hold!
| Display Ideas | Gifting Options | Selling Tips |
|---|---|---|
| Desk decoration | Birthday presents | Online marketplace |
| Wall art | Holiday gifts | Craft fairs |
| Social media showcase | Teacher appreciation | Local shops |
Additional Resources for DIY Projects
Recommended websites, forums, and books for further learning. Links to video tutorials and workshops for handson guidance.
If you’re diving into DIY projects, there are many great places to learn more! Websites like Instructables and Pinterest are treasure troves of creativity. From there, join forums like Reddit’s DIY community, where you can ask questions and share ideas. Want hands-on help? Check out YouTube for amazing video tutorials. Books about woodworking are also helpful. Don’t forget to grab a cup of coffee before you start! Here’s a quick table of resources:
| Resource Type | Name/Link |
|---|---|
| Website | Instructables |
| Forum | Reddit DIY |
| Video Tutorials | YouTube |
| Books | Essential Woodworking by David Durnil |
Conclusion
In summary, a DIY wooden calculator is a fun project you can create at home. It boosts your creativity and sharpens your math skills. You learn about woodworking and engineering along the way. So, gather your materials, follow a tutorial, and start building! For more ideas, explore online resources and see what other projects you can try. Happy crafting!
FAQs
What Materials Are Needed To Build A Diy Wooden Calculator From Scratch?
To build a DIY wooden calculator, you need some wood for the body. Get a small circuit board and buttons to press. You’ll also need wires to connect everything. Don’t forget a battery to power it on! Finally, grab tools like a saw, glue, and a screwdriver.
How Can You Incorporate Electronic Components Into A Wooden Calculator Design?
You can add electronic parts like a small circuit board and buttons to your wooden calculator. First, cut holes in the wood for the buttons and screen. Then, connect the circuit board inside. You can use wires to link everything. Finally, make sure the wooden case holds everything together neatly.
What Are Some Creative Design Ideas For Personalizing A Wooden Calculator?
You can paint your wooden calculator in your favorite colors. Stick on fun stickers or decals that show your hobbies. You can also carve your name or a cool design into the wood. Adding a small pouch or case can help keep it safe and more special. Finally, use bright washi tape around the edges for extra flair!
What Are The Essential Tools Required For Crafting A Wooden Calculator?
To craft a wooden calculator, you need a few important tools. First, get a saw to cut the wood. You will also need sandpaper to smooth the edges. A drill helps make holes for buttons. Finally, glue will hold everything together. With these tools, you can start making your wooden calculator!
How Can You Troubleshoot Common Issues That Might Arise During The Construction Of A Wooden Calculator?
To troubleshoot problems while building a wooden calculator, first check your measurements. Make sure all the pieces fit together correctly. If something doesn’t work, try changing the batteries or connections. You can also ask a friend or adult for help if you get stuck. Lastly, take breaks! This helps you think better and find solutions.
Resource:
-
Simple woodworking techniques: https://www.popularwoodworking.com/techniques/
-
Microcontroller coding basics: https://www.arduino.cc/en/Tutorial/HomePage
-
Creative STEM projects for kids: https://www.sciencebuddies.org/stem-activities
-
Tips for sanding wood like a pro: https://www.familyhandyman.com/project/how-to-sand-wood/