Yes, you can install beautiful DIY hardwood flooring! With careful planning, the right tools, and our step-by-step guide, you’ll achieve stunning, durable results with confidence. This guide breaks down everything you need for a successful project.
Thinking about upgrading your home with gorgeous hardwood floors? It’s a fantastic way to boost your home’s value and its overall charm. Many homeowners feel a bit intimidated by the idea of installing new floors themselves. You might worry about making mistakes, the cost, or simply not knowing where to begin. But here’s the good news: with the right approach, installing DIY hardwood flooring can be a fulfilling and surprisingly manageable project. We’re going to walk through it, step by simple step, making it easy for anyone to achieve a professional-looking finish without breaking the bank. Get ready to transform your space!
Table of Contents
Your Essential Guide to DIY Hardwood Flooring: Effortless, Stunning Results
Installing hardwood floors yourself might sound like a big undertaking, but with the right knowledge and tools, it’s absolutely achievable. I’m Jack Shaffer, your go-to guy for all things DIY and woodworking over at Nailerguy. My mission is to make complex projects feel simple. Today, we’re diving deep into DIY hardwood flooring. We’ll cover everything from picking the right wood to the final nail, ensuring you get those stunning results you’re dreaming of, without the professional price tag.
Why Choose DIY Hardwood Flooring?
Hardwood floors add timeless elegance and warmth to any home. Beyond aesthetics, they are durable and can last for decades with proper care. For the DIYer, the benefits are even greater:
- Cost Savings: The biggest draw is undoubtedly the money you save by skipping professional installation fees, which can add a significant percentage to the total project cost.
- Customization: You have complete control over the type of wood, grain pattern, stain color, and finish. This allows you to perfectly match your home’s existing decor or create a brand-new look.
- Sense of Accomplishment: There’s immense satisfaction in completing a major home improvement project with your own two hands. It’s a skill you’ll build upon for future projects.
- Flexibility: You can work at your own pace, fitting the installation around your schedule without the pressure of a contractor’s timeline.
Understanding Your Hardwood Flooring Options
Before you grab your tools, it’s crucial to understand the types of hardwood flooring available. They come in two main categories:
Solid Hardwood Flooring
This is genuine hardwood, milled from a single piece of timber. It’s traditional, beautiful, and can be sanded and refinished multiple times over its lifespan, making it a long-term investment. Solid hardwood is typically ¾ inch thick and comes in various widths and lengths.
Engineered Hardwood Flooring
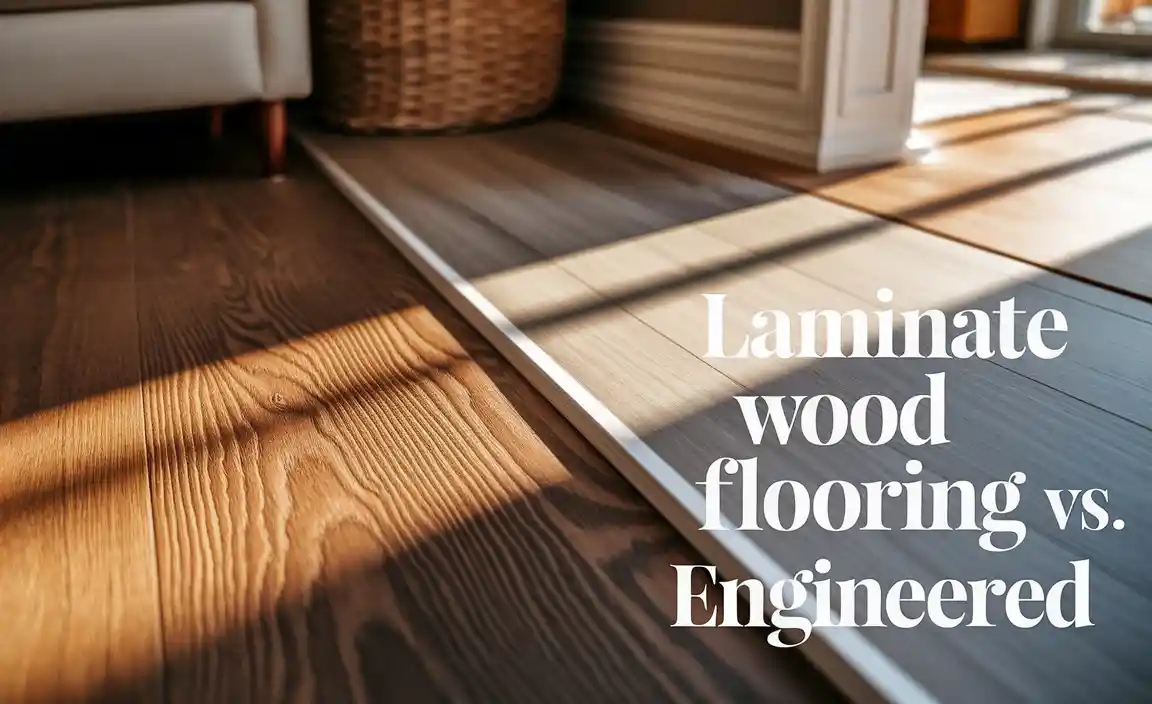
Engineered hardwood is constructed with multiple layers of wood veneer bonded together under heat and pressure. The top layer is a thin veneer of real hardwood. This construction makes it more stable than solid hardwood, especially in areas with fluctuating humidity like basements or kitchens. It can often be installed as a “floating floor” (glued or clicked together without being nailed to the subfloor), which can simplify installation.
For DIYers, engineered hardwood can sometimes be a more forgiving option due to its stability and potential for easier installation methods. However, solid hardwood offers unparalleled longevity if installed properly. We’ll focus on installing solid hardwood, as it’s a common and rewarding project.
Gathering Your Tools and Materials
Having the right tools makes all the difference in a DIY project. For hardwood flooring, you’ll need a mix of common tools and some specialized ones. Safety first, always!
Essential Tools You’ll Need:
- Measuring Tape: For precise measurements of your room and each board.
- Pencil: For marking measurements and cut lines.
- Chalk Line: To mark straight lines on the subfloor for reference.
- Safety Glasses: Protect your eyes from dust and debris.
- Work Gloves: Keep your hands safe.
- Knee Pads: Essential for comfort and protection while working on the floor.
- Dust Mask or Respirator: To avoid inhaling sawdust.
- Utility Knife: For opening packages and trimming underlayment.
- Stud Finder: To locate floor joists for nailing.
- Table Saw or Miter Saw: For cutting boards to length and making precise angled cuts.
- Jigsaw: For cutting around obstacles like doorways or pipes.
- Flooring Nailer (or Cleat Nailer): This is a specialized tool that drives nails at a specific angle into the tongue of the hardwood flooring. Renting one is usually the most cost-effective option for a one-time project.
- Air Compressor: Needed to power the flooring nailer.
- Hammer: For persuading boards into place and for manual nailing in tight spots.
- Pry Bar: For adjustments and removing mistakes.
- Broom and Dustpan or Vacuum Cleaner: For keeping your work area clean.
- Moisture Meter: Crucial for checking the moisture content of your wood and subfloor to prevent future issues. You can find a good guide on how to use one from the HomeLogic organization.
Materials You’ll Need:
- Hardwood Flooring: Purchase about 10-15% more than your calculated square footage to account for cuts, waste, and potential mistakes.
- Underlayment: Depending on your subfloor and the type of hardwood, you’ll need an underlayment for moisture protection, sound dampening, and a smoother feel.
- Moisture Barrier: A plastic sheeting often used over concrete subfloors.
- Finishing Nails or Brad Nails: For trimming around door frames or baseboards if you’re doing any finishing work.
- Wood Glue: For some installation methods, especially with engineered flooring or for extra security on solid floors.
- Acclimation Spacers: Wooden or plastic pieces to maintain expansion gaps.
Step-by-Step: Installing Your DIY Hardwood Floor
Let’s get down to business! This is where your vision starts to take shape. Follow these steps carefully for a beautiful and lasting floor.
Step 1: Prepare the Subfloor
This is arguably the most critical step. A clean, dry, and level subfloor is essential for a successful hardwood installation. Your subfloor is the foundation of your new floor.
- Clean Thoroughly: Sweep and vacuum every speck of dust, dirt, and debris. Any particles left behind can cause squeaks or damage the new flooring.
- Check for Levelness: Use a long, straight edge or a level to identify high spots or low spots. High spots can be sanded down, and low spots filled with a leveling compound. The general rule is that the floor should not deviate more than 3/16 inch over a 10-foot span.
- Check for Moisture: This is super important! Use a reliable moisture meter. For wood subfloors, the moisture content should ideally be between 6% and 12%. For concrete subfloors, it should be below 5%. If you are installing over concrete in a basement or ground-level slab, a vapor barrier (like 6-mil poly sheeting) is a must. Lay it overlapping seams by at least 6 inches and tape them securely. Check the Building Science Corporation for in-depth humidity and moisture management related to building materials.
- Secure the Subfloor: Walk around and check for any loose subfloor boards. Screw these down to the joists to prevent squeaking later.
Step 2: Acclimate the Flooring
Wood is a natural material that expands and contracts with changes in temperature and humidity. It’s vital to let your new hardwood flooring acclimate to the environment of the room where it will be installed. This process prevents buckling or gapping after installation.
- Storage: Store the unopened boxes of flooring flat in the room where it will be installed for at least 72 hours (or as recommended by the manufacturer).
- Purpose: This allows the wood to adjust to the room’s average temperature and humidity levels.
Step 3: Plan Your Layout
A good layout makes installation smoother and the final floor look its best. You’ll typically nail hardwood floors down, so planning where you’ll start is key.
- Starting Wall: Choose the longest, straightest wall in your room. This is usually the best place to start. Ensure this wall is as straight as possible, as imperfections here will be magnified.
- Direction of Planks: Generally, lay planks parallel to the longest wall of the room. This can make the room appear larger.
- Dry Lay: Lay out a few rows of flooring without fastening them to visualize the pattern and identify potential issues (like misaligned boards).
- Expansion Gaps: Remember that hardwood needs space to expand. You’ll maintain an expansion gap of about ¾ inch around the perimeter of the room. This gap will be hidden by your baseboards or quarter-round molding.
Step 4: Lay the First Row
The first row is the foundation for your entire floor. It needs to be straight and secure.
- Remove the Tongue: On the boards for your very first row, you’ll need to cut off the tongue side that faces the wall. This allows the smooth face of the board to sit flat against the wall.
- First Board: Place the first board with its grooved side facing the wall.
- Marking and Nailing: Use a chalk line to ensure your first row is perfectly straight. You can also use a scrap piece of wood (about ¾ inch thick) as a spacer against the wall to help maintain your expansion gap. Nail the first row through the face using ring-shank or finish nails, spaced about 6 inches apart, carefully driving them so they don’t split the wood. Ensure the nails go into the floor joists below if possible.
Step 5: Continue Laying Rows
Now you’re ready to start working across the room, one row at a time.
- Stagger Joints: To create a strong and visually appealing floor, stagger the end joints of your planks. The general rule is to have end joints at least 6 inches apart and offset by at least 1/3 the length of the board. You can use a miter saw to cut planks to different lengths for the end of each row, and then use the cut-off piece to start the next row, provided it’s long enough.
- Using the Flooring Nailer: For subsequent rows, you’ll insert the tongue of the new board into the groove of the previous board. Place the flooring nailer against the face of the board, straddling the tongue. Engage the tool to drive a cleat (a specialized nail) through the board and into the subfloor at an angle. Follow the nailer’s instructions carefully. Manufacturers typically recommend nailing every 6-8 inches along the length of the board and at each end.
- Working Backwards (Optional): Some installers prefer to work backward toward their exit point once they have a few rows down. This is a matter of personal preference, but be mindful of keeping your work area clear.
Step 6: Cutting and Fitting Around Obstacles
You’ll inevitably run into doors, cabinets, and other fixed objects. This is where your jigsaw and patience come in handy.
- Doorways: You’ll usually want to undercut door casings so the flooring can slide underneath. Use a scrap piece of flooring and your underlayment to get the correct height, then use your handsaw or jamb saw to cut the casing.
- Obstacles: For pipes or awkward corners, measure carefully and use your jigsaw to cut the necessary shapes. A tight-fitting piece here will look much better than a large gap filled with caulk.
- The Last Row: The very last row will likely need to be cut to width. Measure the distance from the wall to the face of the last installed board, subtracting your expansion gap. Rip the necessary boards to this width. If removing the tongue is needed for this row to fit, do so. Nail this final row through the face, just as you did the first row.
Step 7: Final Touches and Finishing
You’ve laid the last board! Now for the finishing details that make your floor look professionally installed.
- Remove Spacers: Take out all the expansion spacers you used around the perimeter.
- Install Trim: Reinstall or replace your baseboards. If your old baseboards were removed, you might need to install new higher baseboards or add quarter-round molding along the bottom to cover the expansion gap. Nail the trim into the walls, not into the new wood floor.
- Clean Up: Do a final thorough cleaning of your new floor.
- Protect: Add felt pads to the bottom of all furniture legs to prevent scratches.
Maintaining Your New Hardwood Floor
Your beautiful new floor deserves a little care. Regular maintenance will keep it looking stunning for years to come.
- Regular Cleaning: Sweep or vacuum your floors regularly to remove grit and dust that can scratch the finish.
- Damp Mopping: Use a damp (not wet!) mop with a cleaner specifically designed for hardwood floors. Avoid excessive water, which can damage the wood.
- Preventative Measures: Use doormats at all entrances to trap dirt and moisture. Remove shoes indoors, especially heels or cleats. Place protector pads under furniture.
- Address Spills Immediately: Wipe up any spills as soon as they happen.
Pros and Cons of DIY Hardwood Flooring
Like any DIY project, there are trade-offs. Knowing these upfront can help you decide if this is the right path for you.
| Pros | Cons |
|---|---|
| Significant cost savings on labor. | Requires specialized tools that may need to be purchased or rented. |
| Complete control over material selection and design. | Time commitment can be substantial, especially for larger areas. |
| High sense of personal accomplishment. | Potential for costly mistakes if not done correctly (e.g., moisture damage, improper nailing). |
| Opportunity to learn valuable tradeskills. | Physical demands can be high (kneeling, lifting, repetitive motions). |
| Flexibility in scheduling the project. | Achieving a “professional” look can be challenging for beginners. |
Common Mistakes to Avoid
Even with following instructions, beginners can sometimes stumble. Here are a few common pitfalls to watch out for:
- Not Acclimating the Flooring: This is a top reason for failure. Always give the wood time to adjust.
- Improper Subfloor Preparation: A bumpy or wet subfloor will lead to a bumpy, noisy, or damaged floor. Don’t skip this step!
- Skipping Expansion Gaps: Wood moves! Without space to expand, it will buckle.
- Incorrect Nailing: Nailing too far apart, at the wrong angle, or not deep enough can lead to squeaks and loose boards.
- Not Buying Enough Material: A 10-15% overage is standard for a reason. Running out mid-project is a headache.
For more detailed guidance on subfloor preparation and moisture testing, consulting resources like those from the International Code Council (ICC) can provide valuable insights into building best practices.
FAQs
Q1: How long does it take to install DIY hardwood flooring?
For an average-sized room (like a 150-200 sq. ft. bedroom), a beginner might take 2-3 full days. This timeline includes subfloor prep, acclimation, installation, and finishing touches. More experienced DIYers can often do it faster.
Q2: Can I install hardwood flooring over old vinyl or tile?
Generally, yes, but with important caveats. The old flooring must be flat, firmly adhered, and free of any adhesives or imperfections. If it’s sheet vinyl, it needs to be fully adhered. If it’s tile, ensure none of the tiles are loose and the grout lines are filled smooth. A moisture barrier might also be necessary. Always check your flooring