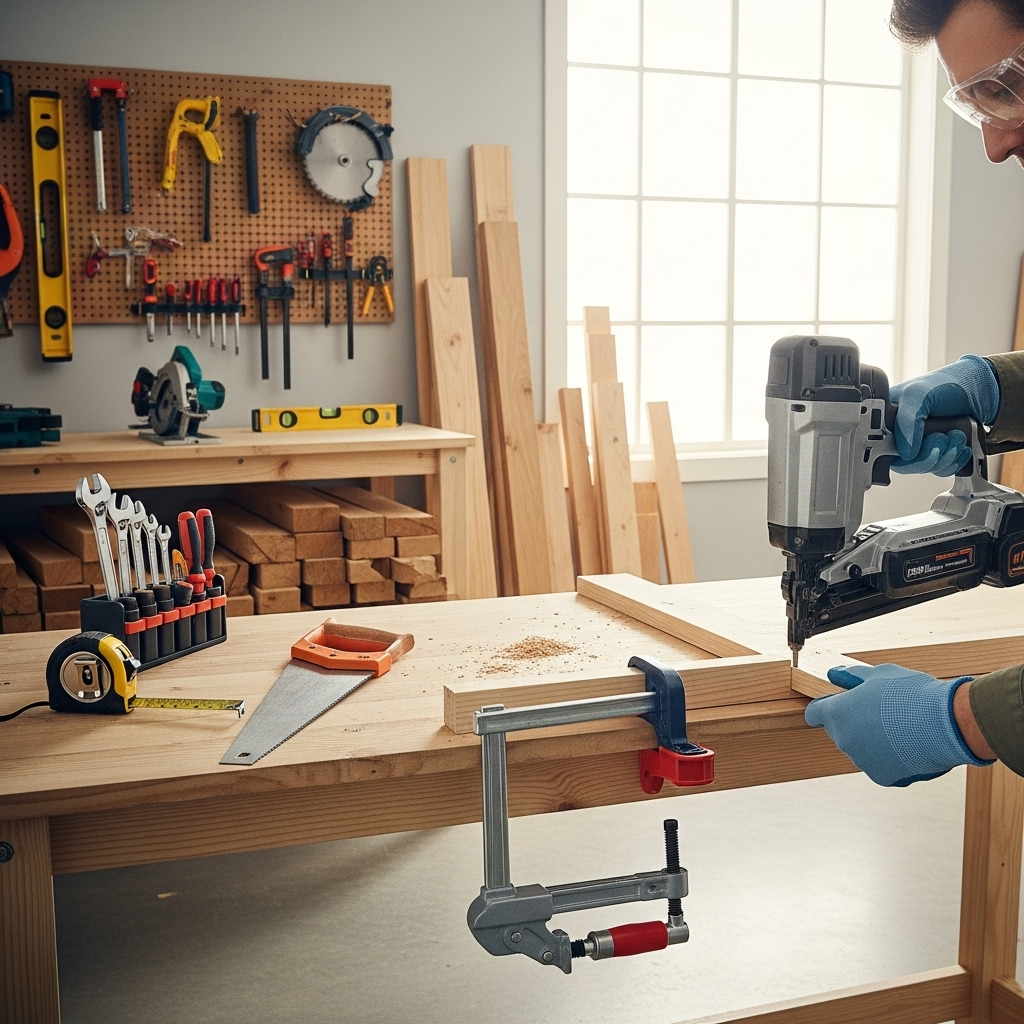
A cordless flooring nailer is an essential tool for efficiently and securely installing laminate flooring, offering the freedom of movement and powerful fastening without the hassle of a compressor and hose.
Laying down new laminate flooring can really transform a room. But getting those floorboards to stay put, nice and secure, is key. Many DIYers wonder about the best way to do this, especially when they want to avoid tripping over air hoses. If you’re aiming for a professional-looking finish without the fuss, a cordless flooring nailer just might be your new best friend. This guide will show you why it’s such a useful tool for laminate projects and how to make the most of it.
Table of Contents
Why a Cordless Flooring Nailer is a Laminate Installer’s Dream
When it comes to installing laminate flooring, you’ve got a few options for fastening. Traditional methods might involve nail guns tethered to bulky air compressors, or even manual nailing, which can be labor-intensive. That’s where the cordless flooring nailer shines. It combines the power of a nail gun designed specifically for flooring with the ultimate convenience of battery power.
Think about it: no more wrestling with a long air hose that gets caught on cabinets or furniture. No need for an expensive compressor that takes up space. A cordless flooring nailer lets you move freely around your workspace, making the installation process smoother and faster. For laminate, which often requires precision and a clean finish, this freedom and power are invaluable.
The Benefits You Can’t Ignore
Using a cordless flooring nailer for your laminate project brings a host of advantages that make it a standout choice for DIYers and pros alike. Let’s break down why it’s so popular:
Unmatched Portability: The biggest win is the complete freedom of movement. You can easily navigate around obstacles, work on different parts of the room without repositioning hoses, and even take it to other jobsites with ease.
Speed and Efficiency: These tools are designed to drive nails quickly and consistently. This means you can lay down more flooring in less time, significantly cutting down on your project duration.
Clean and Professional Finish: Cordless flooring nailers are engineered to countersink nails just below the surface, hiding them for a sleek, professional look. This is crucial for laminate, where exposed nail heads would be an eyesore.
Ease of Use: Modern cordless nailers are surprisingly user-friendly. They often feature ergonomic designs and intuitive controls, making them comfortable to operate even for extended periods.
No Air Compressor Needed: This is a huge space and cost saver. You don’t need to invest in or store a noisy, bulky air compressor. Plus, no air leaks to worry about!
Versatility (with the Right Tool): While specifically designed for flooring, many models can handle other nail types with different attachments, adding value to your tool collection.
What Makes it “Essential” for Laminate?
Laminate flooring, unlike solid hardwood, often has a click-lock system or a thinner profile. While glue-down and floating installations are common, a nailed-down installation can provide a very secure and sturdy floor, especially in high-traffic areas or for specific types of laminate. A dedicated flooring nailer, whether corded or cordless, is designed to drive the correct type of fastener (often cleats or staples) at the precise angle and depth needed to engage with the tongue of the flooring boards and secure them to the subfloor.
Precision Nailing: Laminate can be brittle. A flooring nailer ensures each nail is driven with the right force and at the correct angle, preventing damage to the board’s edge while providing a strong hold.
Speed for Large Areas: If you’re tackling a large room, the speed of a cordless nailer is a game-changer. It turns a potentially grueling task into something much more manageable.
Consistent Performance: Battery-powered tools have come a long way. You can expect consistent power delivery, meaning reliable nail drives project after project.
Understanding Your Cordless Flooring Nailer
Before you start nailing away, it’s good to know the parts and how your cordless flooring nailer works. Think of it like getting to know your car before you take it on a road trip!
Key Components of a Cordless Flooring Nailer
Most cordless flooring nailers share a common design, though specific features vary by brand and model. Here are the main parts you’ll encounter:
Nail Magazine: This is where you load your fasteners (cleats or staples). It holds a strip of nails ready to be driven.
Nailer Head/Nose: This is the business end of the tool, where the nail is driven into the flooring and subfloor. It’s often designed with a specific angle to catch the flooring tongue.
Trigger: This activates the nailer when you press it. Many have safety triggers that require a second action to fire.
Depth Adjustment: This dial or mechanism allows you to control how deep the nail is driven. Getting this right is crucial for a flush finish.
Base Plate/Foot: This part rests on the flooring and helps stabilize the tool while protecting the floor surface from damage.
Battery: The power source for the tool. Make sure it’s fully charged before you start!
Air Bellows/Piston (Internal): This is the mechanism that, powered by the battery and motor, drives the nail. Unlike pneumatic nailers, there’s no external air system.
Types of Fasteners Used
Cordless flooring nailers primarily use two types of fasteners for installing plank flooring:
Cleats: These are L-shaped pieces of metal, typically steel. They are specifically designed to grip the tongue of the flooring. When driven, the cleat slides up the tongue and then nails into the subfloor, securely holding the plank. Most often, you’ll use 16-gauge or 18-gauge L-shaped cleats.
Staples: Some flooring nailers, especially those for thinner materials or engineered wood, might use heavy-duty staples. However, for traditional laminate and hardwood, cleats are generally preferred for their superior holding power on the tongue and groove.
It’s vital to match the fastener type and gauge to your flooring manufacturer’s recommendations. Using the wrong fastener can lead to poor holding power or damage to the flooring.
How They Work (The Magic Inside)
Without getting too technical, here’s a simplified explanation of how a cordless flooring nailer operates:
1. Loading: You load a strip of cleats or staples into the magazine.
2. Positioning: You place the nose of the nailer onto the tongue of the laminate plank, ensuring the base plate is firmly on the subfloor (or designed to brace against the wall).
3. Nail Placement: The tool’s design ensures the cleat or staple is positioned correctly to engage with the flooring tongue.
4. Activation: When you pull the trigger (and often press the nose against the flooring for safety), the internal mechanism fires a piston.
5. Nailing: The piston drives the fastener through the tongue and into the subfloor at the set depth.
6. Reset: The mechanism resets, ready for the next nail.
The battery powers a small motor and air system or a pneumatic ram that drives the nail, entirely contained within the tool itself.
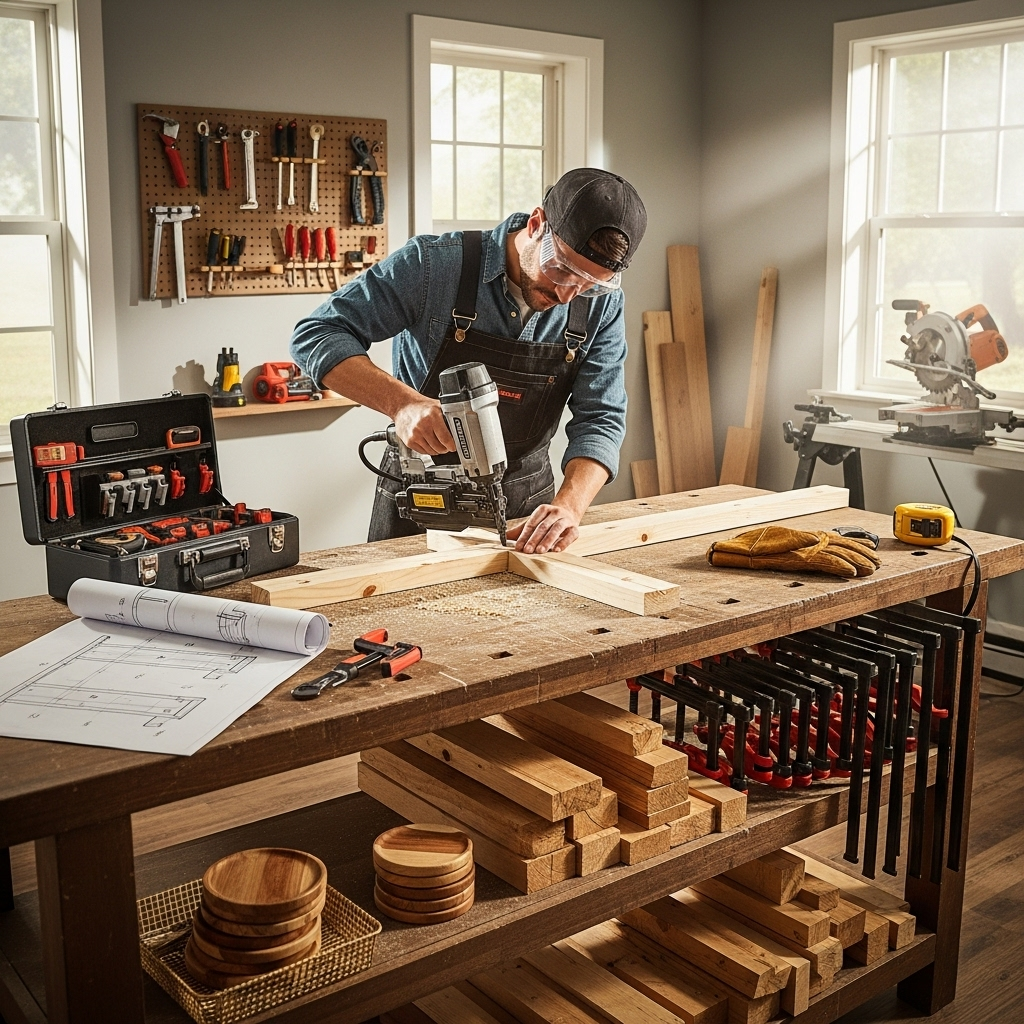
Choosing the Right Cordless Flooring Nailer for Your Laminate Project
Not all cordless nailers are created equal, and choosing the right one for laminate is important. You don’t necessarily need the heaviest-duty model designed for ¾-inch solid hardwood.
Key Features to Consider
When you’re shopping around, keep these features in mind:
Power Source (Battery Platform): If you already own tools from a particular brand (e.g., DeWalt, Milwaukee, Ryobi), sticking with that brand’s battery platform can save you money and hassle. Ensure the battery capacity is sufficient for your project size – a larger amp-hour (Ah) battery will give you more nail fires per charge.
Nail Type Compatibility: Does it fire cleats? What gauge? Is it suitable for the thickness of your laminate? Confirm this before buying.
Weight and Ergonomics: You’ll be holding this tool for extended periods. A lighter tool with a comfortable grip will make a big difference.
Depth Adjustment: Look for an easy-to-use, precise depth adjustment. This is critical for setting nails correctly without damaging the flooring.
Safety Features: Most modern nailers have safety mechanisms to prevent accidental firing. A “contact trip” or “sequential trip” safety is essential.
Brand Reputation and Reviews: Do your research! Read reviews from other DIYers and professionals who have used the nailer for similar projects.
Nailer vs. Multi-Tool vs. Standard Nailer
It’s worth noting that there are different types of cordless nailers. When we talk about a “flooring nailer,” we specifically mean a tool designed to drive fasteners into the tongue of flooring boards.
Dedicated Flooring Nailer: These are your best bet for laminate. They have a specific nosepiece conformation and often a base that helps brace against the floor or wall. They often incorporate a mallet for driving the boards together.
Multi-Purpose Nailer (e.g., Brad Nailer, Finish Nailer): These are not suitable for securely fastening laminate flooring. They are designed for trim work and provide a much weaker hold.
Flooring Stapler: While some may use staples for engineered wood or thinner laminates, cleats are generally preferred for their grip on the tongue.
Table: Cordless Flooring Nailer vs. Other Nailers for Laminate
| Feature | Cordless Flooring Nailer | Brad/Finish Nailer | Standard Nailer (Framing) |
| :—————— | :————————————- | :———————————— | :————————————- |
| Purpose | Securely fastening floorboards | Attaching trim, molding | Framing walls, decks |
| Fastener Type | Cleats (L-shaped), sometimes staples | Tiny nails (brads, finish nails) | Nails, screws |
| Holding Power | High, designed for floor stability | Low, for decorative purposes | High, for structural integrity |
| Damage Risk | Low (when used correctly) | High (can split thin flooring) | Very High (overkill, will damage) |
| Recommendation | Highly Recommended for Laminate | Not Recommended | Never Use |
Where to Find Authoritative Information
For the most up-to-date information and best practices regarding flooring installation and tool usage, always refer to resources like:
The National Wood Flooring Association (NWFA): While their focus is often hardwood, their principles for installation and fasteners are highly relevant. (See their About NWFA page for their mission and standards).
Flooring Manufacturer Websites: Each laminate manufacturer will have specific installation guides. These are crucial for understanding their warranty requirements and recommended fastening methods.
Tool Manufacturer Manuals: Always read the manual for your specific cordless flooring nailer for operating instructions and safety warnings.
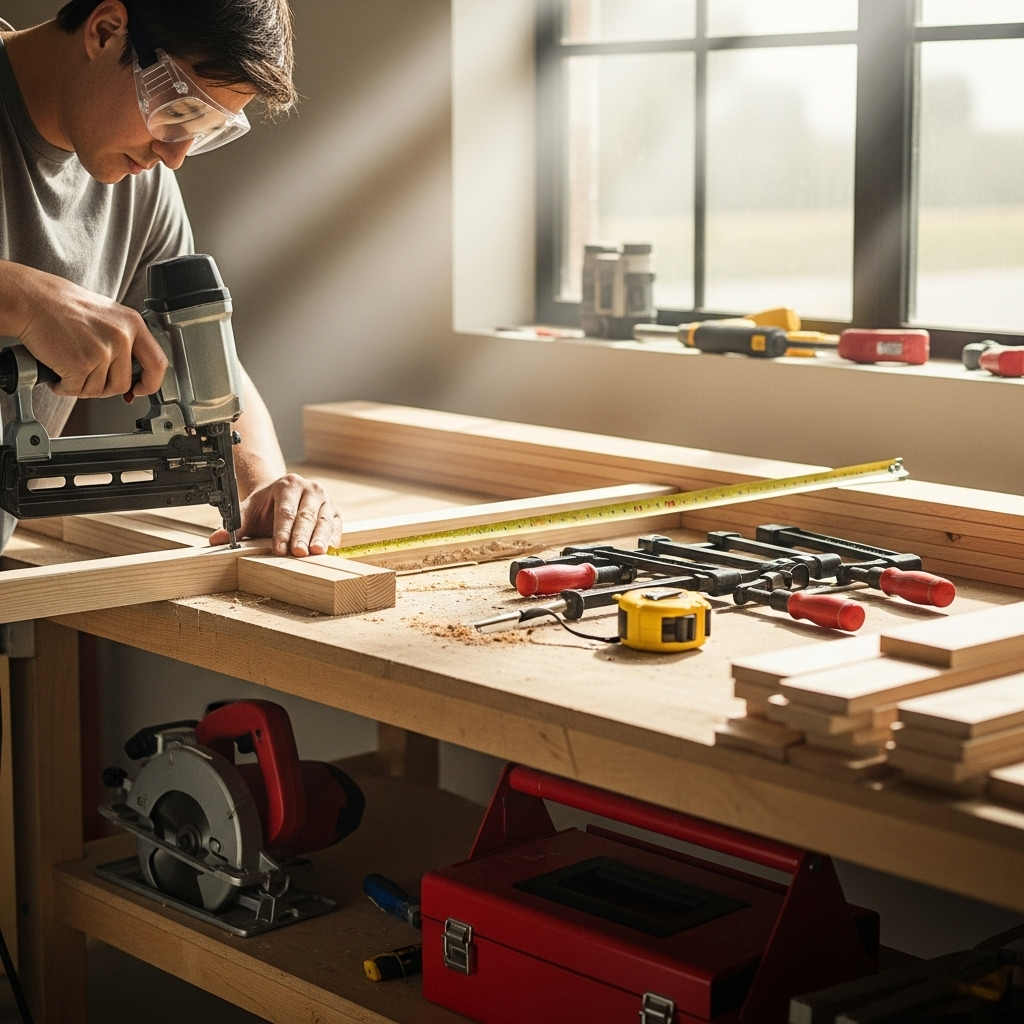
Step-by-Step: Using Your Cordless Flooring Nailer for Laminate
Ready to get started? This guide will walk you through the process of using your cordless flooring nailer safely and effectively to install laminate.
Before You Begin: Preparation is Key!
Don’t skip this part! Proper preparation makes the actual flooring installation much smoother.
1. Acclimate the Flooring: Follow the manufacturer’s instructions. Most laminate needs to sit in the room where it will be installed for at least 48-72 hours to adjust to the temperature and humidity. This prevents buckling later.
2. Prepare the Subfloor: Ensure your subfloor is clean, dry, and level. Remove any old flooring, nails, or debris. Check for high spots and level them out. A smooth, flat subfloor is essential for a good laminate installation.
3. Install Underlayment: Lay down the appropriate underlayment for your laminate flooring. This provides cushioning, sound dampening, and a moisture barrier. Staple or tape it down as directed.
4. Check Your Nailer:
Battery Charged: Make sure your battery is fully charged.
Fasteners Loaded: Load the correct cleats or staples into the magazine. Ensure they are seated properly and not at an angle.
Depth Set: Before you drive your first nail into the floor, test the depth setting on a scrap piece of flooring and subfloor. You want the nail head to be just below the surface of the flooring, without piercing the top layer.
Safety Check: Ensure all safety features are engaged and functioning correctly.
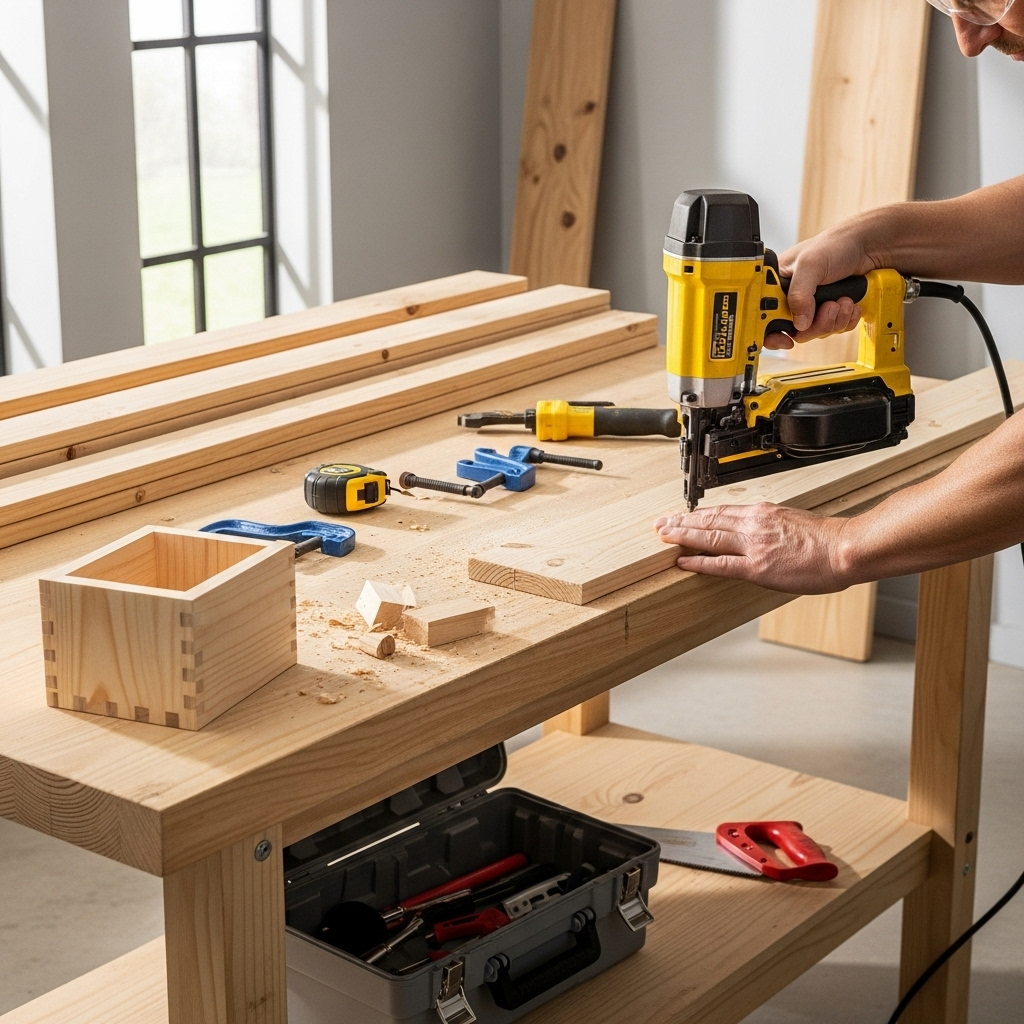
The Nailing Process: Step-by-Step
Now, let’s get to the fun part!
1. Starting Point:
Begin at the longest, straightest wall in the room.
For the first row, you’ll typically remove the tongue on the side facing the wall. This allows the plank to lay flat against the wall.
Place your first plank with the grooved side facing the wall. Use spacers (about ¼ to ½ inch) between the plank and the wall to allow for expansion.
2. Positioning the Nailer:
For subsequent planks in the first row, and for all planks in other rows, you will place the nose of the flooring nailer onto the tongue of the board.
The nailer’s base plate should rest on the subfloor.
Ensure the nail will be driven at an angle into the tongue – check your nailer’s manual and flooring manufacturer’s guide for the correct angle.
3. Driving the First Nail:
Hold the nailer firmly against the flooring tongue.
Press down lightly on the tool to engage any safety mechanism.
Pull the trigger to drive the cleat.
4. Nailing Subsequent Planks:
For the first row, you’ll drive nails into the tongue where accessible.
For subsequent rows, you’ll typically place the nailer at a specific distance from the wall or edge closest to you. The exact placement is crucial – it needs to catch the tongue securely.
Align the next plank, often using a tapping block to gently tap it into place and ensure a tight seam.
Position the nailer on the tongue of the newly placed plank and drive the cleat.
5. Maintain Consistent Nailing:
Aim for consistent spacing between nails, usually every 6-8 inches, along the length of the plank, as per flooring manufacturer recommendations.
Pay attention to nailing near the ends of planks to ensure they are well-secured.
6. Working Around Obstacles:
Around doorways, cabinets, or angled walls, you may need to cut planks to fit.
Use the nailer carefully in tighter spots, ensuring you have a stable grip and the correct angle.
7. Nailing the Final Row:
The last row often requires cutting planks to width.
You may need to use a pry bar to pull the last row tight against the wall.
Nailing the final row can be tricky. You might need to nail from an angle or even face-nail (nailing down through the top surface of the board) in some situations, carefully filling the nail holes afterward. Always check your flooring manufacturer’s specific instructions for the final row.
Tips for a Flawless Finish
Test the Depth Regularly: As you work, periodically check if the nails are setting perfectly flush. Adjust the depth setting if needed.
Use a Mallet Wisely: Many flooring nailers have a built-in mallet or require you to use one to tap planks together. Use a rubber mallet and do so gently to avoid damaging the laminate edges.
Keep it Clean: Periodically wipe down the nose of your nailer to prevent any debris buildup that could affect its performance or scratch the floor.
Work in Sections: Don’t try to do too much at once. Work in manageable sections, ensuring each row is properly seated and nailed before moving to the next.
Watch for Splintering: If you notice splintering, your depth setting might be too aggressive, or your fasteners may not be ideal for the laminate. Adjust accordingly.
Maintenance and Safety: Keeping Your Nailer in Top Shape
Like any power tool, your cordless flooring nailer requires a little care to keep it working reliably and safely.
Routine Maintenance
These simple steps will extend the life of your tool:
1. Battery Care:
Follow the manufacturer’s charging instructions.
Store batteries in a cool, dry place.
Avoid fully draining the battery if possible, as this can reduce its lifespan.
Keep battery contacts clean.
2. Keep it Clean:
After each use, wipe down the exterior of the nailer with a dry or slightly damp cloth.
Pay attention to cleaning the nosepiece and magazine area where dust and debris can accumulate.
Occasionally, you might need to use a small brush to clean out the magazine.
3. Lubrication (Check Manual): Some models may require occasional light lubrication of moving parts. Always consult your owner’s manual before attempting any lubrication. Over-oiling can attract dirt and cause issues.
4. Inspect Regularly: Before each use, quickly inspect the tool for any visible damage, loose parts, or worn components.
Essential Safety Practices
Safety is paramount when working with any power tool, especially one that drives nails.
Read the Manual: This cannot be stressed enough. Your tool’s manual contains crucial safety information specific to its design.
Wear Safety Glasses: Always wear ANSI-approved safety glasses to protect your eyes from flying debris or ricocheting nails.
* Keep Others Away: