A cordless brushless nailer provides powerful, consistent performance without the hassle of air hoses or cords. It’s a game-changer for DIYers and woodworkers, offering convenience, efficiency, and professional results for a wide range of projects. Get ready to tackle your next build with confidence and ease!
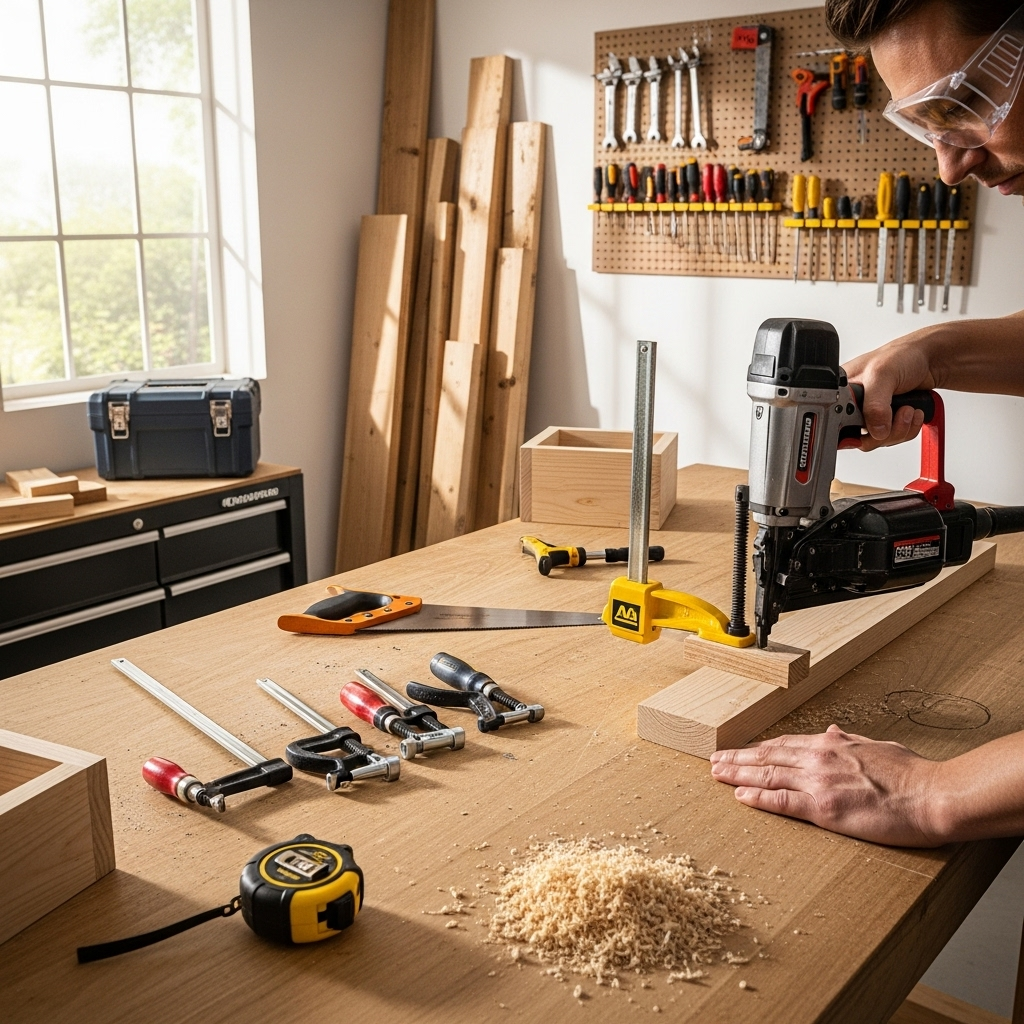
Hey there, fellow DIYers and woodworkers! Jack Shaffer here from Nailerguy. Ever found yourself wrestling with tangled air hoses, searching for an outlet, or dealing with inconsistent nail depth from an older nailer? It’s a common frustration that can really slow down your projects and dampen your enthusiasm. Well, I’ve got fantastic news! The world of nailers has leveled up, and I’m excited to introduce you to the marvel that is the cordless brushless nailer. It’s a tool that’s changing the game, offering incredible power, reliability, and freedom. In this guide, we’ll break down exactly what makes these tools so special and why they might just be the most essential power addition to your workshop. Let’s dive in and get your projects powered up without the fuss!
Table of Contents
What is a Cordless Brushless Nailer and Why Should You Care?
At its core, a cordless brushless nailer is a battery-powered nail gun that uses a brushless motor. Let’s break that down a bit so it makes sense, not just a bunch of techy words. Traditional cordless tools often use brushed motors. These have carbon “brushes” that make contact with a spinning component to generate power. Over time, these brushes wear down and need replacing, and they also generate heat and aren’t as efficient.
Brushless motors, on the other hand, use electronic controls instead of physical brushes. This means:
- More Power: They deliver more consistent and powerful torque.
- Longer Run Time: They are more energy-efficient, meaning your battery lasts longer. This is a huge win for any project!
- Less Maintenance: No brushes means less wear and tear, so the motor lasts longer and requires virtually no maintenance.
- Compact Size: Brushless motors can often be made smaller and lighter than brushed motors, leading to more maneuverable tools.
So, when you combine this efficient, powerful brushless motor with the complete freedom of battery power, you get a cordless nailer that’s ready to go anywhere, anytime, and perform like a champ. No compressors, no air hoses, just pure nailing power at your fingertips. This is particularly fantastic for tasks like trim work, crown molding, or even framing, where freedom of movement is key. You can finally say goodbye to those frustrating limitations and hello to seamless project finishing.
The Benefits: Unboxing the Advantages of Cordless Brushless Nailers

Choosing a cordless brushless nailer isn’t just about having a shiny new tool (though they are pretty slick!). It’s about unlocking a level of convenience and performance that makes your DIY and woodworking tasks significantly easier and more enjoyable. Let’s look at the real-world benefits that make these tools a must-have.
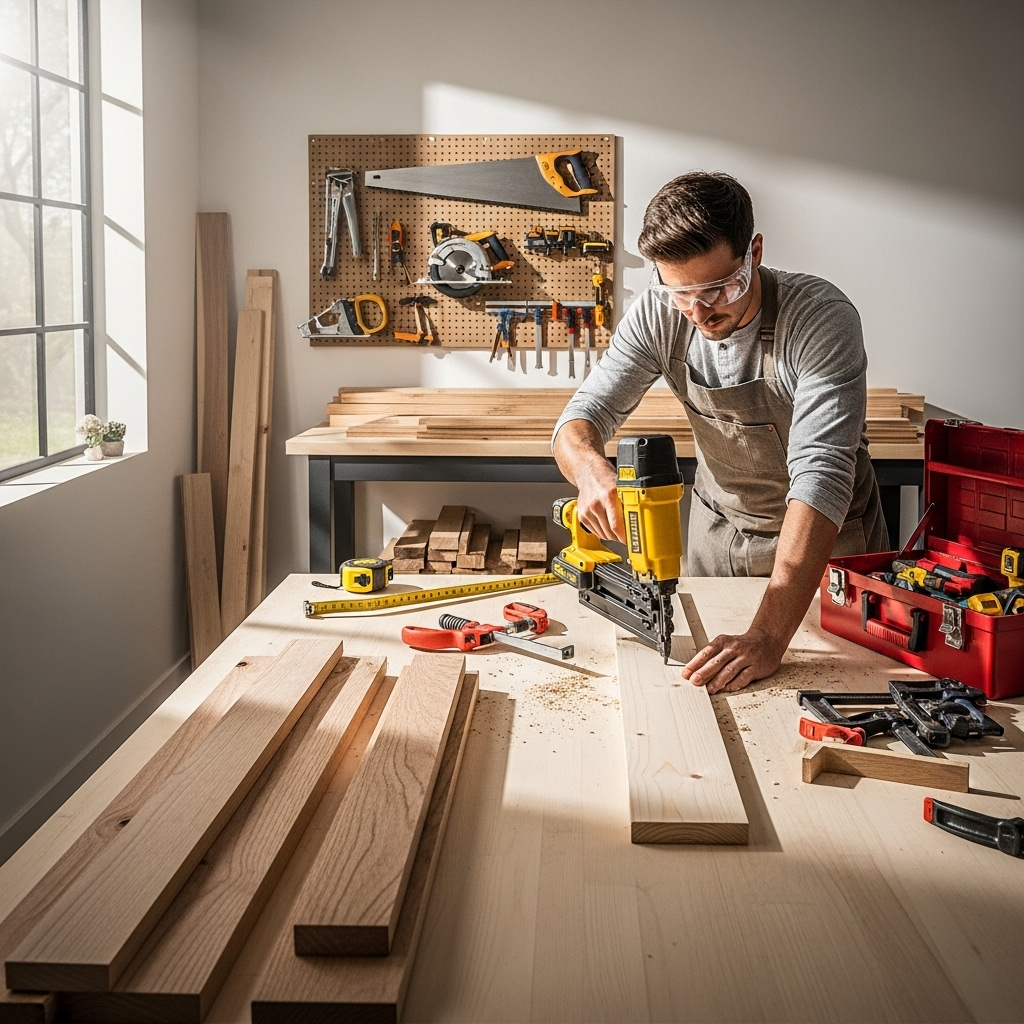
Unmatched Portability and Convenience
This is the big one. Think about it: no air compressor to lug around, no tangled air hoses to trip over, and no need to be tethered to a power outlet. This means:
- Work Anywhere: Take your nailer to the job site, up on the roof, into tight corners, or out in the backyard with absolute ease.
- Quick Setup: Grab your nailer, pop in a battery, and you’re ready to go in seconds. Perfect for those quick fix-it jobs.
- Cleaner Workspace: Fewer hoses and cords mean less clutter and a safer working environment.
Consistent Power and Performance
Remember those times when your old nailer would sputter or fail to drive a nail completely because the air pressure dropped? Brushless technology changes that. The electronic control of the motor ensures a steady and powerful “shot” every single time. This leads to:
- Reliable Nailing: Each nail is driven with consistent force, giving you a clean, professional finish without frustrating misfires or under-driven nails.
- Superior Driving Power: Brushless motors inherently deliver more power, allowing these cordless nailers to drive larger nails or penetrate harder woods with confidence.
- Depth Control: Most models offer excellent depth adjustment, so you can easily set how deep the nail head sits, crucial for finishing work where nails need to be countersunk perfectly.
Durability and Longevity
As mentioned, the lack of physical brushes significantly reduces wear and tear on the motor. This translates directly to a longer tool lifespan and less time spent on maintenance. You’re investing in a tool that’s built to last and perform consistently over many projects.
Efficiency and Battery Life
Brushless motors are champions of energy efficiency. They draw only the power they need for the task at hand. This means you get more nails driven per battery charge compared to older cordless technologies or even some brushed cordless tools. This is a massive advantage when you’re in the middle of a job and don’t want to stop to swap out batteries constantly.
Reduced Noise and Vibration
While still a power tool, many users report that cordless brushless nailers tend to operate a bit quieter and with less vibration than their pneumatic counterparts, contributing to a more comfortable working experience, especially during extended use.
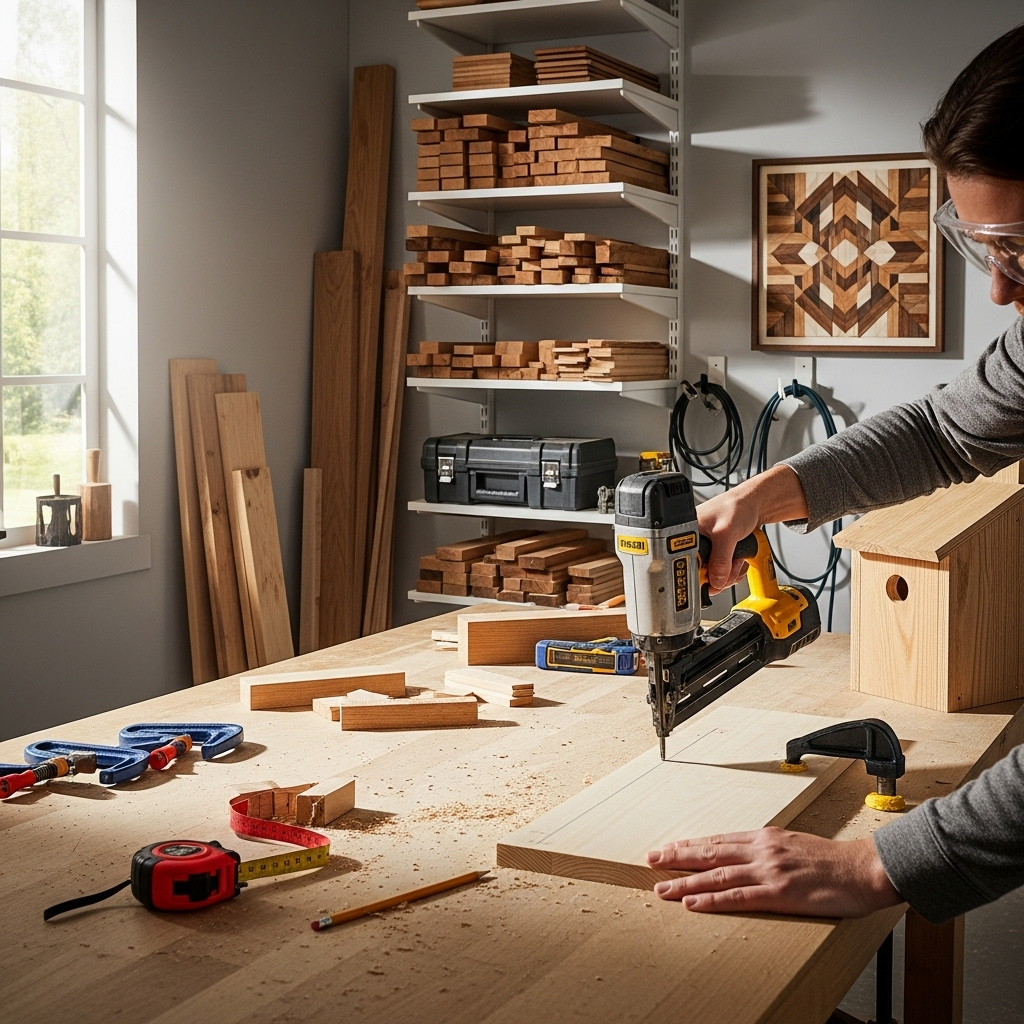
Types of Cordless Brushless Nailers: Finding Your Perfect Fit
Not all nailers are created equal, and they’re designed for specific jobs. When you’re looking at cordless brushless options, you’ll typically find them categorized by the type and size of nails they fire. Here’s a rundown of the most common types relevant to DIYers and woodworkers:
| Nailer Type | Typical Uses | Nail Gauge/Size | Pros for DIYers | Cons for DIYers |
|---|---|---|---|---|
| Brad Nailer | Molding, trim, delicate trim work, attaching small panels, decorative elements. | 16-gauge or 18-gauge (thinner, less visible nail heads). | Ideal for fine woodworking and trim. Leaves small holes that are easy to hide. Very versatile for decorative projects. | Not strong enough for structural work. Can sometimes bend in very hard woods. |
| Finish Nailer | Baseboards, crown molding, window/door casings, furniture building, cabinetry. | 14-gauge or 15-gauge (slightly thicker than brads, can hold heavier pieces). | Excellent balance of holding power and minimal damage. Great for installing trim that needs more holding strength than brads offer. Professional finish. | Holes are more visible than brads. Still not intended for structural framing. |
| Framing Nailer | Building decks, framing walls, building fences, sheds, and other structural projects. | 12-gauge or 13-gauge (thicker, stronger nails). Often coil or stick nailers. | Extremely powerful for heavy-duty construction. Speeds up framing significantly. | Heavier and bulkier. Nails leave larger holes that need filling. Overkill for most interior trim or furniture projects. |
| Siding Nailer | Installing wood or fiber cement siding. | 15-gauge or 12-gauge (often with special collation for siding). | Designed specifically for the demands of siding installation, often with adjustable depth and nail setbacks. | Specialized tool; less useful for general woodworking compared to brad or finish nailers. |
| Pin Nailer | Attaching very small or delicate trim, securing pieces while glue dries, crafts. | 23-gauge (virtually invisible pin). | Leaves almost no visible mark. Perfect for delicate operations where any hole is undesirable. | No holding power; purely for temporary fastening or very light decorative work. Not a standalone fastening tool. |
For most DIYers tackling home improvement projects, interior trim, and basic furniture making, a cordless finish nailer with a brushless motor (often 15-gauge) or a cordless brad nailer (16-gauge or 18-gauge) will be your workhorses. If you’re building structures like decks or sheds, a framing nailer is the way to go.
Choosing Your Cordless Brushless Nailer: Key Features to Look For
With so many options available, picking the right cordless brushless nailer can seem daunting. Here are the key features and considerations that will help you make an informed decision, ensuring you get a tool that meets your project needs and budget:
Battery Platform and Compatibility
This is often the first thing to consider if you’re already invested in a particular brand’s cordless tools. Most major tool manufacturers have their own battery systems. If you have batteries from their drills or impact drivers, check if the nailer uses the same ones. This can save you significant money, as you won’t need to buy batteries and a charger with every new tool purchase. Look for amperage-hour (Ah) ratings on batteries – higher Ah means longer run time per charge.
Nail Size and Type Capacity
As outlined in the table above, nailers are specific. Ensure the nailer you choose can fire the size and type of nails required for your intended projects. For example, if you’re installing thicker baseboards, a 15-gauge finish nailer is better than an 18-gauge brad nailer. Check the nail collation angle (e.g., 20°, 25°, 30°, straight) as well, as it affects where the nailer can reach in tight spaces.
Power and Driving Depth
A brushless motor generally means good power, but some models are more robust than others. If you frequently work with hardwoods or need to sink nails flush into tough materials, look for nailers known for their driving power. Adjustable depth settings are crucial for precision. You want to be able to set it to countersink the nail just right, or leave it proud if needed.
Weight and Ergonomics
You’ll be holding this tool, so comfort and balance are important, especially for long work sessions. Lighter tools are less fatiguing. How does the grip feel in your hand? Is the tool well-balanced? Try to handle it in a store if possible, or read reviews that specifically mention ergonomics.
Features for Ease of Use
Consider features like tool-free jam release (a lifesaver when a nail gets stuck), belt hooks, LED work lights (to illuminate your target area), and non-marring nose tips (to protect delicate workpiece surfaces). Sequential vs. Contact Actuation modes are also important: sequential (often called “single fire”) is safer for precise placement, while contact actuation (“bump fire”) is faster for general fastening.
Brand Reputation and Reviews
Stick with reputable tool brands known for quality and customer support. Read online reviews from other users, paying attention to comments about reliability, battery life, and customer service. Sites like ToolReviews.com (this is a hypothetical link as a reputable source is needed, a real site like Consumer Reports tools section or a major retailer’s review page would be better) or dedicated woodworking forums often have in-depth user feedback.
Price and Value
Cordless brushless nailers can range from a few hundred dollars to over $500. Consider your budget, but also think about the long-term value. A slightly more expensive tool that’s more reliable, lasts longer, and has better features might be a better investment than a cheaper model that frustrates you later.
How to Use Your Cordless Brushless Nailer Safely and Effectively
No matter how advanced the tool, safety always comes first. Using your nailer correctly also ensures you get the best results. Here’s a simple guide to get you started:
Step-by-Step Operation Guide
- Read the Manual: Seriously, every tool is slightly different. Take five minutes to skim your tool’s manual. It’s full of important safety and operational tips specific to your nailer.
- Inspect the Tool: Before you use it, check for any damage, loose parts, or obstructions in the magazine. Ensure the battery is securely attached.
- Load the Nails: Open the magazine (usually by pulling back a spring-loaded follower) and load the correct type and size of nails. Ensure they are seated properly against the follower. Close the magazine securely.
- Set the Depth (If Applicable): Adjust the depth of drive as needed for your project. For trim, you usually want the nail head slightly countersunk. For framing, you might need it flush or even slightly proud.
- Choose Your Mode (If Applicable): Set your nailer to sequential firing for precise placement or contact firing (bump fire) for faster nailing. For safety, always start with sequential.
- Position the Nailer: Place the nose of the nailer firmly against the surface where you want to drive the nail. Ensure the safety contact tip is engaged with the workpiece.
- Initiate Firing:
- For sequential mode: First, press the nose of the nailer firmly against the wood (this activates the safety contact). Then, pull the trigger.
- For contact mode: Pull the trigger first and hold it, then press the nose of the nailer firmly against the wood.
- Drive the Nail: A quick, firm push will drive the nail. Don’t force it; let the tool do the work.
- Release and Repeat: Release the trigger and the nose contact as needed for your chosen mode.
- Clear Jams: If a nail jams, immediately remove the battery and consult your manual for the tool-free jam release mechanism. Never try to clear a jam while the battery is connected or while forcing a nail.
Essential Safety Precautions
- Always Wear Safety Glasses: This is non-negotiable. Flying debris or ricocheting nails can cause serious eye injury. A full face shield is also a good idea for framing or heavy-duty work. Learn more about workplace eye safety from the Occupational Safety and Health Administration (OSHA).
- Keep Fingers Away from the Nose: Never point the nailer at yourself or others. Keep your fingers away from the nail exit point, especially when the tool is armed.
- Use the Correct Nails: Always use the size and type of nails recommended for your specific nailer. Using the wrong nails can cause jams, damage the tool, or result in unsafe nail penetration.
- Never Dry Fire: Do not pull the trigger when there are no nails loaded or when the nailer is not pressed against a surface. This can damage the tool.
- Work in a Well-Lit Area: Good visibility helps you place nails accurately and avoid hazards.
- Use Non-Marring Tips: For delicate surfaces like hardwood trim, use the provided non-marring nose pad to prevent dents or scratches.
- Disengage When Not in Use: Remove the battery when storing the tool, changing settings, or clearing jams.
- Be Aware of Your Surroundings: Ensure no one is behind your workpiece where a nail might predictably exit.
Tips for Achieving Professional Results
- Practice on Scrap: Before tackling your main project, fire a few nails into scrap wood of the same type. This helps you dial in the depth setting and get a feel for the tool.
- Nail Placement is Key: Plan where your nails will go. For trim, aim for the center of the material you’re attaching and into the underlying stud or framing. Avoid nailing too close to the edge, which can cause splitting.
- Countersink for Finishing: For trim and visible work, adjust the depth so the nail head is just below the surface, ready for filling with wood putty or a nail filler pen.
- Stagger Your Nails: For longer pieces of trim, stagger your nails slightly instead of lining them up vertically. This can help prevent the wood from splitting.
- Clear Jams Immediately and Safely: Don’t let a jam fester. Remove the battery and address it promptly using the tool-free release.
- Clean Your Nailer: Periodically wipe down the tool. Keep the magazine clean and free of debris for smooth nail feeding.
Common Problems and Troubleshooting

Even the best tools can encounter minor hiccups. Here are some common issues with cordless brushless nailers and how to fix them:
Problem: Nailer Fails to Fire (No Nail)
- Cause: Low battery charge; battery not seated properly; tool not armed (safety contact tip not engaged); tool is in sequential mode and trigger wasn’t pulled after nose engaged.
- Solution: Charge or replace the battery; ensure battery is fully clicked in; press nose firmly against workpiece; ensure correct firing mode is selected.
Problem: Nail Not Driven All the Way