Cheap Woodworking Projects Under $50: Genius Buys for Budget-Minded Builders
Looking to add some handmade charm to your home without breaking the bank? You’ve come to the right place! Many folks think woodworking requires a huge tool collection and expensive lumber, but that’s just not true. You can create beautiful, functional items for less than $50. This guide will show you how to find amazing deals on materials and tackle simple projects that will impress your friends and family. Get ready to unleash your inner craftsman on a budget!
Table of Contents
Unlock Your Inner Craftsman: Woodworking Under $50
Hey there, DIY enthusiasts! Jack Shaffer here, ready to talk about one of my favorite topics: bringing woodworking dreams to life without emptying your wallet. It’s incredibly satisfying to build something with your own hands, and the idea that it has to cost a fortune is a myth we’re about to bust. Whether you’re looking to spruce up your living space, find the perfect handmade gift, or just learn a new skill, there are tons of fantastic woodworking projects you can complete for under $50. We’ll dive into clever ways to source materials and highlight some brilliant beginner-friendly projects that prove budget-friendly woodworking is not only possible but incredibly rewarding.
Why Are Cheap Woodworking Projects So Appealing?
Let’s be honest, the allure of creating something unique and beautiful is powerful. But when you factor in the cost of lumber, tools, and finishes, that initial excitement can sometimes fade for beginners. This is where the magic of “cheap woodworking projects under $50” comes in. It’s about accessibility. It’s about proving that woodworking isn’t just for seasoned professionals with workshops full of high-end equipment. It’s for anyone with a bit of patience, a willingness to learn, and a can-do attitude.
These projects are appealing for several key reasons:
- Budget-Friendly: The most obvious perk! You get the satisfaction of building without the financial stress.
- Skill Building: They are perfect for practicing basic cuts, joinery, and finishing techniques.
- Creativity Unleashed: These projects often allow for a lot of personalization and unique touches.
- Functional Decor: You end up with useful items that add personality to your home or workspace.
- Gift Giving: Handmade gifts are incredibly thoughtful and personal, and these projects make them achievable.
Smart Shopping: Where to Find Cheap Wood & Materials
The foundation of any woodworking project is the wood itself. To keep costs down, you’ve got to be smart about where you source your materials. Forget the fancy lumberyard for your first few projects; there are plenty of treasure troves out there.
Scrap Wood and Offcuts: The Underrated Goldmine
This is probably the best place to start. Many shops and even individuals have leftover wood from larger projects. You can often get these for free or at a very low cost.
- Local Cabinet Shops: They often have offcuts of plywood, hardwoods, and softwoods from custom jobs. Call ahead and ask if they have any scrap bins you can look through.
- Construction Sites: Sometimes, you can find usable scrap pieces of lumber after framing or other construction work. Always ask permission before taking anything, as taking things without asking is theft.
- Online Marketplaces: Websites like Craigslist, Facebook Marketplace, and Freecycle often have people giving away scrap wood.
- Pallets: While often free, be cautious. Not all pallet wood is suitable for projects, and some can be treated with chemicals. Look for markings like “HT” (heat-treated) which are generally safer than “MB” (methyl bromide treated). Disassembling pallets can also be a workout!
Affordable Wood Species
When buying new, some wood species are significantly cheaper than others. These are fantastic for beginners.
- Pine: Soft, easy to work with, and inexpensive. Perfect for painted projects or simple shelves.
- Poplar: Another affordable hardwood that takes paint and stain well. It’s a bit harder than pine.
- Plywood: Comes in various grades and thicknesses. For simple projects, construction-grade or utility-grade plywood can be very cost-effective. Look for projects that utilize the edges of plywood as a design element.
Don’t Forget the “Hardware”
Even the cheapest project can be derailed by expensive screws, nails, and finishes. Plan ahead!
- Bulk Buys: If you can, buy screws and nails in larger boxes rather than small hardware store packs.
- Discount Stores: Check out dollar stores or discount home improvement centers for basic hardware and finishing supplies.
- Sales: Keep an eye out for sales at big box stores.
- Salvaged Hardware: Old hinges, knobs, and brackets can add character and save money if you find them at architectural salvage yards or on old furniture being discarded.
Genius Woodworking Projects Under $50 (with Estimated Costs)
Let’s get to the good stuff! Here are some fantastic, beginner-friendly projects that you can likely complete for well under our $50 budget. These are designed to be simple, requiring minimal tools and a straightforward approach.
1. The Classic Picture Frame
A simple, sturdy picture frame is a timeless project. It’s perfect for showcasing kids’ artwork, vacation photos, or your favorite prints. You can make them from inexpensive pine boards.
Materials Needed:
- 1×2 or 1×3 Pine Board (approx. 6-8 feet): $5 – $10
- Wood Glue: ~$5 (you’ll have plenty left)
- Small Brad Nails or Wood Screws: ~$5
- Sandpaper (120 and 220 grit): ~$3
- Wood Finish (paint, stain, or clear coat): ~$10 – $20 (can use leftover from other projects!)
- Optional: Small mounting hardware or picture wire
Estimated Total Cost: $28 – $43
Basic Steps:
- Measure & Cut: Decide on the size of your picture and cut four pieces of wood to create the frame. You’ll need two pieces for the top/bottom and two for the sides. Cut the ends at a 45-degree angle for a mitered look, or simply butt them together.
- Assemble: Apply wood glue to the angled ends (or edges) and join the pieces together. Use brad nails or small screws to reinforce the joints while the glue dries. A miter box can help make accurate 45-degree cuts.
- Sand: Once the glue is fully dry, sand all surfaces smooth, starting with a coarser grit (120) and finishing with a finer grit (220).
- Finish: Apply your chosen paint, stain, or clear coat. Follow the product’s instructions for drying times and applying multiple coats if needed.
- Add Picture: Once dry, insert your picture into the frame. You can add a backing board (thin plywood or even sturdy cardboard) and secure it with small nails or staples.
2. Simple Wooden Crate or Storage Box
These are incredibly versatile. Use them for organizing shelves, storing craft supplies, or even as decorative planters (with a liner!). Pallet wood or inexpensive pine are perfect here.
Materials Needed:
- 1×4 or 1×6 Pine Boards (approx. 8-10 feet): $10 – $20
- Wood Glue: Included in previous cost, or ~$5
- 1 1/4″ Wood Screws: ~$7
- Sandpaper: ~$3
- Optional: Wood finish
Estimated Total Cost: $25 – $35
Basic Steps:
- Cut Pieces: Cut your boards to size. For a basic crate, you’ll need two identical long sides, two identical short ends, and several pieces for the bottom.
- Assemble Sides: Attach the short end pieces to the inside of the long side pieces using wood glue and screws. Ensure everything is square.
- Add Bottom Slats: Lay the assembled frame on its side. Attach the bottom slats to the bottom edges of the frame, spacing them slightly apart if desired. Use glue and screws.
- Sand: Sand all surfaces smooth, paying attention to any rough edges.
- Finish (Optional): Apply paint, stain, or a sealant. If using for plants, ensure it has drainage or use a plastic liner.
3. Floating Shelves
Floating shelves offer a clean, modern look and are surprisingly simple to build. They can be made from a single board and some basic hardware.
Materials Needed:
- 1×8 Pine or Poplar Board (approx. 3-4 feet): $5 – $15
- Wood Screws (1 1/2″ and 2 1/2″): ~$10
- Wood Glue: ~$5
- Sandpaper: ~$3
- Wood Finish: ~$10 – $20
- Floating Shelf Brackets (check hardware store, often $10-$20 for a pair): ~$10 – $20
Estimated Total Cost: $43 – $73 (Can be under $50 if you already have some supplies or find brackets on sale!)
Basic Steps:
- Cut Shelf: Cut your 1×8 board to the desired length (e.g., 24 inches).
- Create the “Box”: This is where the magic of floating shelves happens. You’ll typically build a hollow box that slides over the wall-mounted bracket. Cut two end pieces and a bottom piece that wrap around the bracket arms. For example, if your bracket arms are 1/2 inch thick and 4 inches deep, your shelf might be 1×6 material cut to size. The simplest way is to cut three sides of a box that will slide over the bracket.
- Assemble the Box: Use wood glue and screws to assemble the three sides of your box, leaving the back open to slide onto the bracket.
- Sand and Finish: Sand the assembled shelf smooth and apply your desired finish.
- Install Bracket: Mount the floating shelf bracket to the wall using appropriate hardware for your wall type (studs are recommended!).
- Slide Shelf On: Once your shelf is dry, slide it onto the bracket arms. Ensure it’s a snug fit! Some shelves might have small screws on the underside to secure them to the bracket.
Pro Tip: For a more robust shelf system, explore buying larger pieces of plywood and cutting them down. A single 4×8 sheet of 3/4″ plywood can yield many shelves. You can often find a good deal on construction-grade plywood which works well for painted projects. Visit Wood Magazine’s website for more inspiration on DIY shelving.
4. Birdhouse
A charming addition to any backyard. This project is great for using up smaller scraps of wood and is a fun introduction to basic angled cuts.
Materials Needed:
- Scrap Wood (Pine or Cedar are good choices): Free to $10
- Wood Glue: ~$5
- Small Screws or Nails: ~$5
- Sandpaper: ~$3
- Optional: Wood finish (use non-toxic if birds will be inside)
- Optional: Small eye screw for hanging
Estimated Total Cost: $18 – $23
Basic Steps:
- Find a Plan: Search online for “simple birdhouse plans.” Many free plans are available with specific measurements.
- Cut Pieces: Cut out all the pieces according to your chosen plan (front, back, sides, floor, roof). You’ll likely need to make angled cuts for the roof peaks.
- Drill Entrance Hole: Drill an appropriately sized entrance hole in the front piece. Typical sizes range from 1 1/8″ to 1 1/2″ depending on the birds you want to attract.
- Assemble: Use wood glue and screws or nails to assemble the birdhouse walls and floor. Attach the roof panels last.
- Sand: Sand any rough edges.
- Finish (Optional): If you paint or stain, use exterior-grade, non-toxic finishes and only apply them to the outside.
- Hang It Up: Add an eye screw to the roof for hanging, or mount it on a post.
5. Wooden Coasters
Protect your furniture with style! Coasters are quick, and you can make a set from a single board or even use scraps. They make fantastic gifts.
Materials Needed:
- 1×4 or 1×6 Pine Board (approx. 2 feet) OR scrap wood: $2 – $5
- Wood Glue (if joining pieces): ~$5
- Sandpaper (medium and fine grit): ~$3
- Wood Finish (polyurethane, sealant, or paint): ~$10 – $20
- Optional: Felt or cork backing
Estimated Total Cost: $20 – $33
Basic Steps:
- Cut to Size: Cut your board into squares (e.g., 4″ x 4″). If using a wider board, you can also cut them into circles or hexagons.
- Glue Up (if needed): If you’re making thicker coasters from multiple layers, glue them together and let them dry completely.
- Sand Smooth: Sand all surfaces and edges until they are perfectly smooth.
- Apply Finish: Apply several coats of a durable, water-resistant finish like polyurethane. This is crucial to protect them from moisture rings. Let each coat dry thoroughly and sand lightly between coats if needed.
- Add Backing (Optional): Glue a piece of felt or cork to the bottom to prevent scratching surfaces.
Tools You Might Need (Starting Out Small)
You don’t need a fully stocked workshop to tackle these projects. Here are some essential tools that will serve you well and are relatively inexpensive to start with. Many of these you might even already own!
| Tool | Why You Need It | Budget-Friendly Options |
|---|---|---|
| Hand Saw or Miter Box with Saw | For making straight cuts in your wood. A miter box ensures accuracy for common angles. | Basic hand saws are very affordable. A plastic miter box with a saw is a great starter kit ($20-$40). |
| Measuring Tape and Pencil | Precision is key in woodworking. Measure twice, cut once! | Essential and very inexpensive ($5-$10). |
| Sandpaper (various grits) | For smoothing rough edges and surfaces, preparing for finishing. | Available in multi-packs for a few dollars. Look for 80, 120, and 220 grit. |
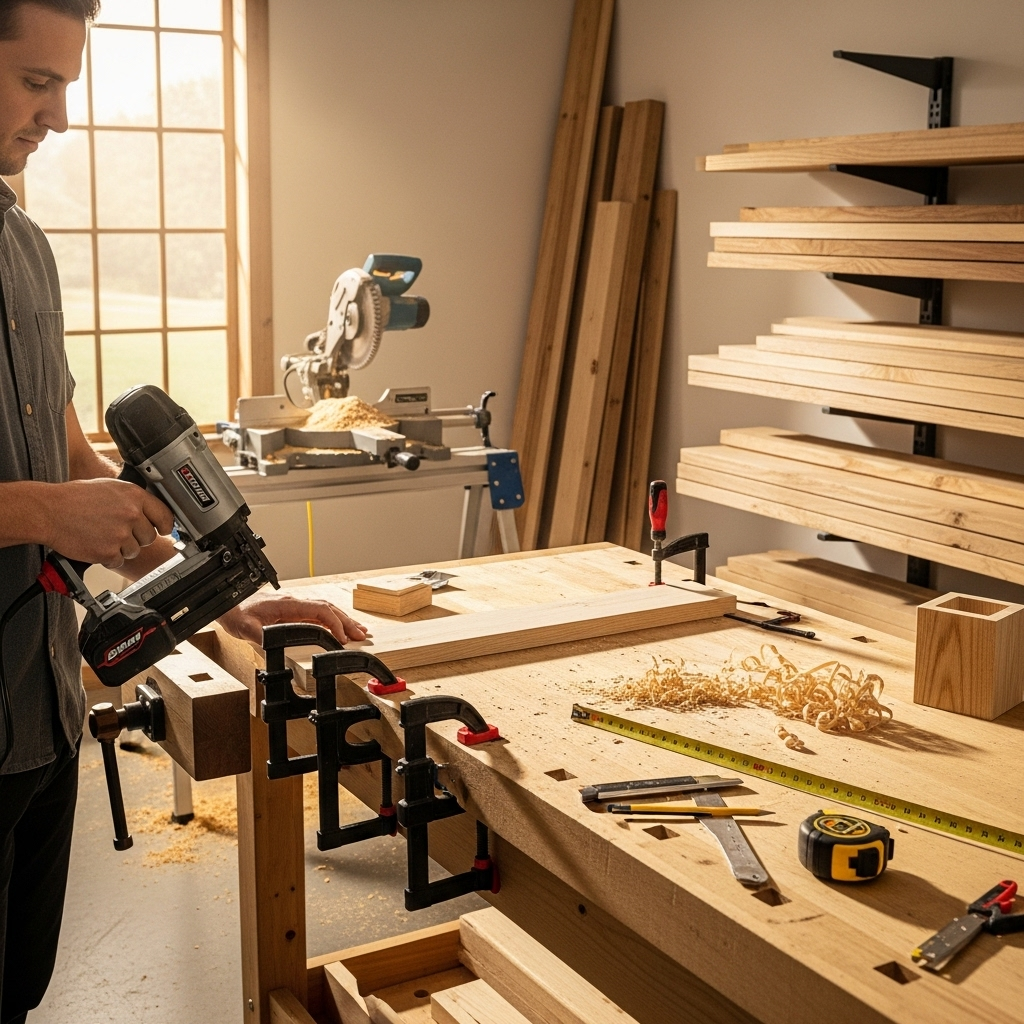
| Clamps (bar clamps, spring clamps) | To hold pieces together while glue dries or while you’re working. | Spring clamps are very cheap. Basic bar clamps can be found for $10-$20 each. You can often get by with just a couple. |
| Drill and Drill Bits | For pilot holes (to prevent wood splitting), countersinking, and more complex joinery. | A basic cordless drill can be found for $40-$70. Look for sales or starter kits. You might also consider a hand drill for very simple tasks. |
| Safety Glasses | Non-negotiable! Protect your eyes from dust and debris. | Essential and very affordable ($5-$15). Never skip this step. |
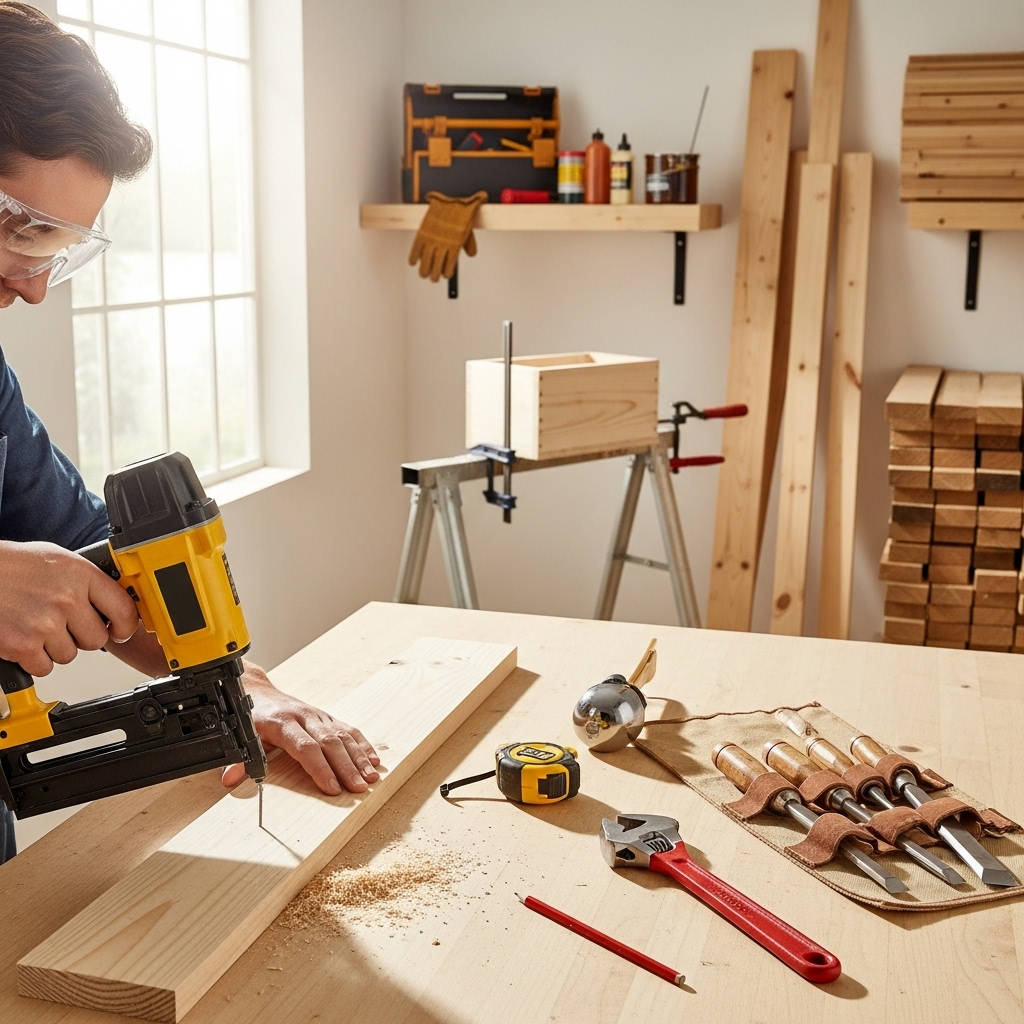
As you get more into woodworking, you might consider adding things like a jigsaw for curves, a random orbit sander for faster sanding, or even a nail gun (like a brad nailer or finishing nailer, which are fantastic for assembly!). For now, these basics will get you building!
Safety First: Woodworking Isn’t Dangerous if You’re Prepared
Working with tools can seem intimidating, but safety is actually quite straightforward. The most important rule is to respect the tools. Understand what they do and how they work before you use them.
Key Safety Practices:
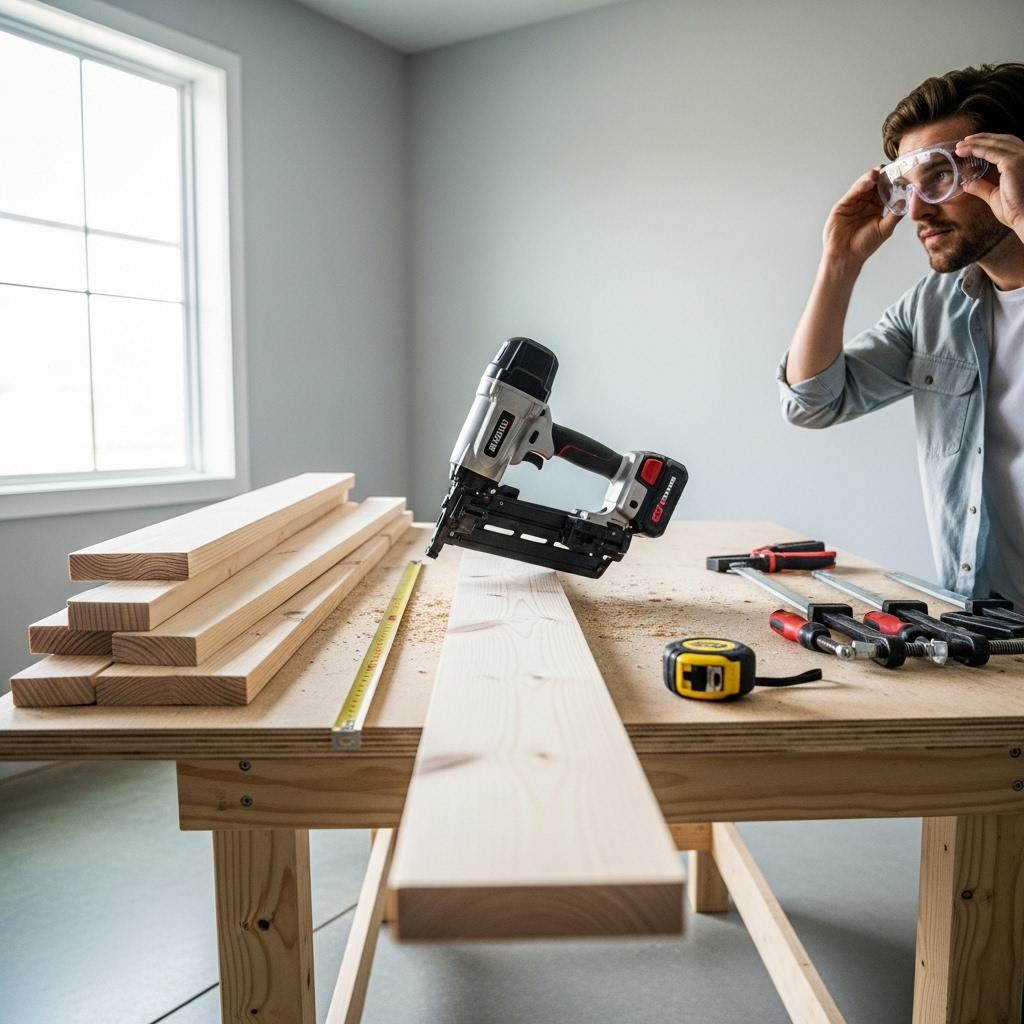
- Always Wear Safety Glasses: I can’t stress this enough. Flying wood chips, dust, and stray fasteners are a real danger.
- Read Tool Manuals: Familiarize yourself with any power tools you use.
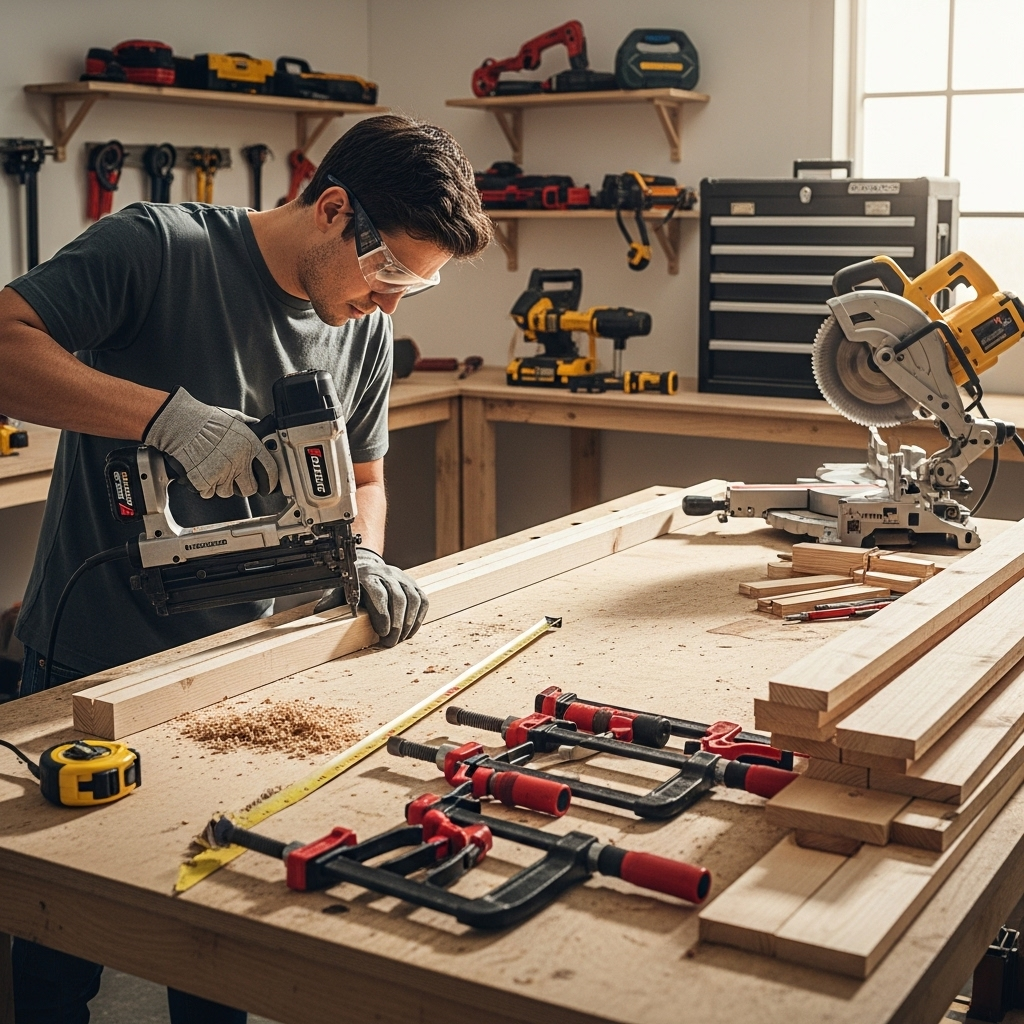
- Secure Your Work: Use clamps to hold your wood firmly in place while you cut or join it. This prevents pieces from shifting and reduces the risk of accidents.
- Keep Your Workspace Tidy: A cluttered shop is a dangerous shop. Sweep up sawdust regularly and keep tools organized.
- Pay Attention: Avoid distractions when you’re working. Focus on the task at hand.
- Sharp Tools are Safer Tools: Dull blades and bits can require more force, increasing the chance of slipping. Keep your tools sharp.
- Understand Wood Movement: Wood expands and contracts with changes in humidity. This can affect how your pieces fit together over time. For simple outdoor projects, you might not need to worry too much, but for indoor furniture, it’s something to be aware of. You can learn more about this phenomenon on resources from organizations like the Woodworkers Guild of America.
Taking these simple precautions will make your woodworking experience much safer and more enjoyable.
Finishing Touches: Making Your Projects Shine
The finish you choose can dramatically change the look and durability of your woodworking projects. For budget-friendly projects, often a few coats of polycrylic (a water-based polyurethane) or a simple wax finish are perfect.
- Paint: Great for pine and poplar to hide imperfections or for a modern look.
- Stain: Enhances the natural grain of the wood. Always use a pre-stain conditioner on softwoods like pine to prevent blotchiness.
- Clear Coat (Polyurethane, Polycrylic, Lacquer): Protects the wood from moisture and wear. Polycrylic is a great beginner’s choice as it’s water-based, low-odor, and cleans up with water.
- Oil Finishes: (e.g., Danish oil, linseed oil) Offer a more natural look and feel but may require more frequent reapplication for durability.
Remember to always work in a well-ventilated area when using finishes and follow the manufacturer’s instructions carefully. Sanding lightly between coats with fine-grit sandpaper (220 grit or higher) will give you a super smooth finish.
FAQ: Your Beginner Woodworking Questions Answered
Here are some common questions beginners have about cheap woodworking projects:
Q1: Do I really need to buy expensive tools to start woodworking?
A: Absolutely not! You can start with a few basic hand tools like a saw, measuring tape, pencil, sandpaper, and some clamps. Many fantastic projects can be accomplished with these essentials. As you grow, you can gradually invest in more power tools.
Q2: Where’s the best place to get free or very cheap wood?
A: Great options include scrap bins at local cabinet shops, construction site discards (always ask permission!), online marketplaces like Craigslist and Facebook Marketplace, and sometimes even free pallets (look for the “HT” stamp for heat-treated).
Q3: What kind of wood is best for beginners and on a budget?
A: Pine and poplar are excellent choices. They are relatively soft, easy to cut and sand, and readily available at affordable prices. Plywood is also a budget-friendly option for many projects.
Q4: How can I make my cheap wood look good?
A: Proper sanding is crucial! Start with a medium grit (like 120) to remove rough spots, then move to a finer grit (220) for a smooth finish. Then, apply a good quality finish – paint can hide imperfections, while stain can bring out the natural beauty of the wood grain. Even a simple clear coat can make a big difference.
Q5: What’s the most important safety rule in woodworking?
A: Always, always wear safety glasses! Beyond that, respecting your tools, keeping your workspace clean, and securing your workpieces are paramount to preventing injuries.
Q6: How do I prevent wood from splitting when I screw or nail it?
A: Drilling pilot holes is the secret! A pilot hole is a small hole drilled before inserting a screw. The diameter of the pilot hole should be slightly smaller than the screw’s shank (the solid part without threads). This removes some wood, making it easier for the screw threads to engage without forcing the wood apart.
Conclusion: Your Woodworking Journey Starts Now!
See? Creating beautiful and functional items with wood doesn’t have to cost a fortune. By focusing on smart material sourcing and choosing beginner-friendly projects, you can absolutely build amazing things for under $50. The key is to start simple, learn as you go, and most importantly, have fun with the process. Building with your own hands is a skill that brings immense satisfaction and can lead to a deeply rewarding hobby.
The projects we’ve discussed are just the tip of the iceberg. Once you get a feel for these basics, you’ll start seeing potential projects everywhere – from scrap wood in your garage to discarded furniture on the curb. Don’t be afraid to experiment, learn from mistakes (they happen to all of us!), and celebrate every finished piece. So grab some wood, gather your basic tools, and get building. Your first genius buy might just be the project you create yourself!