Brad Nailer vs Flooring Cleats: Essential Guide
Choosing between a brad nailer and flooring cleats for your projects? This guide clarifies their distinct uses, helping you select the right tool for a professional finish every time. We’ll break down the differences, applications, and help you make an informed decision for successful DIY.
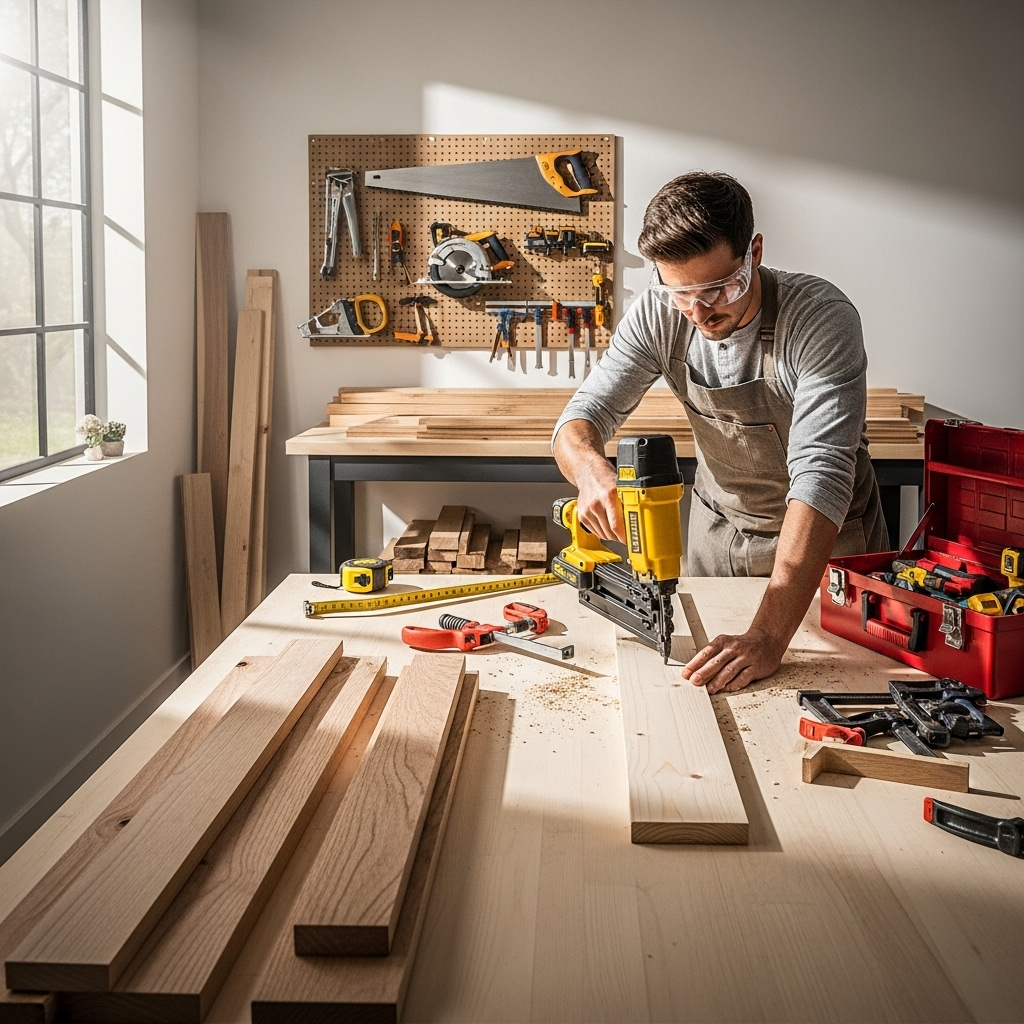
Are you getting ready to tackle a flooring project, or perhaps a trim installation? It’s common to get a bit confused about the right fasteners and tools. You might have heard terms like “brad nailer” and “flooring cleats” and wondered, “What’s the difference?” and “Which one do I need?” Don’t worry, you’re not alone! Many DIYers face this question, and it can feel a bit overwhelming. But I’m here to help! My goal as Nailerguy is to make these tool decisions simple and clear. We’ll walk through exactly what each one does, where they shine, and how to pick the perfect one for your job. Let’s get your project started on the right foot!
Table of Contents
When to Use a Brad Nailer vs. Flooring Cleats: The Nailerguy Breakdown
As a tool enthusiast and DIYer myself, I know how crucial it is to have the right nailer for the job. It’s not just about getting the nail in; it’s about getting it in right. A misplaced nail or the wrong fastener can cause headaches, damage your material, and even affect the final look of your project. So, let’s dive into the world of brad nailers and flooring cleats. Understanding their unique strengths will save you time, money, and frustration.
What is a Brad Nailer?
Think of a brad nailer as your go-to for fine woodworking and trim work. It fires thin, slender nails called “brads.” These nails have a very small head, which means they leave a tiny hole that’s easy to fill and almost invisible once you’re done.
Nail Size: Typically range from 5/8 inch to 2.5 inches long.
Applications: Perfect for delicate tasks where appearance is key. This includes:
Installing baseboards and crown molding
Attaching quarter-round and shoe molding
Crafting furniture and cabinetry
Hobby projects and model building
Attaching decorative wood trim
Benefits:
Minimal wood damage.
Easy to conceal the nail heads.
Versatile for many interior finishing jobs.
Lightweight and easy to maneuver.
The beauty of a brad nailer is its precision. You can get close to edges without splitting the wood, and the slim profile of the brad means it doesn’t detract from the overall aesthetic. It’s a workhorse for anyone focused on fine details.
What are Flooring Cleats?
Flooring cleats, also known as flooring nails or staples, are specifically designed for installing hardwood floors. They are driven by a specialized tool called a flooring nailer, which is quite different from a brad nailer. Flooring cleats are typically L-shaped or come in a barbed staple form, designed to securely fasten the tongue of a hardwood flooring plank to the subfloor.
Nail/Staple Type: Usually L-shaped cleats or barbed staples.
Tool: Requires a dedicated flooring nailer (pneumatic, electric, or manual ramp-style).
Applications: Exclusively for hardwood and engineered wood flooring installation.
Mechanism: The cleat is driven at an angle through the tongue of the flooring board into the subfloor. This method is crucial for preventing the floorboards from shifting, gapping, or lifting over time.
Benefits:
Provides a strong, secure hold for flooring planks.
Designed to work with the tongue-and-groove system of flooring.
Minimizes the risk of floorboards separating.
The angled insertion helps resist pull-out.
A common misconception is that a brad nailer can be used for flooring. While it might fire nails, it’s not the right tool for the job. Flooring requires a specific type of fastener and a robust nailing method to withstand foot traffic and the natural expansion and contraction of wood.
Brad Nailer vs. Flooring Cleats: Key Differences at a Glance
To really get a handle on the distinction, let’s lay out the core differences side-by-side. This table is a great way to quickly see where each tool and fastener fits.
| Feature | Brad Nailer | Flooring Cleat System |
|---|---|---|
| Primary Use | Trim, molding, fine woodworking, crafts | Hardwood and engineered wood flooring installation |
| Fastener Type | Slim, headless or minimal-head brad nails | L-shaped cleats or barbed staples |
| Nail Head Size | Very small, easily concealable | N/A (cleats are driven into the tongue) |
| Driving Mechanism | Direct drive firing mechanism | Specialized flooring nailer (pneumatic, manual, electric) that drives at an angle |
| Holding Power | Moderate, suitable for trim that isn’t structural | High, essential for floor integrity |
| Wood Damage | Minimal, leaves small, easily filled holes | Designed to grip the wood tongue; minimal visible damage |
| Project Type | Baseboards, crown molding, cabinetry, furniture, crafts | Solid hardwood, engineered wood flooring |
As you can see, they are designed for entirely different purposes. Using the wrong tool can lead to subpar results and potential project failure.
When to Choose a Brad Nailer
If your project involves anything that requires a clean, finished look with minimal visible fasteners, a brad nailer is likely your best friend. Think about these scenarios:
Installing Baseboards and Trim: This is where brad nailers truly shine. They allow you to secure baseboards, door casings, window trim, and crown molding quickly and effectively. The small nail holes are almost invisible after a little wood filler and paint or stain.
Cabinetry and Furniture Making: When building cabinets or furniture, you need fasteners that won’t mar the visible surfaces. Brad nails are fantastic for attaching face frames, drawer fronts, and decorative elements.
Crafting and Hobby Projects: For smaller woodworking projects, decorative boxes, or even assembling picture frames, a brad nailer offers a level of control and precision that’s hard to beat.
Attaching Thin Materials: If you’re attaching thin plywood or hardboard to a frame, like for the back of a cabinet or a decorative panel, a brad nailer can do the job without blowing through the material.
When selecting a brad nailer, consider the types of projects you’ll be doing most often. This will help you determine the necessary nail length capacity and power. Many DIY homeowners find a 18-gauge brad nailer to be incredibly versatile for most trim and finishing tasks. For thicker trim or slightly more demanding applications, a 16-gauge brad nailer might be a better choice.
Safety First with Brad Nailers
Always remember that even small nailers pack a punch. Wear safety glasses to protect your eyes from flying debris or ricochets. Ensure the nailer is not resting against your body when loaded and that your fingers are safely away from the firing mechanism. For a deeper dive into safe operation, check out resources from organizations like the Occupational Safety and Health Administration (OSHA) on power tool safety.
When to Choose Flooring Cleats (and a Flooring Nailer)
Flooring cleats are exclusively for installing finished hardwood or engineered wood floors. If you’re laying down planks that will be walked on day in and day out, this is the system you need.
Installing Hardwood Floors: Whether it’s solid hardwood or engineered wood with a real wood veneer, cleats are the standard. Installing a hardwood floor is a significant investment, and these fasteners ensure that investment stays put and looks great for years to come. A well-installed floor means no squeaks, no gaps, and maximum durability.
Working with Tongue-and-Groove Systems: Hardwood flooring typically uses a tongue-and-groove system. The cleats are designed to be fired through the angled tongue, pulling the board tightly against the subfloor and the adjacent board’s groove. This creates a seamless, strong surface.
Ensuring Floor Longevity: The specialized flooring nailer and cleat system are engineered to provide the necessary holding power to prevent floorboards from loosening, cupping, or separating due to temperature and humidity changes, as well as foot traffic.
You cannot use a brad nailer for flooring. The nails are too small, the heads are too visible, and the driving method is all wrong for the structural demands of a floor. Attempting this would lead to loose boards, potential damage to the flooring, and likely a very frustrating, unstable floor.
The Flooring Nailer Explained
Flooring nailers are robust tools. They can be manual (requiring you to manually slam a ramrod), electric, or pneumatic. They all share the common function of precisely driving the cleat at the correct angle into the tongue of the flooring board.
Pneumatic Flooring Nailers: These are the most common for professionals and serious DIYers. They connect to an air compressor and use air pressure to drive the cleat with great force and speed.
Electric Flooring Nailers: These are powered by electricity and are a good option for those who don’t want to deal with air compressors. They offer convenience but can sometimes be a bit heavier.
Manual Flooring Nailers: These are the most budget-friendly option. You position the tool and strike a lever or ramrod to drive the cleat. They require more physical effort but are effective for smaller jobs or when budget is a primary concern. You can often rent these for a single flooring project.
The National Wood Flooring Association (NWFA) is an excellent resource for understanding proper flooring installation techniques, including the importance of the correct fastening system.
Pros and Cons: Brad Nailer vs. Flooring Cleats
To summarize clearly, let’s look at the advantages and disadvantages of each system.
Brad Nailer System
Pros:
Versatile: Great for a wide range of trim and finishing tasks.
Aesthetically Pleasing: Leaves small, easily concealable holes.
Precise: Allows for close work without splitting delicate wood.
User-Friendly: Generally lighter and easier to handle for most DIYers.
Affordable: Brad nailers themselves are often less expensive than flooring nailers.
Cons:
Not for Structural Work: Lacks the holding power for heavy-duty applications.
Cannot Be Used for Flooring: Completely inappropriate for wood floor installation.
Nail Heads Can Still Show: Though small, they may require filling and finishing.
Flooring Cleat System
Pros:
Excellent Holding Power: Securely fastens flooring for long-term durability.
Designed for Flooring: Specifically engineered for tongue-and-groove systems.
Professional Finish: Ensures a stable, squeak-free floor.
Resilient: Withstands the natural movement of wood and heavy foot traffic.
Cons:
Single-Purpose Tool: The flooring nailer is dedicated solely to floor installation.
Higher Initial Cost: Flooring nailers and the required cleats can be more expensive.
Requires More Skill/Effort: Mastering the technique might take a little practice.
Not for Trim: Utterly unsuitable for any kind of trim work.
Can You Use a Brad Nailer as a Flooring Nailer? Absolutely Not!
Let me be crystal clear on this point: You cannot use a brad nailer for installing hardwood or engineered wood flooring. I can’t stress this enough because it’s a common mistake beginners consider.
Here’s why it’s a recipe for disaster:
1. Wrong Fastener: Brad nails are thin and lack the strength and design to grip the flooring tongue securely. They are not designed to withstand the forces a floor experiences.
2. Wrong Drive Angle: Flooring nailers drive fasteners at an angle specifically to lock the flooring tongue. Brad nailers drive straight nails, which won’t provide the necessary grip.
3. Insufficient Holding Power: A brad nail simply won’t hold a floorboard down against the subfloor effectively. This will lead to loose boards, squeaks, gaps, and a floor that will likely fail prematurely.
4. Visible Damage: Even if you could get them to hold somewhat, the nail heads would be visible and would need to be filled, which isn’t the professional look you want for a floor.
Think of it like using a screwdriver to hammer a nail – it’s the wrong tool for the job, and you’re likely to damage everything involved. For flooring, you need a proper flooring nailer and cleats.
Choosing the Right Nailer for Your Project: A Quick Guide
Deciding which nailer to invest in or rent comes down to your primary needs.
For Trim, Molding, and General Woodworking Finesse:
Consider: A 16-gauge or 18-gauge brad nailer.
Why: Versatile, affordable for DIY, and provides clean finishes for interior work.
What to look for: Magazine capacity, power source (corded electric, battery, or pneumatic), and ergonomic design.
For Installing Hardwood or Engineered Wood Floors:
Consider: A dedicated flooring nailer (pneumatic or electric) and the appropriate flooring cleats.
Why: Essential for the security, durability, and professional finish of a wood floor.
* What to look for: Compatibility with your floor thickness, whether it accepts cleats or staples, and ease of use. Many DIYers opt to rent a flooring nailer for a single project.
If you’re just starting out and plan to do a lot of interior finishing work like baseboards, picture frames, or DIY furniture, a brad nailer is a fantastic investment. If your main goal is to lay down a beautiful new hardwood floor, the specialized flooring nailer is the only way to go.
Frequently Asked Questions (FAQ)
Here are some common questions I get as Nailerguy:
Q1: Can I use a brad nailer for installing quarter-round molding?
A1: Yes, absolutely! A brad nailer, especially an 18-gauge, is perfect for installing delicate trim like quarter-round. The slim nails leave minimal marks, making for a clean finish.
Q2: What kind of nailer do I need for crown molding?
A2: For crown molding, you’ll typically need a brad nailer (16-gauge or 18-gauge) or a finish nailer (15-gauge). The choice depends on the molding size and weight. Brad nailers are great for lighter molding, while finish nailers offer a bit more holding power for heavier profiles.
Q3: Are flooring cleats the same as regular nails?
A3: No, flooring cleats are specialized fasteners, usually L-shaped or barbed staples, designed specifically for locking hardwood floor planks into the subfloor. Regular nails are not suitable for this application.
Q4: Can I use a framing nailer for flooring?
A4: No, a framing nailer is far too powerful and uses large nails that would split the flooring, damage the tongue, and create an unusable surface. It is designed for heavy structural framing, not delicate flooring installation.
Q5: Do I need to fill the nail holes from a brad nailer?
A5: It’s highly recommended! While the holes are small, filling them with wood putty or filler that matches your paint or stain will give your trim and finishing work a smoother, more professional appearance. Sand and paint/stain over the filler.
Q6: What is the difference between a flooring nailer and a finish nailer?
A6: A flooring nailer is a specialized tool designed to drive cleats or staples at an angle through the tongue of flooring planks into the subfloor. A finish nailer drives straight nails (typically 15 or 16 gauge) directly into wood and is used for trim, molding, and furniture assembly, not for structural floor installation.
Q7: Can I use a battery-powered brad nailer for installing 3-inch baseboards?
A7: Yes, many battery-powered brad nailers have enough power for installing 3-inch baseboards without issue. Ensure the nailer you choose can fire nails long enough (e.g., up to 2.5 inches) and has sufficient power for secure fastening. For very thick or dense wood, a pneumatic 16-gauge might offer more consistent power.
Conclusion: Making the Right Choice for a Flawless Finish
So, there