Build a sturdy, stylish backyard wooden shed with simple woodworking design guides. Learn essential steps from planning and material selection to framing and finishing, ensuring a successful DIY project that adds value and storage to your home.
So, you’re dreaming of a backyard shed? Maybe to finally get that lawnmower out of the garage, or perhaps to create a dedicated space for your gardening tools? Whatever the reason, building your own wooden shed is a fantastic DIY project! It might sound a bit daunting at first, but with a clear plan and the right approach, you can absolutely do this. This guide is designed to break down the process of backyard wooden shed woodworking design into simple, manageable steps. We’ll cover everything you need to know, from picking the perfect spot to adding those finishing touches. Get ready to build something you’ll be proud of!
Table of Contents
Why Design Your Own Backyard Wooden Shed?
Many folks think about buying a shed kit or even a pre-built shed. And hey, those are options! But designing your own wooden shed offers something special. It allows you to create a structure that perfectly fits your needs and your backyard’s unique landscape. Plus, you get the immense satisfaction of building it with your own two hands. It’s a chance to learn new skills, get hands-on with tools, and end up with a custom piece that’s both functional and a great addition to your property.
Planning Your Shed Project: The Foundation of Success
Before you even think about picking up a saw, good planning is key. This is where you make the big decisions that set you up for a smooth build.
Choosing the Right Location
Where will your shed go? This is more than just picking an empty spot. Consider:
Level Ground: A shed needs a stable base. If the area isn’t level, you’ll need to do some grading or build a more substantial foundation.
Drainage: You don’t want water pooling around or under your shed. Avoid low-lying areas.
Accessibility: How will you get materials to the site? How easy is it to access the shed once it’s built?
Local Regulations: This is super important! Check with your local building department or homeowner’s association about setback requirements (how far it needs to be from property lines), size restrictions, and if you need a permit. Trust me, you don’t want to build something just to have to move it! You can often find this information on your city or county’s official government website. For example, understanding local building codes is often available from your municipal government’s planning or building department.
Sunlight and Shade: Think about how the sun will hit your shed throughout the day. This can affect the temperature inside and how much maintenance it might need.
Determining Shed Size and Style
What will you store in your shed? How much space do you actually need?
Measure Your Stuff: If possible, measure the items you plan to store. Don’t forget to account for future needs!
Think About Headroom: Will you need to stand up comfortably inside?
Style to Match Your Home: Do you want a modern look, a rustic feel, or something that blends in with your house? The roof pitch, window placement, and door style all contribute to the overall aesthetic.
Creating Your Shed Design and Plans
You don’t need to be an architect, but having a plan is like having a roadmap.
Sketch It Out: Start with a basic sketch. You can find tons of free shed plans online to use as a starting point or to get inspiration. Websites like Wood Magazine often provide detailed plans and project ideas.
Detailed Drawings: Once you have a general idea, try to create more detailed drawings showing dimensions for the walls, floor, and roof. Don’t forget to include door and window openings.
Material List: As you draw, start listing the materials you’ll need. This will be crucial for budgeting and shopping.
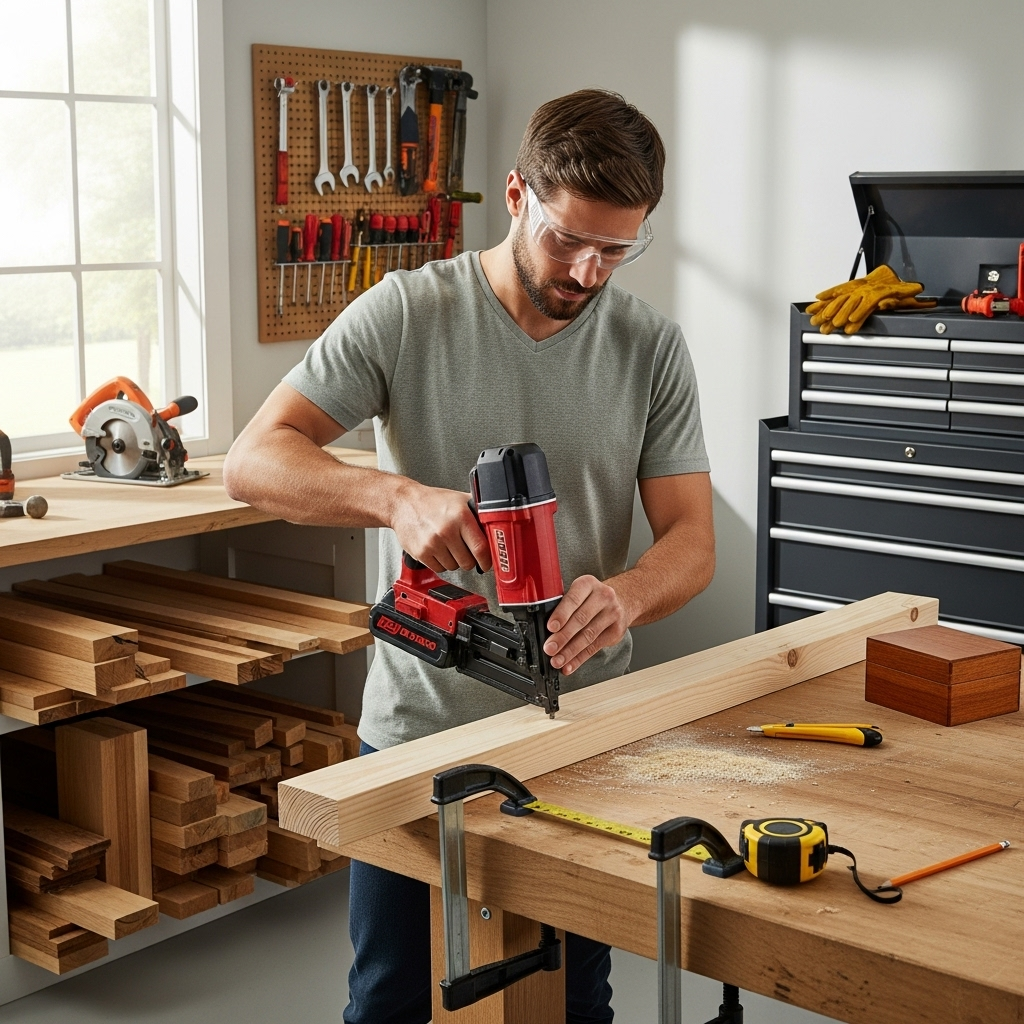
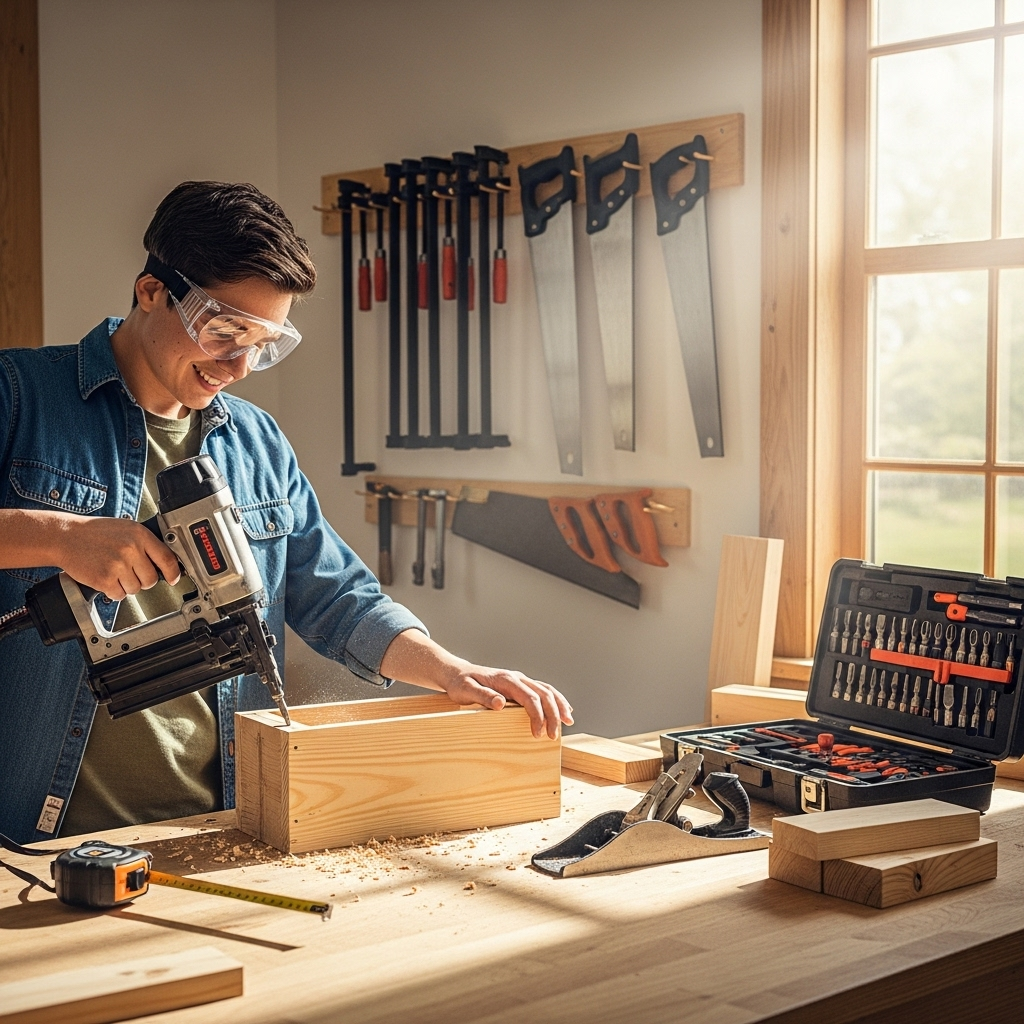
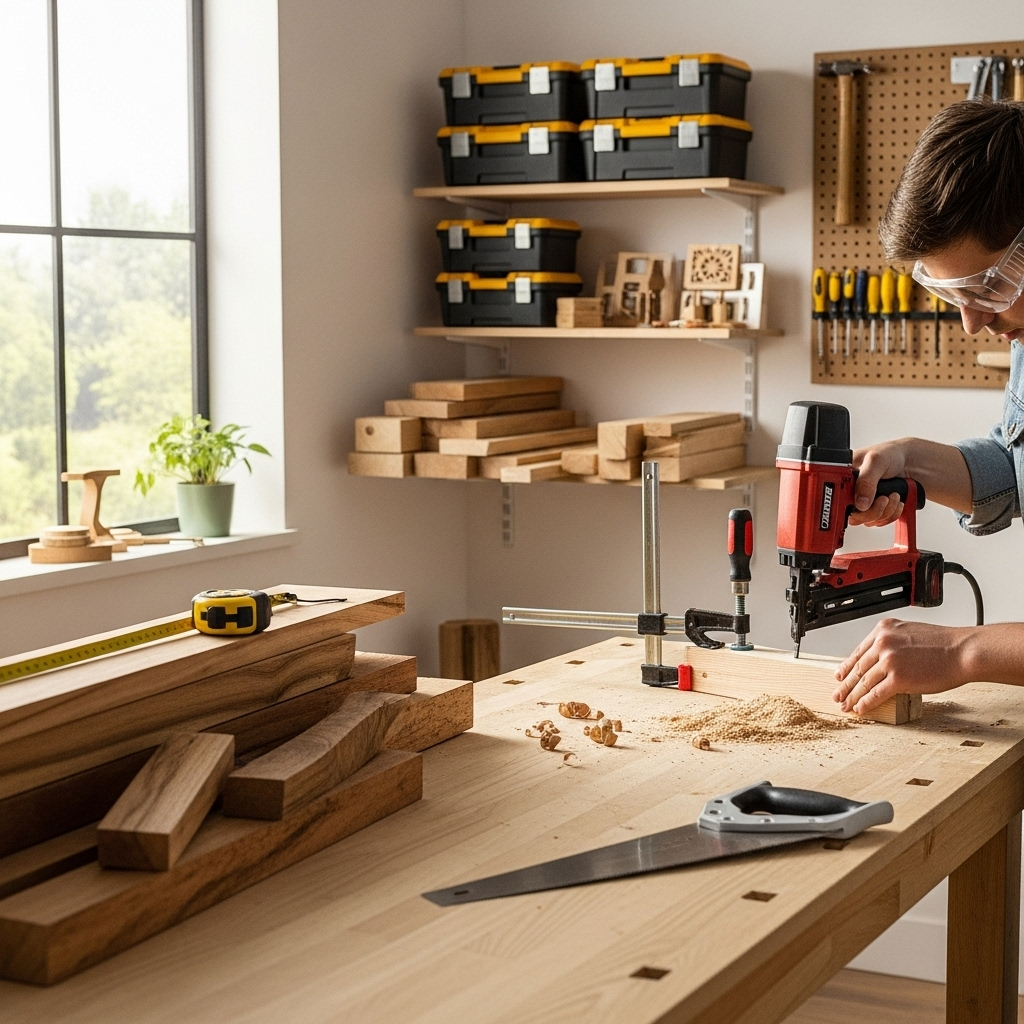
Essential Tools for Shed Woodworking Design
Having the right tools makes any project easier and safer. For shed building, you’ll want a good set of basics. As Nailerguy, I’m all about efficiency and getting the job done right, and that starts with your toolkit!
Here’s a list of some key tools:
- Safety Gear: Safety glasses, work gloves, and hearing protection are non-negotiable. Always protect your eyes and ears!
- Measuring Tools: Tape measure, speed square, and level. Precision is key in building.
- Cutting Tools: A circular saw is a must-have for cross-cutting lumber. A miter saw is excellent for precise angle cuts, especially for roof framing. A jigsaw can be handy for curves or more intricate cuts.
- Fastening Tools: A hammer, and if you’re serious about woodworking, a good quality nail gun (like a framing nailer for the main structure and maybe a smaller finish nailer for trim) will save you a ton of time and effort. For beginners, a sturdy corded or cordless drill/driver is essential for pre-drilling holes and driving screws.
- Clamping Tools: Various clamps will help hold pieces together while glue dries or while you’re fastening them.
- Pry Bar and Chisels: Useful for adjustments and fine-tuning.
- Shovel and Rake: For site preparation.
Don’t feel like you need the most expensive tools right away. Borrowing from friends or renting specialized tools can be a smart option for your first project. But investing in a good drill and circular saw is usually a worthwhile choice for any DIYer.
Materials: Choosing the Right Wood for Your Shed
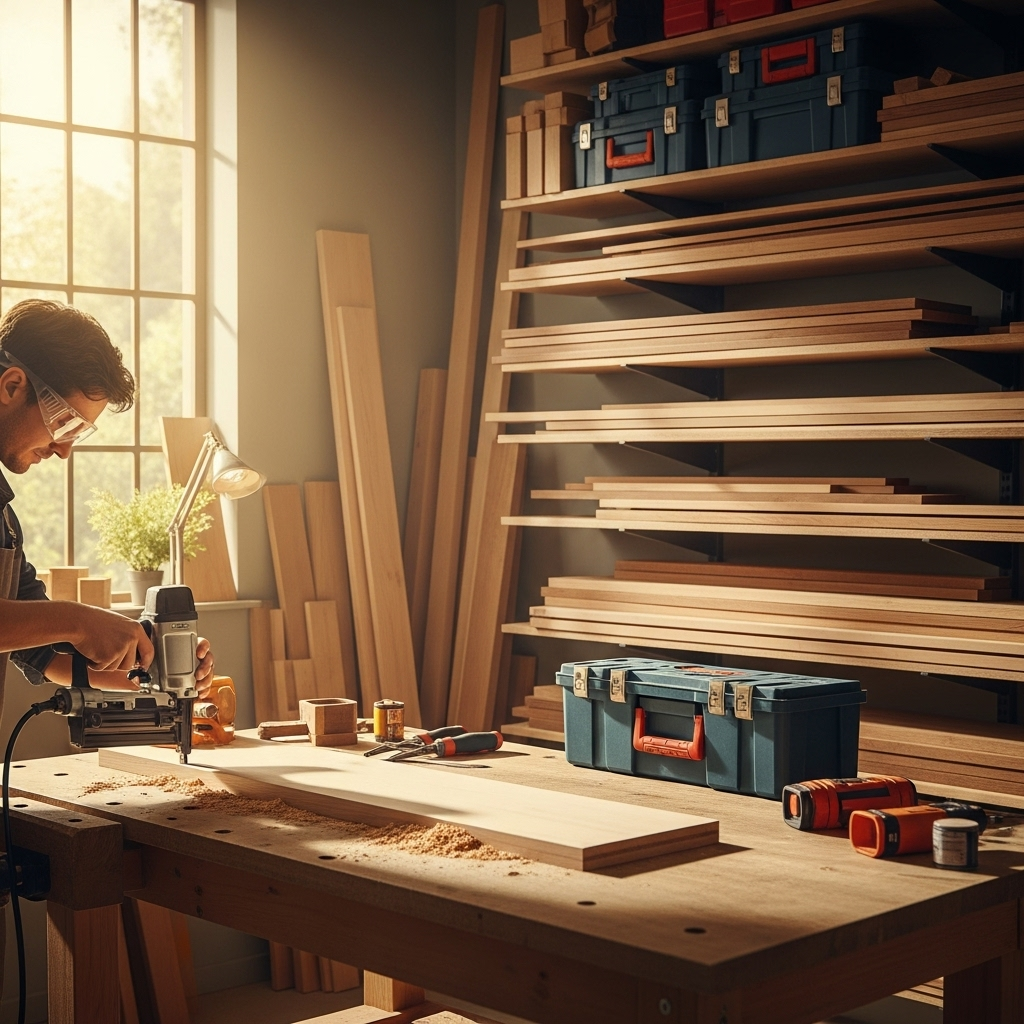
The wood you choose will impact the durability, appearance, and cost of your shed.
Common Wood Types for Sheds
Dimensional Lumber: This is your standard construction lumber, typically pine or spruce, treated or untreated. For the framing (the skeleton of your shed), pressure-treated lumber is highly recommended, especially for parts that will be in contact with the ground or exposed to moisture. It’s more resistant to rot and insects.
Plywood or OSB (Oriented Strand Board): Used for sheathing the walls and roof, and for the floor. Plywood is generally stronger and more resistant to moisture damage, but OSB can be a more budget-friendly option. Look for exterior-grade products rated for this type of use.
Siding: This is the protective and decorative outer layer. Options include T1-11 (plywood siding with grooves), clapboard, cedar shingles, or even vinyl. Consider durability, maintenance, and aesthetics. T1-11 is a popular choice for DIYers because it’s relatively easy to install and provides both sheathing and siding in one step.
Roofing Materials: Asphalt shingles are common and durable. Metal roofing is also an option, offering excellent longevity. Make sure to also budget for roofing felt (underlayment) and drip edge.
Hardware and Fasteners
Screws and Nails: Use exterior-grade fasteners that are galvanized or stainless steel to prevent rust. Your choice of fasteners will depend on the tools you have and the lumber you’re using. A framing nailer is fantastic for assembling wall frames and rafters, while deck screws are great for the floor joists and subfloor.
Hinges and Latches: Don’t forget hardware for your door!
Step-by-Step: Building Your Backyard Wooden Shed
Let’s get building! Here’s a breakdown of the typical construction process. Remember to always work safely and consult your plans regularly.
Step 1: Preparing the Foundation
A solid foundation prevents your shed from shifting or settling unevenly.
Level the Site: Clear the area of any vegetation, rocks, or debris. Use a rake and shovel to create a level surface. For a small shed, treated lumber skids or concrete blocks might suffice as a foundation. For larger sheds or on less stable ground, a concrete slab or a pier foundation might be necessary.
Install Skids (if using): Place pressure-treated 4×4 or 4×6 skids on the leveled ground. Ensure they are perfectly level and square to each other. These will support your floor frame.
Step 2: Building the Floor Frame
This will be the base of your shed.
Cut Joists and Rim Joists: Using your plans, cut your pressure-treated lumber for the floor joists and the outer rim joists.
Assemble the Frame: Lay out the rim joists and space the floor joists inside them, typically 16 inches on center. You can use joist hangers for a stronger connection, or nail directly through the rim joists into the ends of the floor joists. Use exterior-grade screws or nails designed for treated lumber.
Check for Square: Measure diagonally from corner to corner. The measurements should be identical if your frame is square.
Attach Subfloor: Once the frame is square and sturdy, attach your plywood or OSB subfloor. Use construction adhesive on the joists and plenty of screws or nails to secure the subfloor. This makes the floor rigid and ready for the walls.
Step 3: Framing the Walls
This is where your shed starts to take shape.
Build Wall Sections: It’s easiest to build your walls flat on the ground and then lift them into place. Each wall section will consist of a top plate, a bottom plate (or sole plate), and vertical studs. Studs are typically spaced 16 or 24 inches on center.
Add Headers and Cripples: Frame out openings for doors and windows using headers (strong beams above the opening), king studs (full-height studs on either side of the opening), and cripple studs (short studs above or below openings).
Sheath the Walls (Optional at this stage): You can attach plywood or OSB sheathing to the wall frames while they are still lying flat. This makes the walls stronger and easier to lift. Ensure you leave openings for doors and windows.
Raise the Walls: With help, carefully lift each wall section into place on the floor frame. Position the bottom plate of the wall directly over the edge of the subfloor.
Secure the Walls: Nail or screw the bottom plate to the floor frame and the subfloor. Brace the walls temporarily to keep them upright and plumb (perfectly vertical).
Connect Walls: Join the corner studs of adjacent walls securely. Ensure all walls are plumb and level before permanently fastening them.
Step 4: Building and Installing the Roof
The roof protects your shed from the elements.
Rafters or Trusses: You can build individual rafters or construct roof trusses. Trusses are usually pre-fabricated and offer excellent strength and consistent angles. For a simple shed, rafters cut on site are common. You’ll need to calculate the correct angles for your desired roof pitch. Consider using a rafter square for accurate layout.
Ridge Board: If building with rafters, you’ll need a ridge board at the peak where the rafters meet.
Attach Rafters/Trusses: Secure your rafters or trusses to the top plates of the walls. Use hurricane ties or strong fasteners for added security, especially in windy areas.
Install Roof Sheathing: Cover the rafters or trusses with plywood or OSB sheathing. Stagger your seams for added strength.
Apply Roofing Felt and Drip Edge: Lay down roofing felt (tar paper) over the sheathing, overlapping seams to prevent water intrusion. Install metal drip edge along the eaves and rake edges to direct water away from the fascia.
Install Shingles or Roofing: Follow the manufacturer’s instructions for installing your chosen roofing material, typically starting from the bottom and working your way up.
Step 5: Installing Doors and Windows
These are the finishing touches that add functionality and light.
Pre-hung Doors/Windows: These are the easiest to install. They come assembled in their frames and simply need to be placed into their rough openings and secured.
Custom Doors: You can build your own door from lumber and plywood. This allows for a custom look but requires more precision.
Flashing and Sealing: Proper flashing around windows and doors is crucial to prevent leaks where they meet the siding. Use appropriate sealants and caulking.
Step 6: Applying Siding and Trim
This protects your shed and gives it its finished look.
Start at the Bottom: Begin your siding installation just above the foundation or sill plate. Work your way up, overlapping each course according to the material’s requirements.
Cut and Fit: Carefully measure and cut siding pieces to fit around corners, doors, and windows.
Install Trim: Add trim boards around corners, doors, and windows. This covers exposed edges of the sheathing and siding, adding a clean, finished look.
Caulking: Seal all gaps and seams with exterior-grade caulk to prevent water and pests from entering.
Step 7: Finishing Touches
Paint, stain, or seal!
Prepare the Surface: Clean off any dust or debris. Sand any rough spots.
Apply Finish: Paint or stain your shed to protect the wood from the elements and enhance its appearance. Choose an exterior-grade product. Applying a finish is one of the most important steps in protecting your investment and ensuring your shed lasts for years.
Maintaining Your Wooden Shed
A little regular maintenance goes a long way in keeping your shed looking great and structurally sound.
Inspect Regularly: Check for any signs of rot, insect damage, or loose fasteners at least once a year.
Clean Gutters (if installed): Keep gutters clear of leaves and debris to prevent water damage.
Reapply Finish if Needed: Fading paint or peeling stain means it’s time for a touch-up.
Check Foundation: Ensure the foundation remains level and stable.
Shed Design Ideas and Customizations
Once you’ve mastered the basics, you can get creative!
Windows for Natural Light: Add multiple windows to make your shed a brighter workspace.
Shelving and Organizers: Design built-in shelves or pegboards to maximize storage.
Workbench: A sturdy workbench is a great addition for any hobbyist.
Ventilation: Consider adding vents near the top of the shed to allow for air circulation, preventing moisture buildup.
* Cupola or Weathervane:** For a charming, classic look.
Here’s a quick look at some common shed sizes and their typical uses:
| Shed Size (Width x Depth) | Typical Uses | Foundation Considerations |
|---|---|---|
| 6′ x 8′ | Lawnmower, garden tools, small storage | Level ground, skids, or concrete blocks |
| 8′ x 10′ | Bikes, larger equipment, general storage | Skids, gravel pad, or concrete blocks |
| 10′ x 12′ | Hobby space, workshop, significant storage | Concrete blocks, gravel pad, or concrete slab |
| 12′ x 16′ | Vehicle storage (small), large workshop, potting shed | Concrete slab or reinforced pier foundation |
FAQ
How much does it cost to build a backyard wooden shed?
The cost can vary significantly based on the size, materials chosen, and whether you hire help. For a DIY shed, you might spend anywhere from $500 for a very small, basic structure to $5,000 or more for a larger, more elaborate design. Lumber, roofing, and foundation materials are the biggest cost factors.
Do I need a permit to build a shed?
In most areas, yes, you will need a permit, especially for sheds larger than a certain size (often 100-200 square feet). Always check with your local building department. They can tell you about size limits, setback requirements, and any zoning restrictions. It’s better to find out beforehand to avoid potential fines or the need to remove your shed.
What is the easiest shed to build for a beginner?
A simple gable-roof shed with dimensions like 6×8 feet or 8×10 feet is often a good starting point. Using pre-cut studs and a straightforward wall and roof framing design will make it more manageable. Many free plans are available online that are specifically designed for beginners.
What type of wood is best for a shed frame?
Pressure-treated lumber is highly recommended for the floor joists, skids, and any parts of the frame that will be in contact with the ground or exposed to moisture. This is because it resists rot and insect damage, significantly increasing the lifespan of your shed. For wall studs and rafters, untreated dimensional lumber (like SPF – Spruce-Pine-Fir) is commonly used, especially if it will be protected by siding and roofing.
How do I make sure my shed is level and square?
For the floor frame, use a level to ensure all joists and perimeter boards are flat and horizontal. After assembly, measure the diagonals of the rectangular frame – they must be equal for the frame to be square. For walls, use a level to ensure they are plumb (perfectly vertical) as you erect and secure them. Temporarily bracing the walls before permanent attachment is crucial.
Can I build a shed on concrete blocks?
Yes, for smaller sheds, a foundation of concrete blocks or poured concrete piers can be a cost-effective and simpler alternative to a full concrete slab. Ensure the blocks are level and set on a firm, compacted base (like gravel) to prevent shifting. The floor frame (skids and joists) will then rest securely on top of these blocks. For larger or heavier sheds, a more robust foundation is recommended.
What tools are absolutely essential for shed building?
At a minimum, you’ll need a reliable tape measure, a speed square, a level, a hammer, and a circular saw for cutting lumber. A power drill/driver is also indispensable for driving screws and pre-drilling holes. For efficiency, a framing nailer can be a game-changer, but it’s not strictly essential for a beginner if you have a good hammer and are willing to take a bit more time.
Conclusion
Building a backyard wooden shed with thoughtful woodworking design is a rewarding project that’s well within reach for most DIYers. By carefully planning your location, size, and style, gathering the right tools and materials, and following a step-by-step construction process, you can create a durable, functional, and attractive addition to your property. Remember to prioritize safety, take your time, and don’t be afraid to ask for help when you need it. That feeling when you walk into your finished shed, knowing you built it yourself, is truly something special. Happy building!