Quick Summary:
Building an advanced wooden staircase is a rewarding woodworking project, essential for both functional access and enhancing your home’s aesthetic. This guide offers beginner-friendly, step-by-step instructions, demystifying the process with clear explanations and essential tips. Master this project and elevate your DIY skills!
Hey there, DIYers! Jack Shaffer from Nailerguy here. Ever look at those beautiful, grand staircases in magazines and think, “There’s no way I could build that”? I get it. A wooden staircase can seem like a truly advanced woodworking project. But what if I told you it’s more achievable than you think? It’s an essential part of many homes, seamlessly connecting floors and adding significant character. We’re going to break down this project into manageable steps. You’ll learn the essentials, from measuring to cutting and assembling. Get ready to tackle something truly impressive for your home!
Table of Contents
Why an Advanced Wooden Staircase Project?
Building your own wooden staircase is more than just a DIY task; it’s a statement piece. A well-crafted staircase can dramatically improve the flow and visual appeal of your home. It’s a project that showcases skill, adds value, and provides immense satisfaction upon completion. While it involves careful planning and execution, the results are undeniably worth the effort. Plus, understanding the principles behind stair construction can open doors to many other complex woodworking endeavors.
Think about it: stairs are used every single day. They need to be sturdy, safe, and look good. When you build them yourself, you have complete control over the quality and design. You can choose the perfect wood, the ideal stain, and ensure every joint is perfectly fitted. This isn’t just about saving money; it’s about creating something truly custom for your space. It’s an investment in your home and your woodworking abilities.
Understanding Stair Basics: The Building Blocks
Before we grab any tools, let’s get some key terms down. Understanding these will make the entire process much clearer. I’ll keep it simple, just like we’re chatting in the workshop.
- Tread: This is the horizontal part you step on.
- Riser: This is the vertical part between the treads. Some stairs have open risers where you can see through, but closed risers are more common and structurally beefier.
- Nose: The overhang of the tread beyond the riser.
- Rise: The total vertical height the stairs need to cover.
- Run: The total horizontal distance the stairs will cover.
- Total Run: The sum of all the individual tread runs.
- Total Rise: The sum of all the individual riser heights.
- Stringer: The angled support beams that run along the sides of the staircase, holding the treads and risers.
- Carriage: Often used interchangeably with stringer, but can also refer to the entire framework supporting the staircase.
- Balusters/Spindles: The vertical elements that support the handrail.
- Newel Post: A larger, structural post at the beginning or end of a staircase or at turns.
Getting these definitions right helps when we talk about measurements and cutting. It’s like learning the alphabet before writing a sentence!
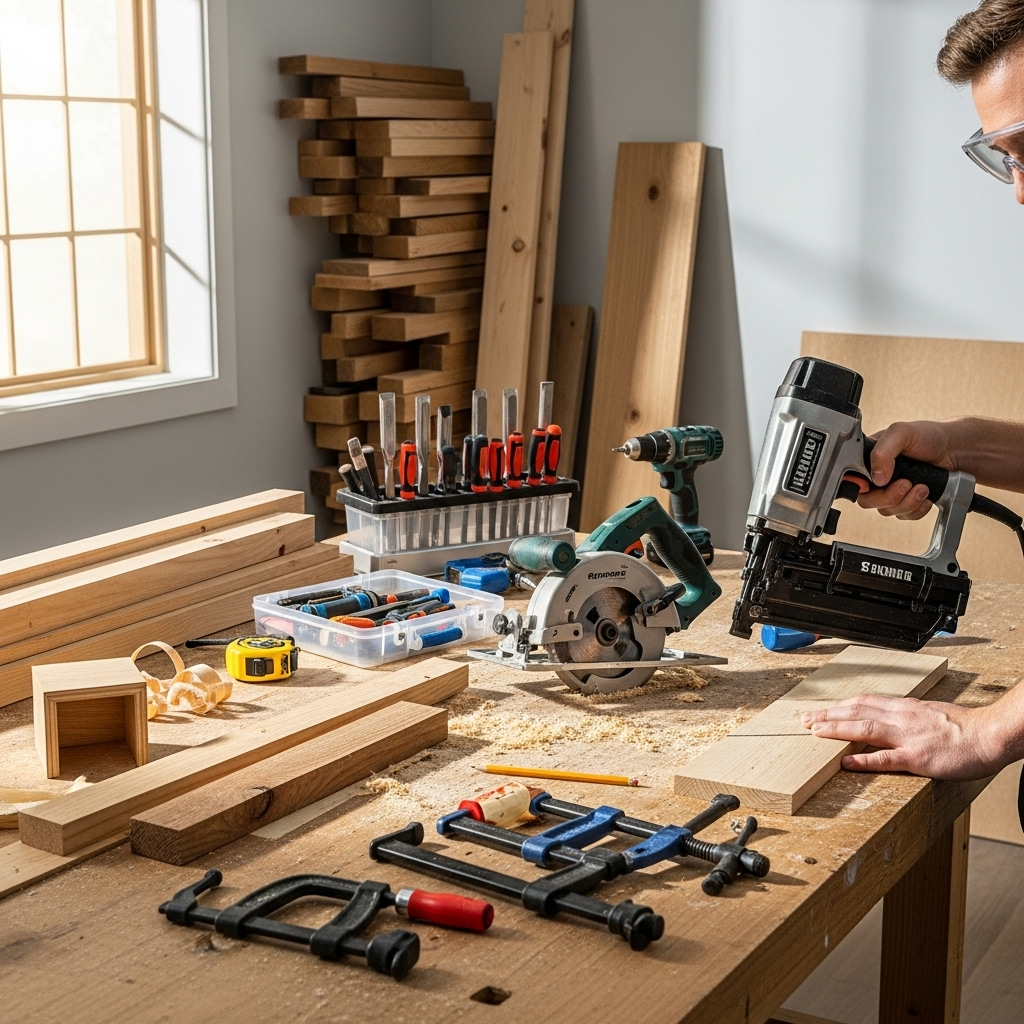
Essential Tools for Your Staircase Project
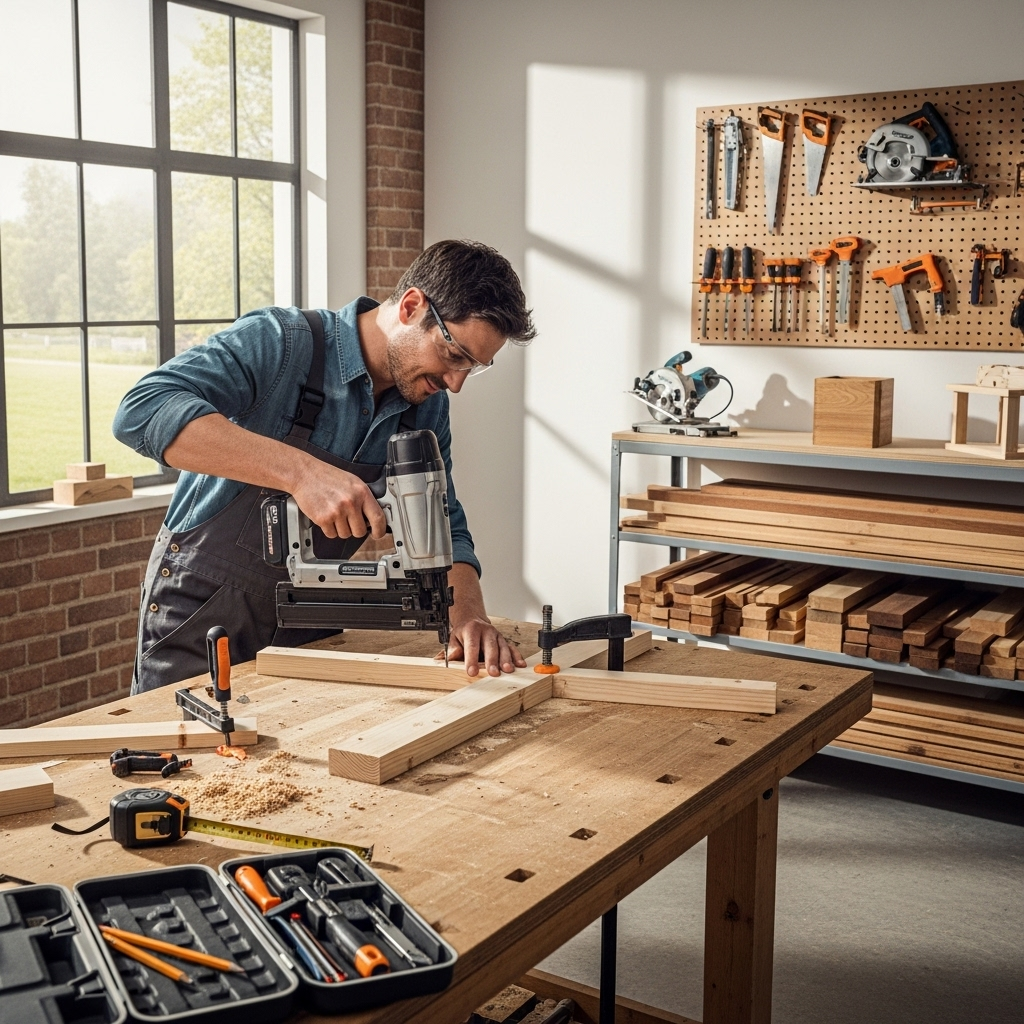
Every good project starts with the right tools. For an advanced wooden staircase, you’ll need some basics and a few specialized items. I’ll highlight what’s key, focusing on what will help you work accurately and efficiently. Safety first, always!
Measuring and Layout Tools: Precision is Key
- Tape Measure: A good quality, long tape measure (25ft or more) is essential.
- Pencil: Plenty of sharpened pencils.
- Speed Square: Invaluable for marking angles and lines quickly and accurately.
- Combination Square: Great for checking 90-degree and 45-degree angles, and for setting depths.
- Level: A 4-foot level should do.
- Chalk Line: For marking long, straight lines on larger pieces.
Cutting Tools: Making Accurate Cuts
- Circular Saw: For general cutting of lumber. A cordless one gives you more freedom.
- Miter Saw (Chop Saw): This will be your best friend for getting precise, repeatable angle cuts for treads and risers. An electronic miter saw offers even more accuracy.
- Jigsaw: Useful for curved cuts if your design calls for it, especially on stringers.
- Hand Saw: Good to have for minor adjustments or when power isn’t an option.
Assembly and Finishing Tools: Putting It All Together
- Drill/Driver: Cordless is the way to go. Make sure it has good torque.
- Countersink Bit: For setting screws flush or below the surface.
- Clamps: Various sizes – bar clamps, C-clamps, and pipe clamps are all useful.
- Hammer: For any minor adjustments or tapping pieces into place.
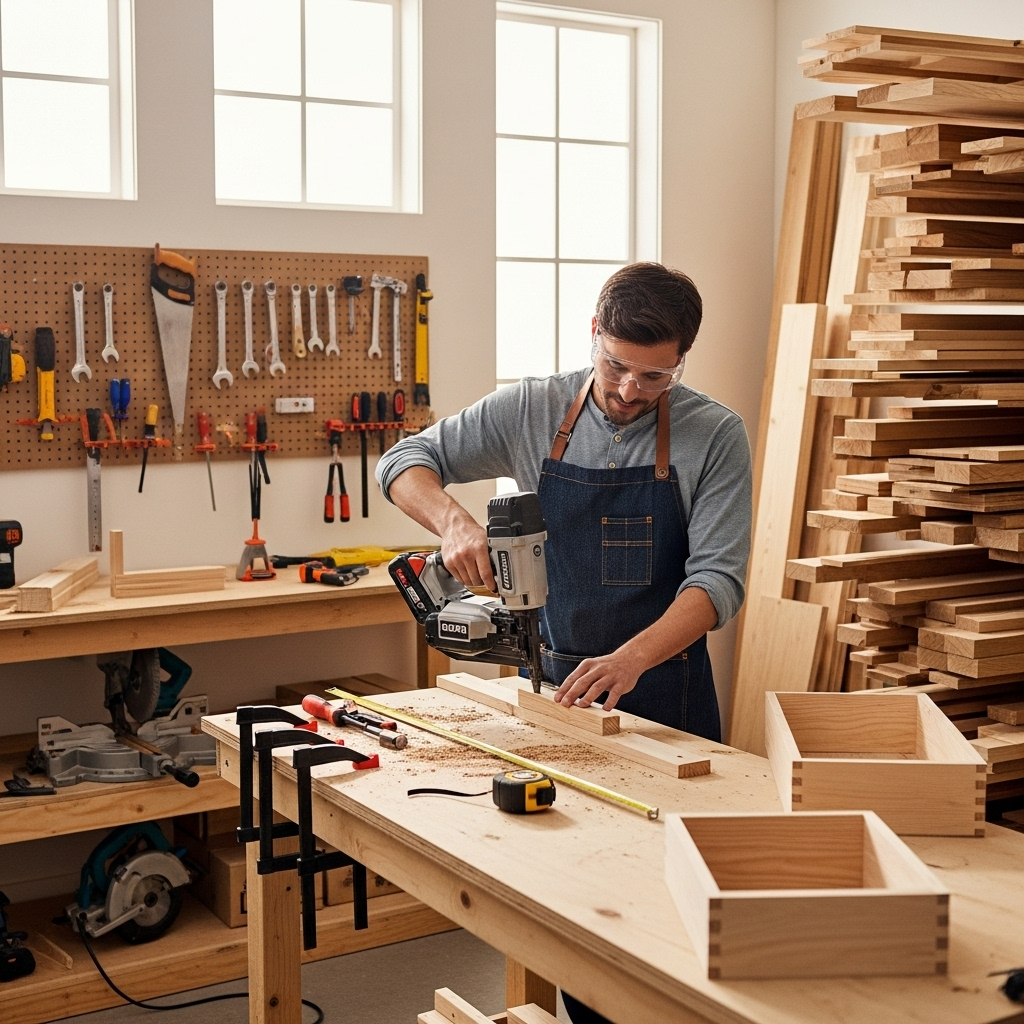
- Nail Gun (Optional but Recommended): A framing nailer or a finish nailer can speed up assembly significantly and provide strong joints. For stair stringers, a good framing nailer is a game-changer. For treads and risers, a brad nailer or finish nailer is excellent.
- Orbital Sander: For smoothing out surfaces.
- Chisels: For fine-tuning joints.
Safety Gear: Non-Negotiable
- Safety Glasses: Always wear them. No exceptions.
- Hearing Protection: Especially when using power saws.
- Dust Mask/Respirator: Wood dust isn’t good for you.
- Work Gloves: Protect your hands.
Planning Your Wooden Staircase: The Blueprint

This is arguably the most critical phase. Measure twice, cut once – and plan even more!
Step 1: Measure the Total Rise
This is the vertical distance from the finished floor of the lower level to the finished floor of the upper level. Use your level to establish a true vertical line. Measure carefully. If there’s an existing floor there, measure from the top of the finished surface. Make a note of this measurement.
Step 2: Determine the Number of Risers and Treads
This involves a bit of math and a little bit of compromise. The standard comfortable riser height is between 7 and 7.75 inches. You can’t just pick a number; it needs to divide evenly into your total rise.
Calculation: Total Rise / Desired Riser Height = Number of Risers
Let’s say your total rise is 108 inches. A good riser height might be around 7.2 inches.
108 inches / 7.2 inches/riser = 15 risers
Now, here’s a pro tip: the number of treads is usually one less than the number of risers. This is because the top tread often serves as the landing floor of the upper level. So, for 15 risers, you’d typically have 14 treads.
Important Note: Building codes often dictate maximum and minimum riser heights and tread depths. It’s wise to check your local building department’s requirements before you start. You can usually find this information on their website or by giving them a call. For example, the International Code Council (ICC) provides standards that many municipalities adopt.
Step 3: Calculate Tread Depth (Run)
Once you know the number of treads, you can figure out the run for each. The total run is the horizontal distance your staircase will occupy. A comfortable tread depth (the part you step on) is usually between 10 and 11 inches for proper footing. Let’s aim for 10.5 inches.
Calculation: Total Run / Number of Treads = Tread Run
You’ll need to measure the total horizontal space available for your stairs. Let’s say you have 168 inches of horizontal space (this is your Total Run).
168 inches / 14 treads = 12 inches per tread run.
This seems a bit generous, which is good. Some codes prefer a minimum tread depth of 10 inches. A common rule of thumb is the “2R + T” rule (twice the rise plus the tread depth). For a comfortable stair, this should be between 24 and 25 inches. In our example: (2 7.2) + 10.5 = 14.4 + 10.5 = 24.9 inches. This is a good, comfortable measurement!
Table: Stair Calculation Example
| Measurement | Value | Notes |
|---|---|---|
| Total Rise | 108 inches | Floor to floor height. |
| Desired Riser Height | 7.2 inches | Comfortable range is 7″-7.75″. Check local codes. |
| Number of Risers | 15 | Total Rise / Desired Riser Height. |
| Number of Treads | 14 | Number of Risers – 1. |
| Available Total Run | 168 inches | Horizontal space for stairs. |
| Tread Run (Depth) | 12 inches | Available Total Run / Number of Treads. Aim for 10-11″ for comfort. |
| “2R + T” Rule | 24.9 inches | (2 7.2) + 12. Comfortable (24-25″). |
Step 4: Calculate the Stair Angle
The angle of your stairs is determined by the precise rise and run of each step. You can use trigonometry for this, but a speed square often has a built-in stair gauge or hypotenuse markings that make it easier. Aim for an angle between 30 and 40 degrees, which usually indicates a comfortable slope.
Cutting Your Stringers: The Foundation of Your Stairs
Stringers are the backbone. Accuracy here is paramount. Most staircases use two outer stringers, and often a third in the middle for wider spans to prevent sagging.
Step 1: Laying Out the Stringer
You’ll need a long piece of lumber for each stringer, typically a 2×12. The length will depend on your total rise and run, plus a little extra for the top and bottom connections.
Use your speed square or a stair gauge tool. Set your speed square to the desired rise (e.g., 7.2 inches) and run (e.g., 12 inches). Place the square on the edge of your 2×12. Mark the rise. Then, flip the square or move it along the board and mark the run.
Repeat this process, marking out each rise and run step by step. Always ensure your marks are square and parallel. The “waste” material that gets cut out will create the notches for your treads and risers.
Step 2: Marking the Top and Bottom Cuts
At the top, the stringer needs a cut so it sits flush against the header joist or landing structure. At the bottom, it needs to sit securely on the subfloor or base. The exact angle for these cuts often needs on-site fitting, but initial layout can be done using the rise and run measurements.
For the bottom cut, if the stringer sits directly on the subfloor, you’ll cut a plumb cut at an angle determined by your rise and run pitch. If it rests on a ledger board or a concrete footing, the cut might be different.
Step 3: Cutting the Stringers
Once your layout is complete and double-checked, it’s time to cut. Use a circular saw for the majority of the cuts. Be extra careful at the corners where the rise and run meet – you might need to finish these with a handsaw or jigsaw for a clean cut.
Safety Tip: Always cut on the waste side of your pencil line to maintain accuracy. When cutting, make sure the board is securely supported and that you maintain control of the saw.
You’ll need to cut at least two identical stringers. If your staircase is wide (over 36 inches), cut a third stringer to go in the middle. This provides crucial support and prevents the treads from bowing between the outer stringers.
Installing the Stringers
This is where your staircase starts to take shape!
Step 1: Prepare the Landing Area
Ensure the framing at the top of the staircase is solid. This might involve adding blocking or a header joist. At the bottom, make sure the floor is ready and structurally sound to support the stringers. A ledger board can be installed on the subfloor if needed.
Step 2: Position and Secure the Outer Stringers
Carefully lift and position the first stringer. It should be plumb (vertical) and set at the correct angle. Secure it temporarily with clamps or braces. Check that the top and bottom are seated correctly against their respective support structures.
Use your level to ensure the stringer is plumb. Then, begin fastening it. Use long structural screws or lag bolts. Drill pilot holes. For stringers, you’ll want to go into the joists or solid framing at the top and bottom.
Nailer Tip: A framing nailer is your best bet here for securing the stringers to the framing. Use 3-1/2 inch nails.
Install the second outer stringer on the opposite side, making sure it’s parallel to the first. Use a tape measure to ensure the distance between them is consistent along their entire length, matching the width of your planned treads.
Step 3: Install the Middle Stringer (If Needed)
If you have a wide span, install the third stringer. Position it precisely in the center of the two outer stringers. It should be parallel and at the same level. Secure it just as you did the outer stringers.
Step 4: Check for Plumb and Level
Before proceeding, take a moment to re-check everything. Are the stringers plumb? Are they parallel? Is the spacing consistent? Make any adjustments now. It’s much easier to fix things while the stringers are accessible.
Cutting and Installing Treads and Risers
Now for the parts you see and step on!
Step 1: Prepare Your Tread and Riser Material
Treads are typically made from thicker wood, like 1×10 or 1×12 lumber (which are actually ¾” thick by 9.25” or 11.25” wide). Risers are usually 1×8 or 1×10 (¾” thick by 7.25” or 9.25” wide). You can also use plywood for treads, but solid wood looks and feels more luxurious.
Step 2: Cut the Treads
Measure the exact width of your staircase opening between the outer stringers. This is the length your treads will need to be. For example, if your stair opening is 36 inches wide, cut your treads to 36 inches.
The depth of the tread is your calculated run (e.g., 12 inches). However, you’ll often want to add an overhang, or “nose,” for aesthetics. A common nose overhang is 1 to 1.5 inches. So, if your run is 12 inches, you might cut your treads to 13 to 13.5 inches deep.
Pro Tip: Cut one tread perfectly. Test-fit it to ensure it sits snugly in the stringer notches. Make any adjustments needed, then use it as a template for the rest.
Use your miter saw for precise, square cuts. Ensure the front edge of the tread is perfectly straight.
Step 3: Cut the Risers
The risers should fit snugly between the stringers, flush with the front edge of the tread above it. Their length will be the width of your staircase opening (e.g., 36 inches).
The height of the riser is critical: it must match your calculated riser height exactly (e.g., 7.2 inches).
Nailer Strategy: A finish nailer is ideal for attaching treads and risers. Use 2-inch or 2.5-inch nails.
Step 4: Install the First Tread and Riser
Start from the bottom. The first riser fits into the first notch. You can secure it with brad nails or screws from the outside of the stringer into the riser, or by using adhesive and toenailing.
The first tread then sits on top of that riser and rests in the next notch on the stringers. Make sure it’s flush with the front edge of the riser (or has the desired overhang). Secure it through the stringers from underneath if possible, or by toenailing from the top of the tread into the stringer. A bead of construction adhesive on the stringer notches before placing the tread adds incredible strength and prevents squeaks.
Step 5: Continue Upwards
Work your way up the staircase, installing each tread and riser. Ensure each piece is square, level, and fits snugly. Double-check that the riser height consistently matches your calculations.
Important Consideration: For the very top tread, it needs to be flush with the upper floor. You might need to adjust its dimensions slightly to meet the subfloor or finished floor.
Adding the Railings and Balusters
This is crucial for safety and finishing the look of your staircase.
Step 1: Install Newel Posts
Newel posts are the structural start and end points for your handrail. They’re typically much thicker (4×4 or larger) and are bolted securely to the framing. They must be plumb and sturdy.
Step 2: Mount the Handrail
The handrail runs along the wall or on top of balusters. It needs to be at a consistent height, usually between 34 and 38 inches above the stair tread nosing. Use a chalk line to mark your desired height on the wall or newel posts.
Attach the handrail to the newel posts using strong joinery or heavy-duty fasteners. If your handrail is supported by balusters, you’ll need to pre-drill holes or use specialized brackets to attach it securely to them. The Building Safety Guide also offers insights into safe railing heights and installation.
Step 3: Install Balusters (Spindles)
Balusters are usually spaced no more than 4 inches apart to prevent small children from slipping through. Attach them to the underside of the handrail and the top of the treads or the apron board just behind the tread nose.
You can use specialized baluster connectors, screws, or even adhesive, depending on the baluster style and handrail design. Ensure they are plumb and securely fastened. A drill/driver with countersink will help you hide screw heads if you’re screwing them in directly.
Finishing Touches: Sanding, Staining, and Sealing
Once everything is assembled, it’s time to make it shine!
Step 1: Sanding
Thoroughly sand all surfaces. Start with a coarser grit (like 80 or 100) for initial smoothing and then move to finer grits (150, 220) for a silky-smooth finish. Pay attention to edges and corners.
Step 2: Clean and Prepare for Finishing
Vacuum all dust thoroughly. Wipe down surfaces with a tack cloth or a slightly damp cloth to remove any lingering dust particles. Ensure your workspace is clean.
Step 3: Staining or Painting
Apply your chosen stain according to the manufacturer’s instructions. Work in small sections, wiping off excess stain for an even color. If you’re painting, apply a good quality primer first.
Step 4: Sealing
Apply several coats of a durable clear finish, such as polyurethane or a watu finish. This protects the wood from wear and tear, spills, and moisture. Lightly sand between coats with very fine-grit sandpaper (320 or 400) for the smoothest result.
Common Pitfalls and How to Avoid Them
Even with the best intentions, things can go wrong. Here are a few common issues and how to sidestep them:
- Inaccurate Measurements: This is the #1 culprit. Always double-check your rises, runs, and lengths. Use a good tape measure and a reliable square.
- Uneven Riser Heights: This makes stairs look and feel off. Ensure your calculations are precise and your cuts are accurate.
- Wobbly Stringers: Skimping on fasteners or not securing stringers to solid framing will lead to instability. Use adequate structural screws or lag bolts.
- Short Treads: Not accounting for the overhang or a flush fit with the upper floor can leave you with too little tread depth. Plan your tread dimensions carefully.
- Squeaky Stairs: Often caused by wood rubbing together. Using construction adhesive and ensuring tight fits can prevent this.
FAQ Section
Q1: How do I calculate the rise and run for stairs?
Measure your total vertical rise. Divide it by a comfortable riser height (usually 7-7.75 inches). The result is your number of risers. Divide your total horizontal run by one less than the number of risers to get your tread run, or depth.
Q2: What is the best wood for building stairs?
Hardwoods like oak, maple, or cherry are excellent choices for treads due to their durability and beauty. For stringers and less visible parts, construction-grade lumber like pine or fir is more common and cost-effective.
Q3: Do I need a building permit for stairs?
In most areas, yes, especially if the stairs are structural or change the layout of your home. Always check with your local building department before starting any major construction project.
Q4: How do I ensure my stairs are safe?
Follow building codes for riser height, tread depth, and railing spacing. Ensure stringers are well-supported, treads are securely fastened, and railings are sturdy and at the correct height. Safety is paramount!
Q5: My stairs are squeaking. How can I fix it?
Squeaks are often due to wood pieces rubbing. You can sometimes fix this by driving screws at an angle through the tread into the riser, or through the stringer into the tread. Adding shim stock or glue in the gaps can also help.
Q6: What is the difference between a tread and a riser?
The tread is the horizontal surface you step on, while the riser is the vertical piece connecting one tread to the next. Some designs have open risers, but most have closed risers.
Conclusion
There you have it – a comprehensive guide to tackling your advanced wooden staircase project. From the initial planning and precise measurements to the satisfying final finishes, you’ve got the steps laid out clearly. Remember, patience and accuracy are your greatest tools here. Don’t be afraid to ask for help or consult local building codes. Building a staircase is a substantial undertaking, but with this roadmap and a commitment to quality, you can create a functional, beautiful, and lasting feature for your home that you’ll be proud of for years to come. Happy building!